
How to link Jira issues and keep them in sync?
The need
In Jira, teams often need to track related work across multiple projects, teams, or issue types. A common way to manage this is through the Jira linked issue feature, which allows users to establish relationships between issues — such as dependencies, duplications, or escalation paths.
But simply linking issues isn’t enough. Information gets out of sync quickly when multiple teams are involved. To avoid this, you need to both create linked issues automatically and ensure they remain synchronized — so that everyone stays on the same page, no matter where the work happens.
The solution
Elements Copy & Sync makes it possible to:
Automatically create a linked issue and keep it in sync
Define a link type such as "relates to," "blocks," or custom types
Set up synchronization rules between the source and the cloned issue
Let’s walk through how to configure these options depending on your use case.
Tutorial
Prerequisites
To follow this tutorial, you’ll need:
The Elements Copy & Sync app installed on your Jira Cloud instance
Admin rights to create or edit recipes
A clear idea of what fields you want to synchronize between issues
Step 1: Create a linked issue by automatically cloning an issue
If you want to create a new Jira linked issue, the best approach is to clone the source issue and link the copy to the original.
To do this:
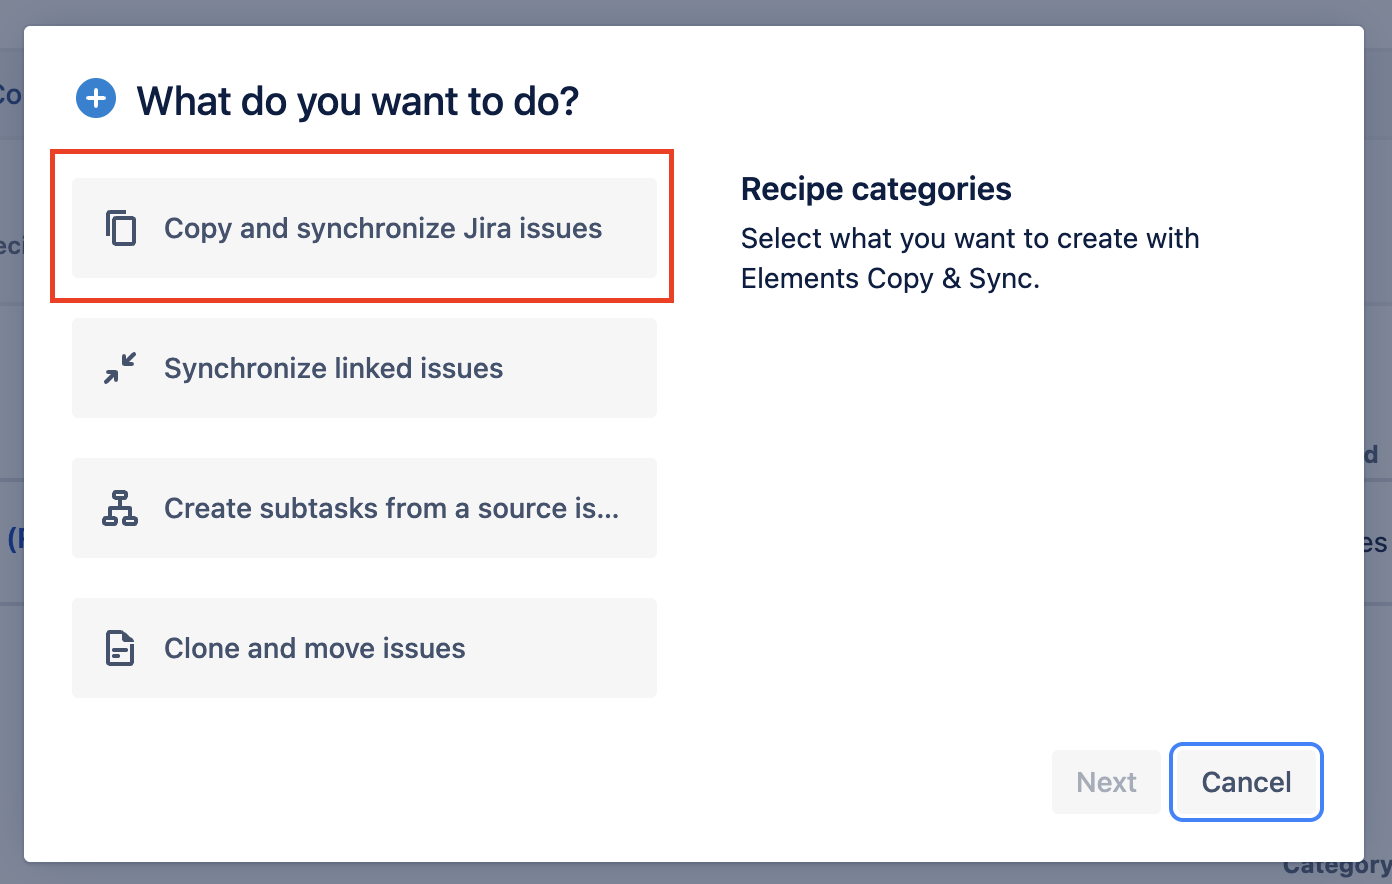
Navigate to Recipes in the Elements Copy & Sync administration.
Create a new “Copy and synchronize Jira issues” recipe.
In the Target tab:
Set the destination project and issue type.
Scroll to the Target section.
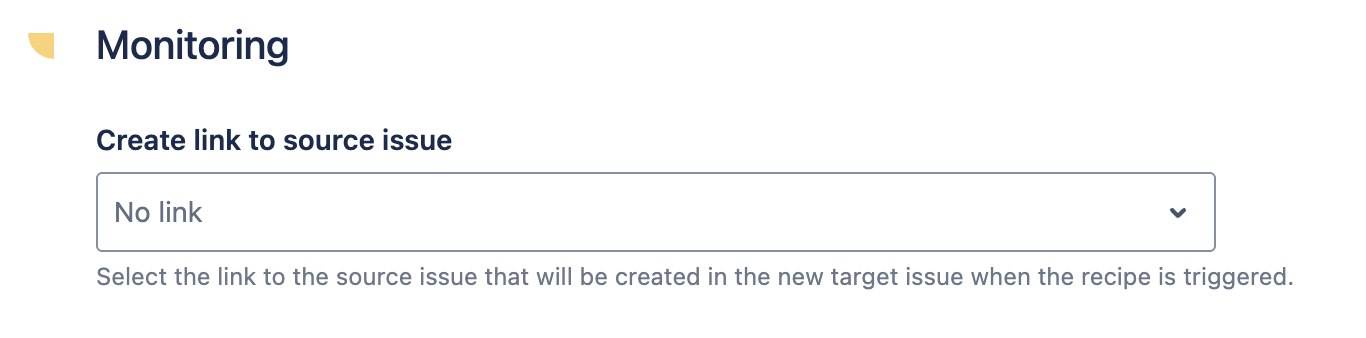
Select a link type (e.g., “relates to,” “blocks,” etc.).
📘 You can follow this guide for full details:
Create a link between an issue and its copy automatically
With this setup, a Jira linked issue will be created by cloning the original issue and applying the desired link relationship.
Step 2: Synchronize the two issues with sync options
Once the linked issue is created, you’ll want to keep both issues in sync.
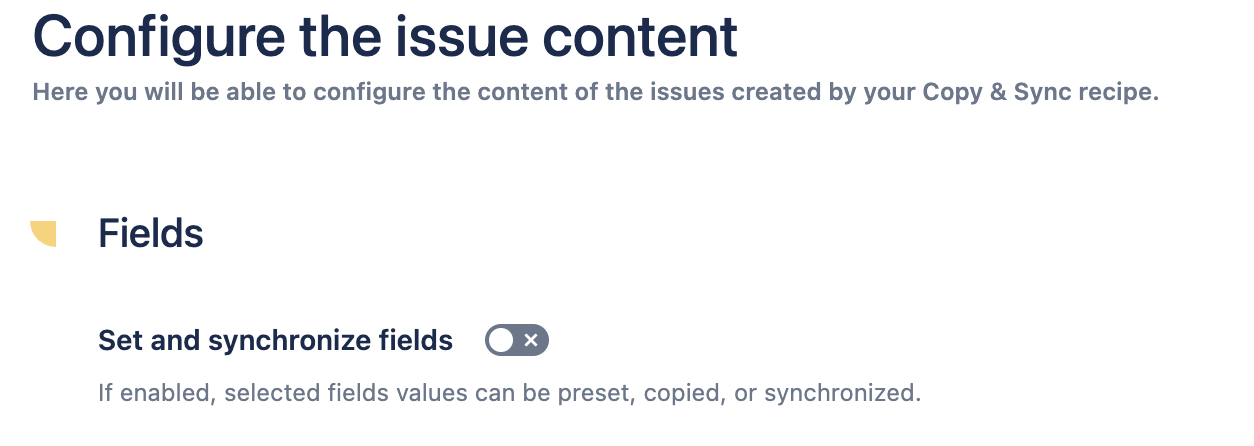
In the same recipe, open the Content tab.
Toggle Set and synchronize fields.
Choose the direction of sync:
One-way: updates flow from the original to the linked issue
Two-way: updates flow both ways
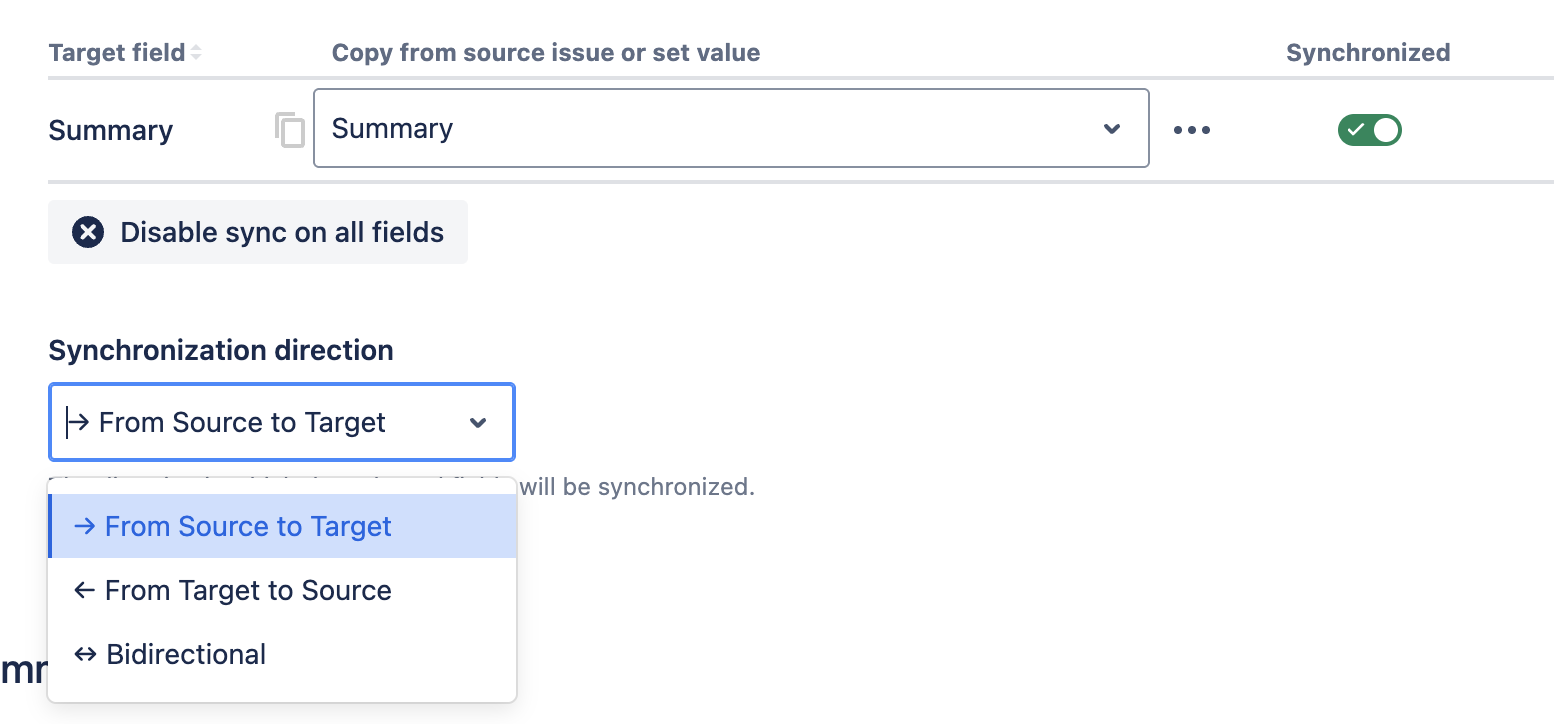
Select which fields to synchronize, such as:
Status
Assignee
Priority
Comments
Due date
Now, every time the source or the Jira linked issue is updated, the changes will reflect based on your configuration.
This ensures that your cloned and linked issues remain aligned, reducing the need for manual updates and improving collaboration across teams.
Result
With this configuration, your teams can:
Automatically create a Jira linked issue by cloning an existing one
Keep both issues synchronized throughout their lifecycle
Choose whether to sync new clones, existing links, or both
Whether you're managing dependencies, escalations, or mirrored tasks across teams, Elements Copy & Sync helps ensure every Jira linked issue is not only connected — but also accurate and up to date.
Want to know more? Read our complete guide on how to create linked issues in Jira