
The need: update linked issue status
When a support ticket is escalated to a development project, it often means that the support ticket won't be closed until the escalated issue has been fixed by the software team. As a support agent, it can be bothersome to have to check the resolution status of an issue in order to update the status of a support ticket. It would be better if this task could be performed automatically.
The solution: add workflow mappings to automatically synchronize statuses between issues
Thanks to Elements Copy & Sync, the status of a ticket can be automatically synchronized with its copy. This way, your issues will always have consistent statuses, no matter if two different teams are working on them separately.
Tutorial
In this example, we will escalate a support ticket with the key SUP-1 into a software development issue with the key DEV-1.
This guide explains how to configure your recipe so that the statuses of these two issues are synchronized.
Prerequisites
A recipe called "Escalate ticket" has been created, activated, and is available on issue SUP-1.
For this example, we will refer to the workflow used by SUP-1 as "Jira Service Management default workflow", and to the workflow used by DEV-1 as "Software Simplified Workflow for Project DEV".
Configuration steps
1 - As a Jira administrator, go to the "Elements Copy & Sync Cloud" administration and click on Recipes in the navigation bar.
2 - In the Recipes listing page, select "Escalate ticket" in the Active Recipes list.
3 - In the Recipe configuration page, click on the Workflows tab.
4 - Use the Source workflow option to select the workflow of the issue that will be copied by the recipe.
In this example, we want to copy support tickets to a development project, so we need to select the workflow used by the support tickets : "Jira Service Management default workflow".
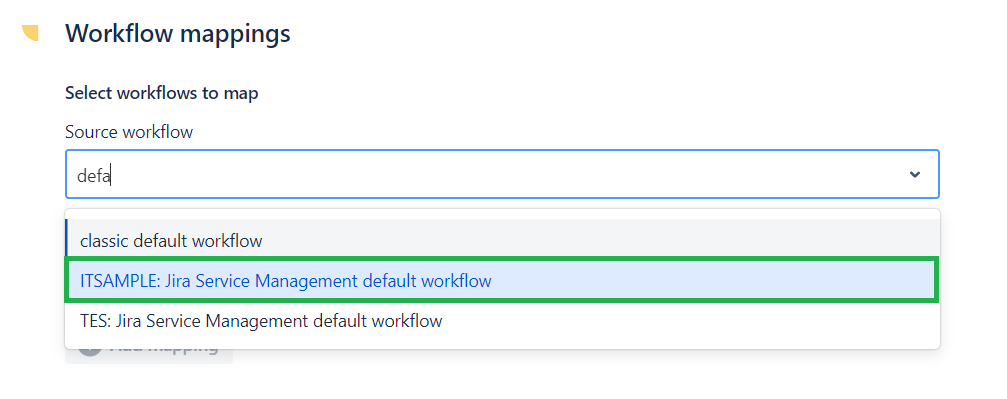
The source workflow has been initialized.
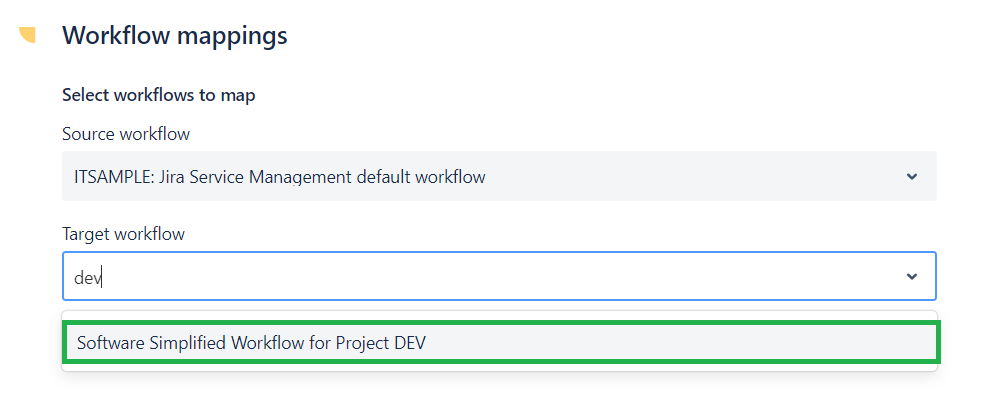
5 - Use the Target issue workflow option to select the workflow of the issue that will be created by the recipe.
In this example, the issues are created in the development project DEV, so we need to select the workflow used by the issues in this project : "Software Simplified Workflow for Project DEV".
6 - Use the Add mapping button to map the two workflows.
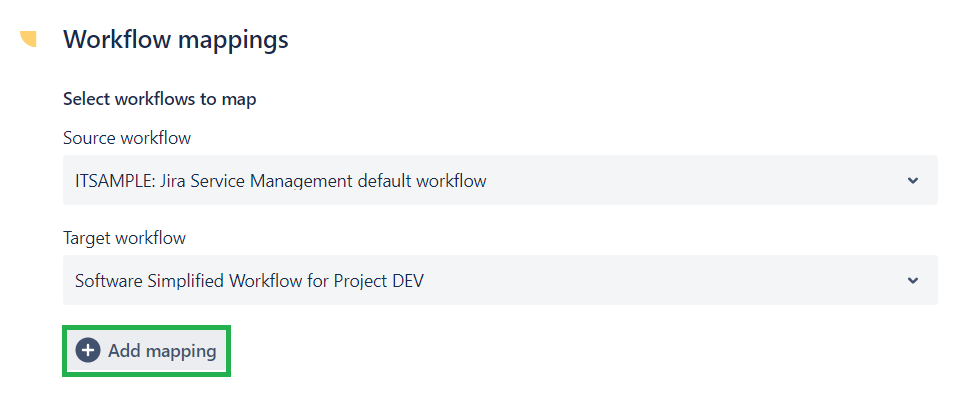
The target workflow has been mapped to the source workflow.
Now we need to specified which status from each workflow we want to map to which status of the other workflow.
6 - Use the workflows mapping table to synchronize the statuses.
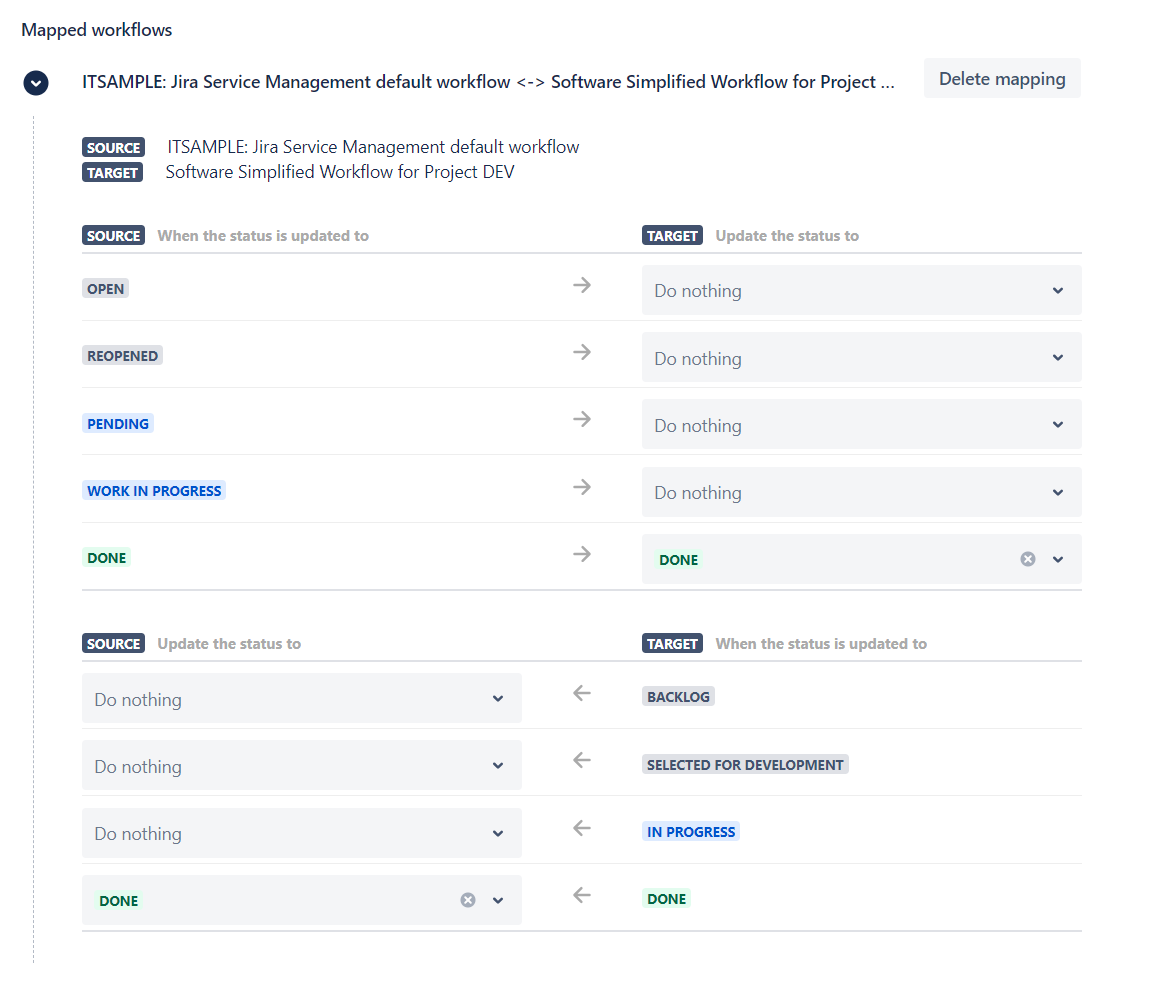
In this example, we want both issues to have consistent status, so you should map the status like this:
-
when the source issue status is updated to "Done", the status of the target issue will be updated to "Done" as well.
-
when the source issue status is updated to "Work in Progress", the status of the target issue will be updated to "In Progress".
-
when the target issue status is updated to "To Do", the status of the source issue will be updated to "Reopened".
7 - Click on the Save button.
Results
With this configuration, your support agents will no longer have to manually update the status of their support ticket when the escalated issue's status changes.
The statuses of the two issues will follow a set of rules that insure that the status of one issue is always consistent with the status of the other.
The Workflow mapping feature only supports company-managed projects. You will not be able to synchronize work item statuses in team-managed projects as their workflows will not be displayed in Source/Target workflows list.
Elements Copy & Sync uses the workflow name in the workflow mapping. Updating the workflow name is not recommended and will break the mapping. In that case, you will need to delete the mapping and map statuses again.
•••
New to Elements Copy & Sync?
If this tutorial has stirred your imagination, why not give it a try?
• Try Elements Copy & Sync for free •