Synchronize linked issues
The need: synchronize linked issues
Thanks to years of practice and a well oiled process, your team has become very efficiently escalating issues from JSM to Jira Software. You don't want to rock the boat, issues are copied from the Support portal when and where they need to be. However, you feel your teams could do even more if data was being synchronized between your Support and Development projects.
The solution: use Synchronization recipes
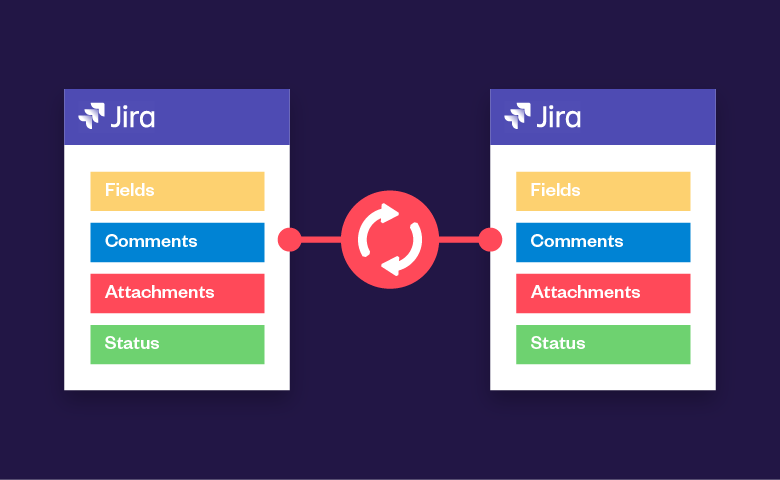
Thanks to Elements Copy & Sync, you can synchronize fields, comments, attachments, and workflow statuses between any linked issues, without changing anything in your current escalation process.
Tutorial
In this example, we will synchronize Bug tickets in a project "AirCleaner" with Task tickets in a project "WaterCleaner" when the link between the issues is "is blocked by".
This guide shows how to configure the recipe so that the attachments of these issues are synchronized.
Prerequisites
Elements Copy & Sync has been installed on your Jira Cloud instance.
Configuration steps
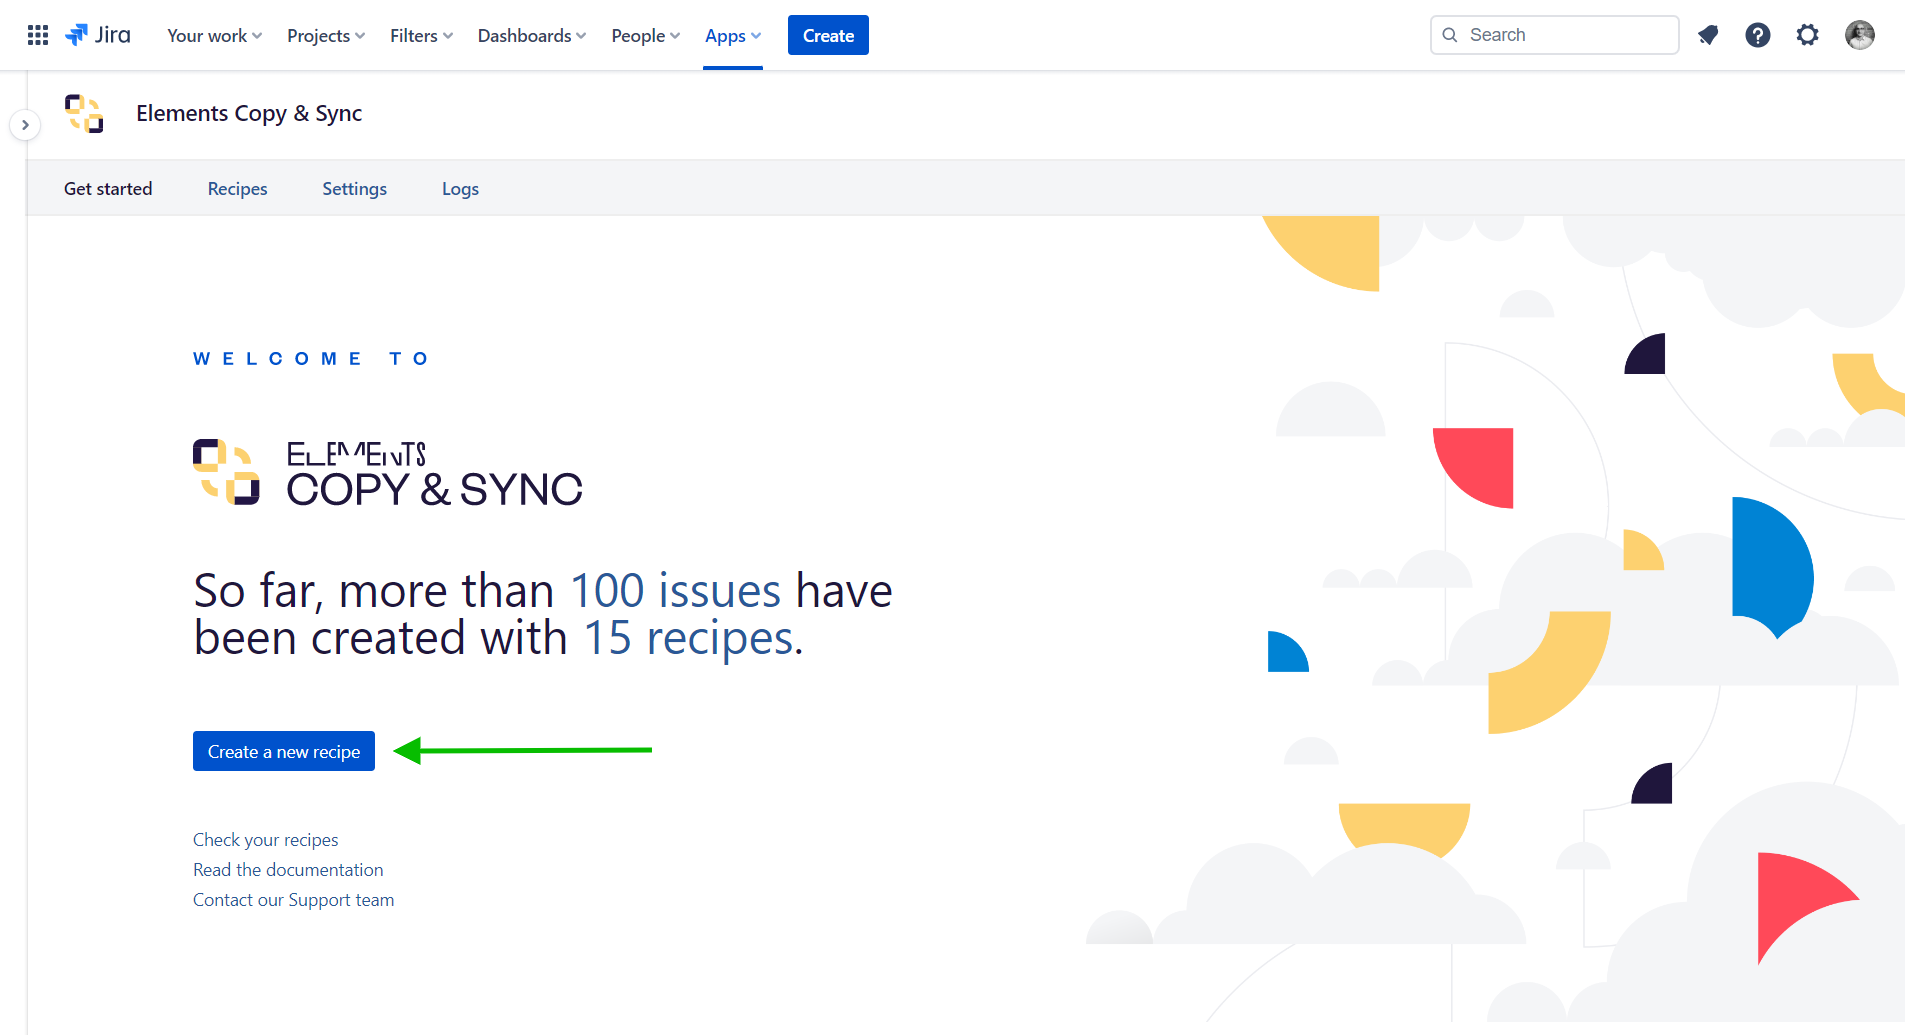
1 - As a Jira administrator, open the "Elements Copy & Sync" administration and click on the "Create a new recipe" button.
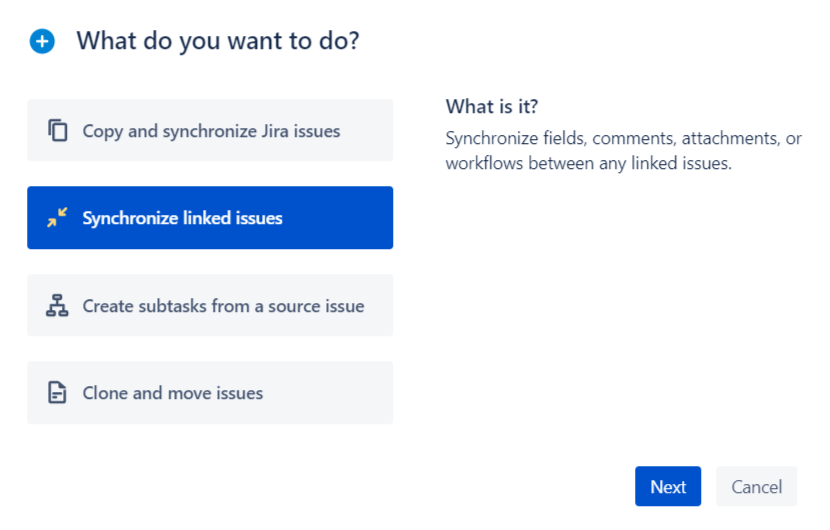
2 - In the dialog, select Synchronize linked issues and click on the "Next" button.
3 - In the next screen, enter a Name and a Description. They will be used to identify your recipe.
In our example, the name of the recipe will be "Synchronize blocking issues".
4 - Click on the "Create" button. The recipe configuration is open.
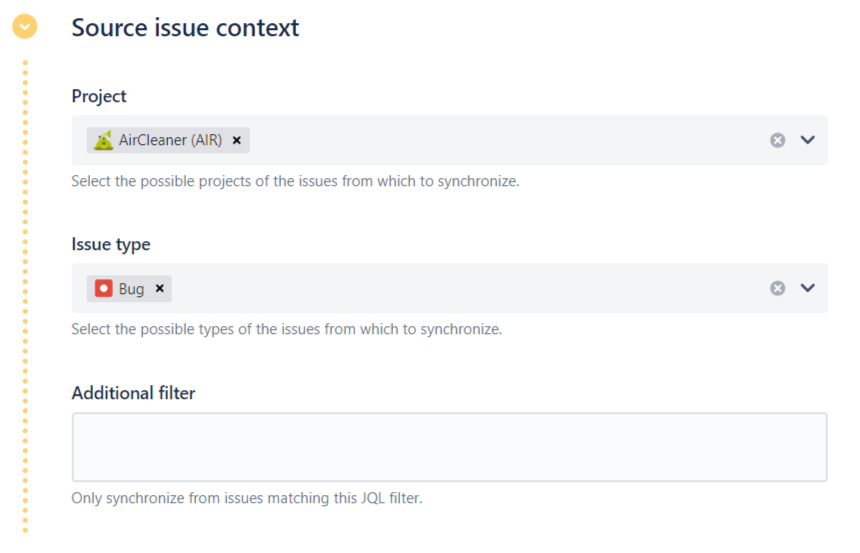
5 - In the Source tab, you can define on which issue this recipe can be used.
In our example, we will only synchronize Bug tickets from the AirCleaner project.
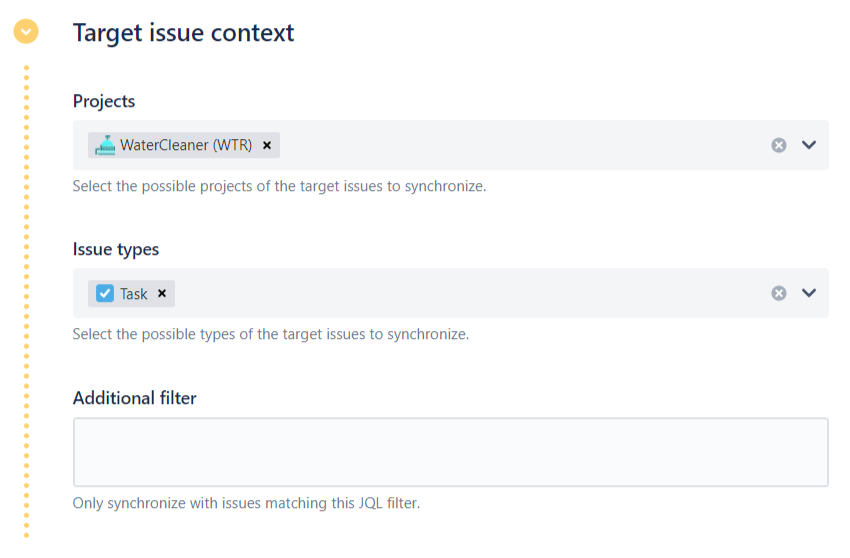
6 - Click on the Target tab at the top of the screen. In this tab, you can define with which target issues to synchronize the source issues.
In our example, we will synchronize them with the Task tickets in the WaterCleaner project.
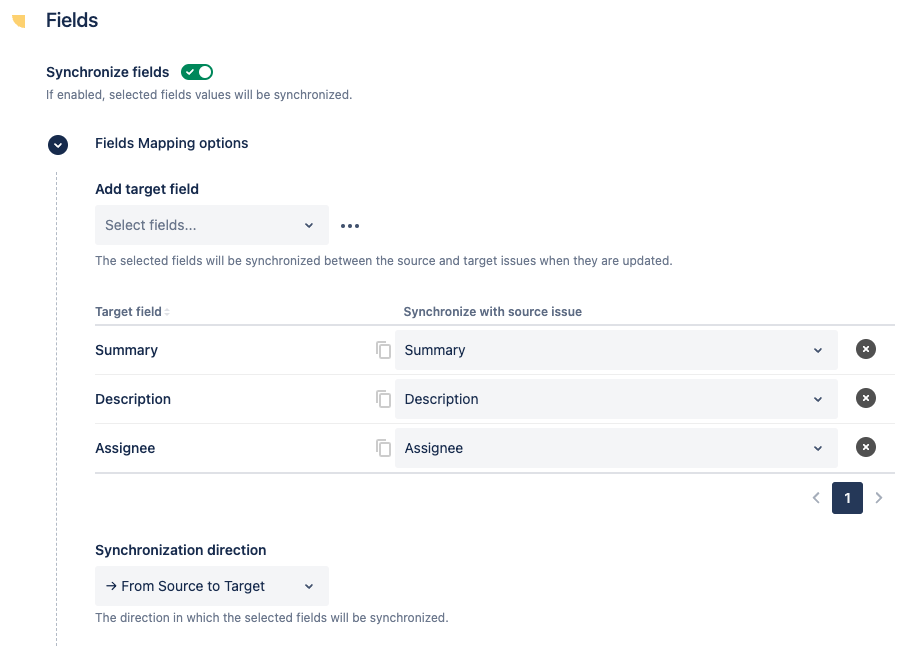
7 - Click on the Content tab at the top of the screen.
Here we can define which fields, comments and attachments to synchronize.
8 - In the "Attachments" section, enable the Synchronize attachments option.
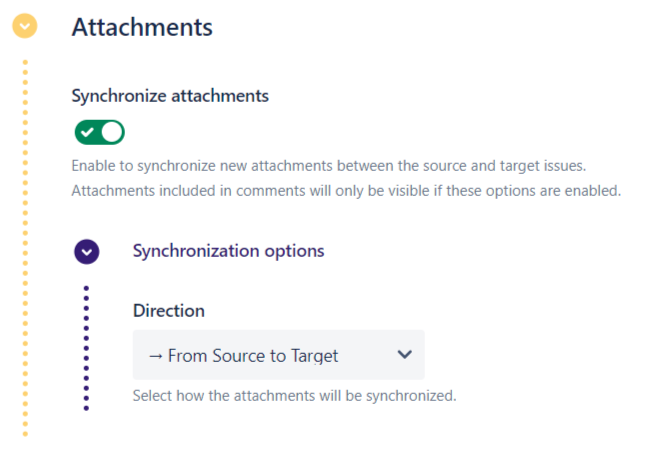
By default the synchronization is only set from the source issue to the target issue, but the synchronization direction can be changed with the Direction option.
9 - Click on the Triggers tab at the top of the screen.
Here we need to define the relationship of the issues that will be synchronized by the recipe.
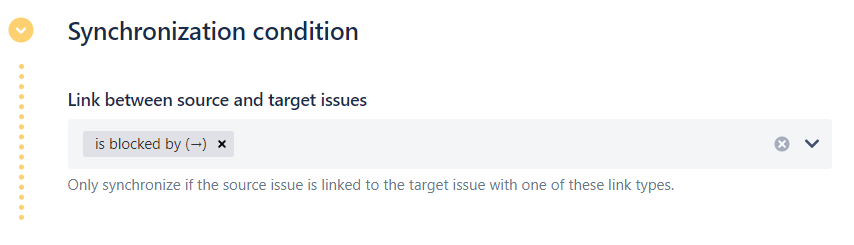
10 - Use the Link between source and target issues option to specify the type of links that must exist between the issues for the synchronization to be possible. At least one type of link is mandatory.
In our example, we will define that the source issues must be blocked by the target issues.
11 - And that's it! Click on the Save button.
12 - Close the recipe.
13 - In the "Drafts" section of the recipe listing, use the Activate option.

The recipe is now available on your Cloud instance and is activated to synchronize any issue that match the recipe configuration.
Result
With the previous steps, you have created and activated a recipe that will synchronize the attachments and fields of the issues that match the recipe configuration.
Starting with the activation of the recipe, when a Bug ticket from the AirCleaner project is linked with a link "is blocked by" with a Task ticket in the WaterCleaner project, these tickets will be synchronized. The means that all new attachments added later on to the source issue will be automatically synchronized to the target issue, as well as the fields you chose to synchronize.
•••
New to Elements Copy & Sync?
If this tutorial has stirred your imagination, why not give it a try?
• Try Elements Copy & Sync for free •