Configure a local Jira instance as a datasource
Why connect to a local Jira instance?
Jira is filled with interesting resources ((projects, users, user groups, permission schemes, organizations, etc.) that can be leveraged to enrich issues and service forms.
You can easily fetch these resources by connecting to the Jira REST API. If you are interested in Jira issues, you can configure JQL queries to pull those out. If you are interested in any other resources (projects, users, permissions, etc.), you can pick from a wide range of endpoints provided by the Jira REST API.
One way to get access to these Jira resources is to configure the Jira REST API as a datasource in Elements Connect.
Configure a local Jira instance as a datasource
Prerequisites:
Have a Jira Cloud instance
Have Elements Connect installed on your instance
Steps
This tutorial shows how to the Jira REST API using basic authentication.
Go to Elements Connect administration by clicking on “Apps”, then Elements Connect:

Click on “Create datasource”:

Select “REST API”:

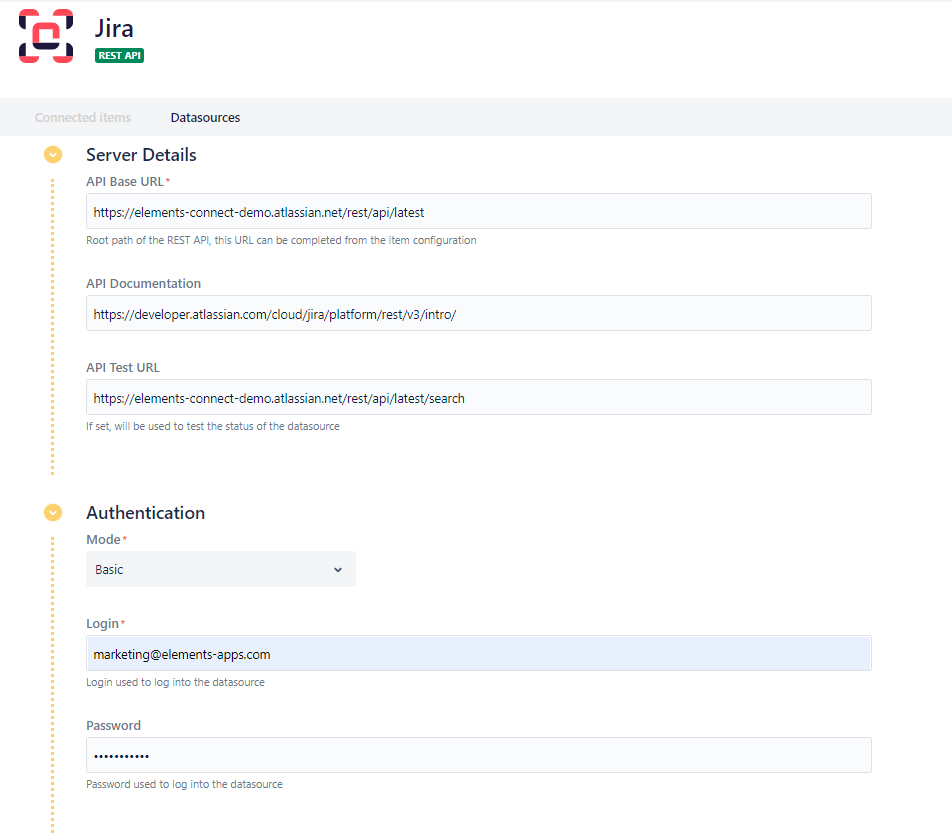
Give your datasource a name, then configure it as follows:

Base URL: https://yoursite.atlassian.net/rest/api/latest
API Documentation: https://developer.atlassian.com/cloud/jira/platform/rest/v3/intro/
API Test URL: https://yoursite.atlassian.net/rest/api/latest/project (this is a working endpoint that will work against the connection tester)
Authentication mode: basic authentication
Login: user login used to connect to the current Jira site
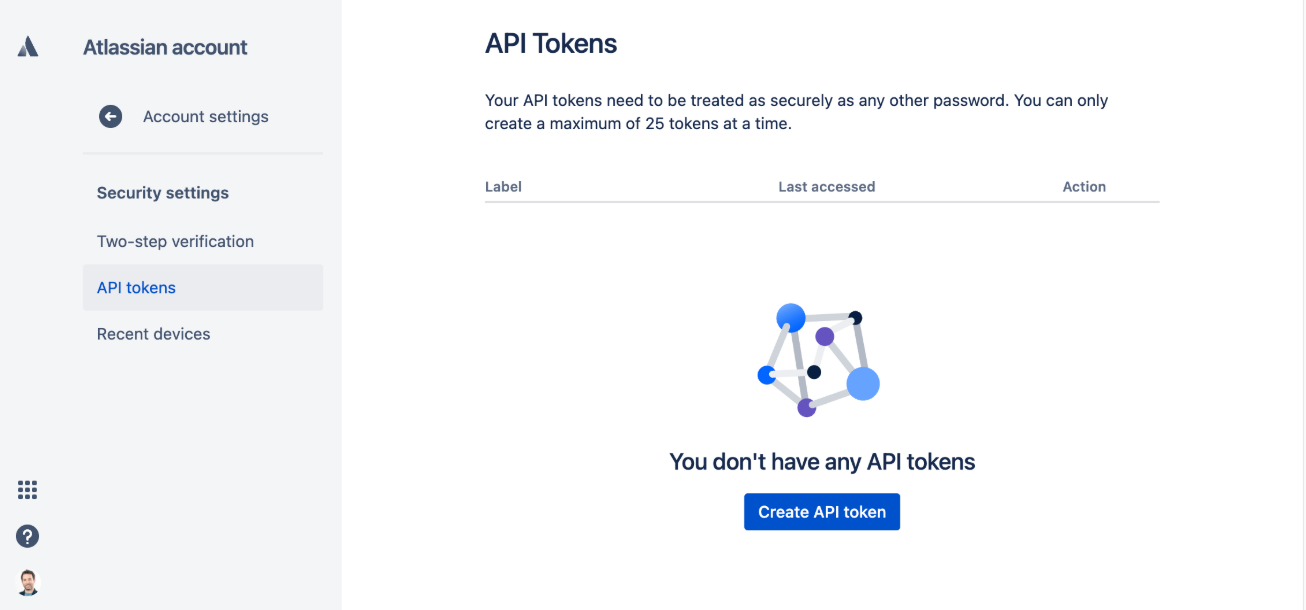
Password: enter a token that can be generated here: https://id.atlassian.com/manage-profile/security/api-tokens
Click “Create API token”:

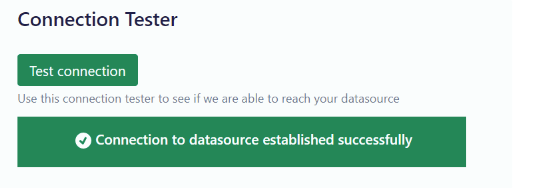
Click the “Test connection” button:

Save your datasource configuration. You’re all set!
What’s Next?
Using a local Jira project as a light-weight asset manager
