
Prerequisites
-
Have a Jira Cloud instance
-
Have Elements Connect installed on your instance
-
Have a Pipedrive account
Configuration steps
-
Pipedrive API configuration
-
Elements Connect configuration
-
Endpoint examples
1. Pipedrive API configuration
-
Go to the Pipedrive Developer Portal:
-
Register a new “Private” app:
-
Name: Choose an app name (e.g., "Elements Connect Cloud").
-
Callback URL:
https://ecc.elements-apps.com/token/authorization-code/access-token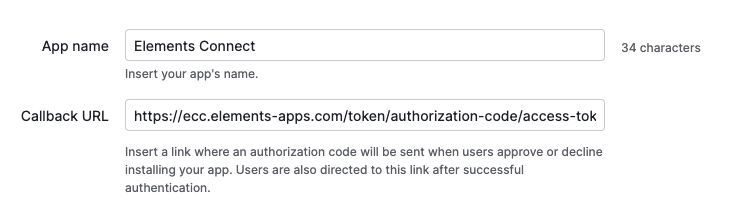
-
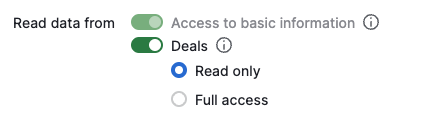
Configure necessary scopes depending on your needs (e.g., read access to Deals and Contacts).
-
-
Once created, copy the following values:
-
Client ID
-
Client Secret
-

2. Elements Connect configuration
Datasource Creation
-
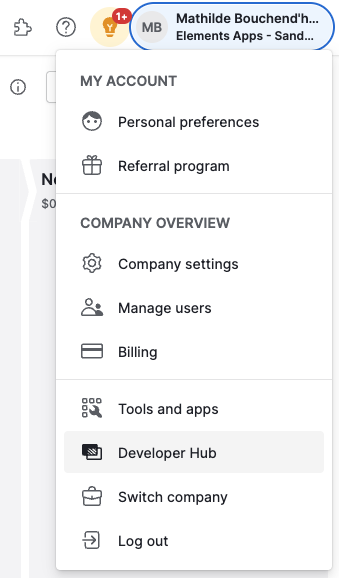
Go to the Elements Connect administration menu
-
Go to the Datasources tab
-
Create a new REST API datasource and configure it as follows:
-
API Base URL:
https://api.pipedrive.com/ -
API Documentation:
https://developers.pipedrive.com/docs/api/v1 -
API Test URL:
https://api.pipedrive.com/v1/deals
-
This URL must refer to an allowed endpoint and therefore be included in a previously selected scope in Pipedrive. In this example, the scope was “Deals” so this “Test URL” can be used.
Authentication Configuration
-
Under Authentication, select OAuth 2.0 - Authorization Code.
-
Auth URL
https://oauth.pipedrive.com/oauth/authorize -
Token URL
https://oauth.pipedrive.com/oauth/token -
Client ID: Paste the Client ID obtained from Pipedrive.
-
Client Secret: Paste the Client Secret.
-
Click on “Get access token” and validate permission requests:

-
Then, click "Save" and "Test Connection"

3. Endpoint examples
Once your datasource is ready, you can create connected fields and retrieve different types of information.
All available endpoints are listed in this documentation: Pipedrive API Reference
-
Fetch deals:
https://api.pipedrive.com/v1/deals -
Fetch contacts:
https://api.pipedrive.com/v1/persons -
Fetch Organizations:
https://api.pipedrive.com/v1/organizations