
Purpose
Azure Active Directory (Azure AD) is a Microsoft’s enterprise cloud-based identity and access management service which is massively used in enterprise solutions but can be complicated to implement.
This documentation shows how to configure an OAuth2 connection with Elements Connect for Jira Cloud using the "Client credentials" grant type.
Connecting to an Azure Active Directory is useful to display more information about the reporter of a request to support agents for example. The office location of a reporter can be fetched and used to affect the ticket to the relevant support group or to automatically triage request to location-based queues in a Jira Service Management project.
Prerequisites
-
Have a Jira Cloud instance
-
Have Elements Connect installed on your instance
-
Have an Azure Active Directory up and running
Configuration steps
-
Azure Active Directory configuration
-
Elements Connect configuration
Azure Active Directory configuration
From the "Azure Active Directory configuration", as a Microsoft Azure admin:
-
Create a new "App registration" and give it a meaningful name (i.e.: "Elements Connect" or "Jira"):
.png?cb=e5b2f188ccc622a9858cab52c1ecfa89)
-
Click "Register"
A client ID was automatically generated for your App:
.png?cb=7e63ec741a21cdfa6211ac85540e24a1)
The next step is to generate a client secret.
To do that, go to "Certificates & secrets"
-
Click "New client secret"
.png?cb=1efe95a92c6fa82144b70629b715e8c3)
-
Provide your secret with a name and select the expiry duration of your choice:
.png?cb=c313fcd99fa2d2938b6ec7763d08e6e4)
Remember to save your secret somewhere safe, as you won't be able to access it anymore after that. You may also generate new ones.
Elements Connect configuration
-
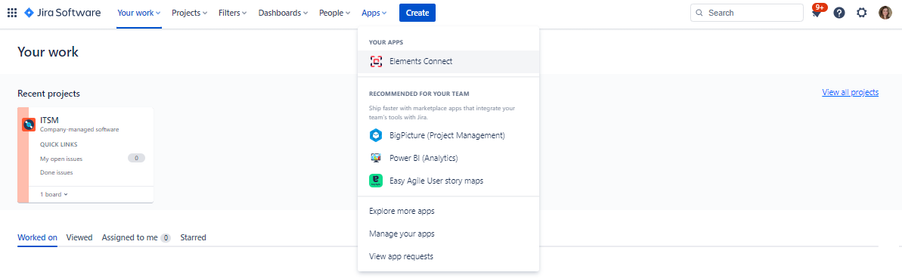
Go to Elements Connect administration by clicking on “Apps”, then Elements Connect
-
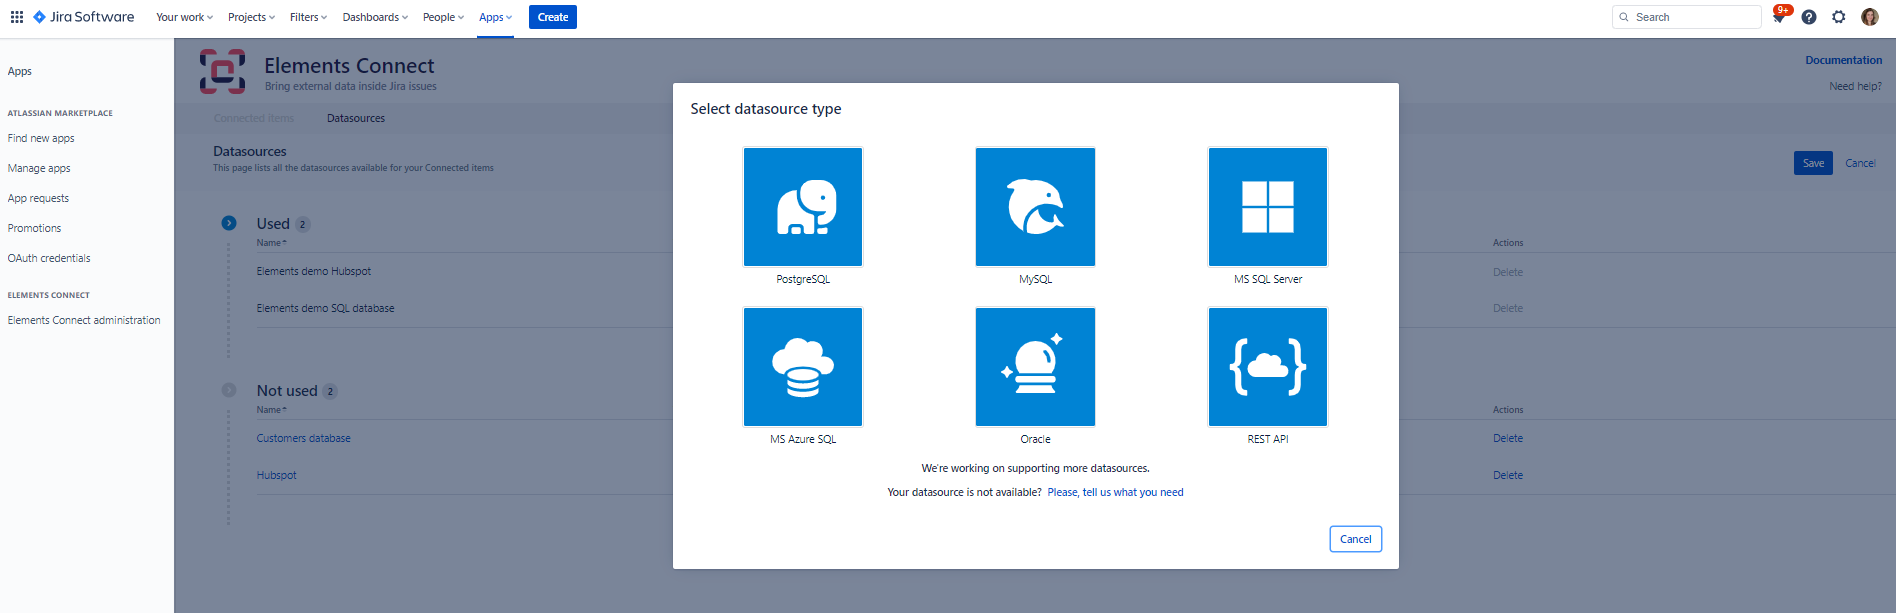
Click on “Create datasource”

-
Select “REST API”
-
Give your datasource a name, then configure it as follows:
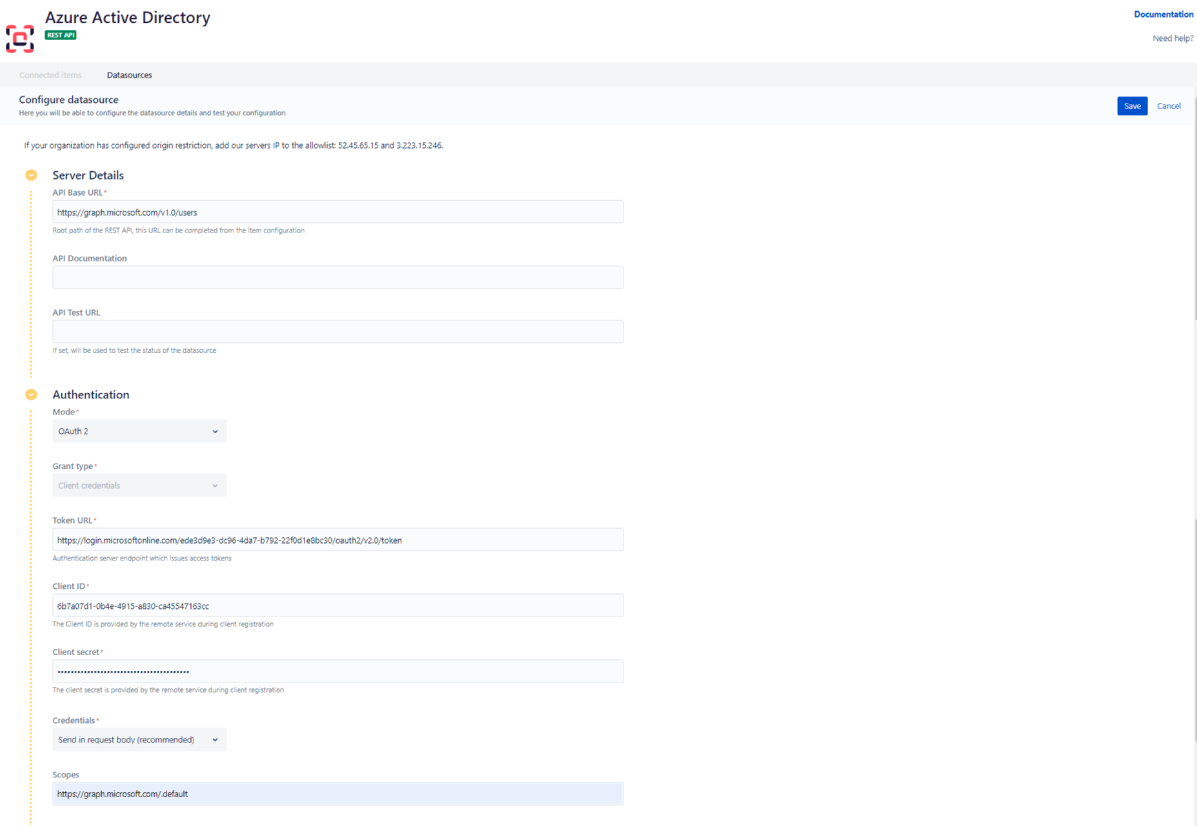
Base URL:
https://graph.microsoft.com/v1.0
API Documentation: https://learn.microsoft.com/en-us/rest/api/azure/
API Test URL:
https://graph.microsoft.com/v1.0/users
(this is a working endpoint that will work against the connection tester)
Authentication mode: OAuth 2
Token URL: go to your Azure AD app > Overview > Endpoints > URL under "OAuth 2.0 token endpoint (v2)"
.png?cb=d4c051edc7af6565727918ad687a7ff7)
Client ID: go to your Azure AD app > Overview > Client ID
.png?cb=8d6309566d5bf452cc18218f7813d1db)
Client secret: use the secret you generated when registering your app
Client authentication: choose where you want to send the client ID and client secret (header or body) - for Azure AD, we recommend sending credentials to the body
Scopes: https://graph.microsoft.com/.default (default scope will retrieve scope defined for the application on Azure AD), or any other scopes defined when registering your app.
Recommended scopes for integration with Elements Connect: https://graph.microsoft.com/.User.read.All. Make sure authorization is of type ‘Application’:

-
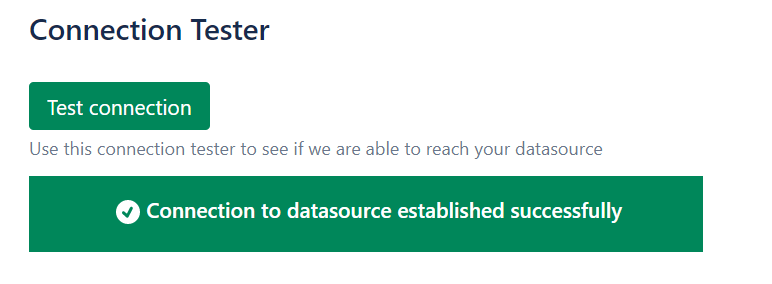
Last step, click the “Test connection” button!
-
Save your datasource configuration. You’re all set!