Configure a custom demo datasource for Elements Connect
The goal
To try out the app Elements Connect quickly with a custom datasource
To present a demo with personalized data, fetched from a homemade datasource to populate Jira custom fields using the app Elements Connect
Prerequisites
Create an account on Elephant SQL (free plan limited to 20Mb)
Have TablePlus installed on your computer (free version)
Have Elements Connect installed on your Jira instance
Steps
A/ Create your custom datasource
1/ Fill a CSV file with your demo data
Use a spreadsheet tool to fill a table with your demo data and export it in CSV.
![]() The file must be 20Mb max (it is the limit for using the ElephantSQL free plan).
The file must be 20Mb max (it is the limit for using the ElephantSQL free plan).
![]() You don’t have or don't need your own demo data? Use the file we created for you > Download the sample CSV file (US Hospitals database)
You don’t have or don't need your own demo data? Use the file we created for you > Download the sample CSV file (US Hospitals database)
2/ Create a database on ElephantSQL
From your account on Elephant SQL, create a new instance:
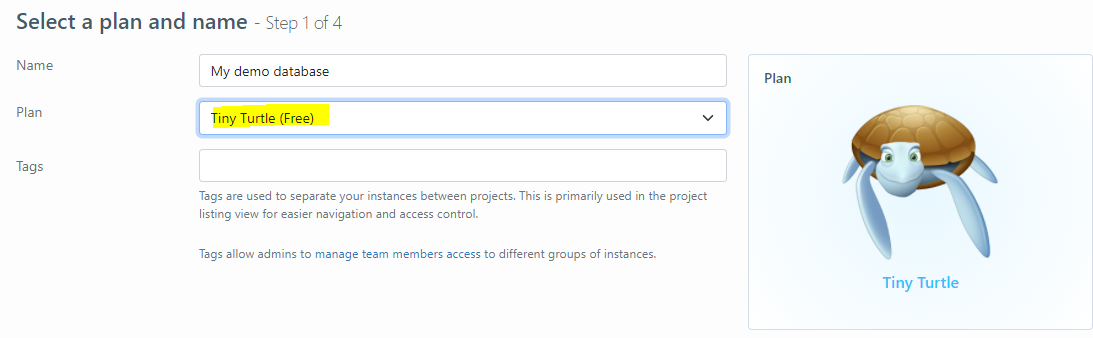
Select the free Turtle plan and give a name to your instance.
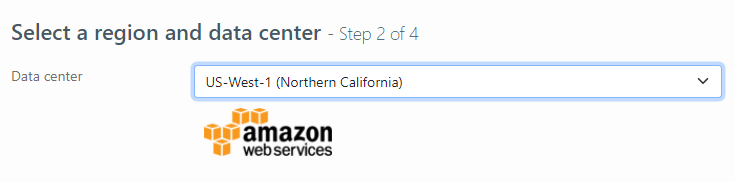
Then choose a location (e.g. one on the US East Coast) and confirm the creation of the instance.
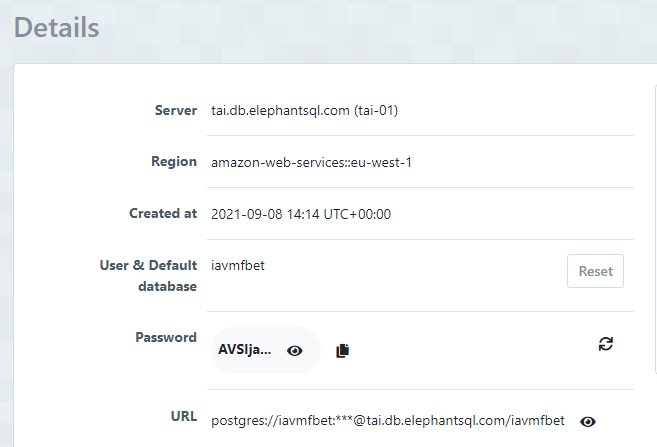
Now your new instance will appear in all your instance list. Click on its name to see its details.
3/ Use TablePlus to populate your database with the data from the CSV file
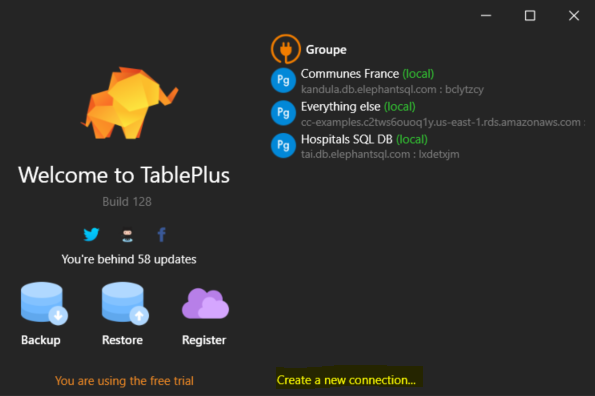
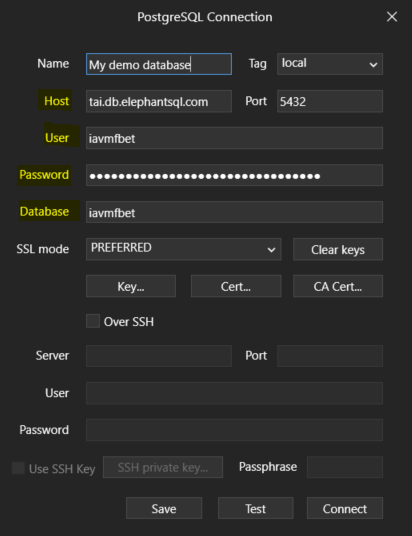
Open Table Plus and create a new connection to your PostgreSQL database created from Elephant SQL
Configure the connection by filling the information provided in the instance details on Elephant SQL, and connect to the database.
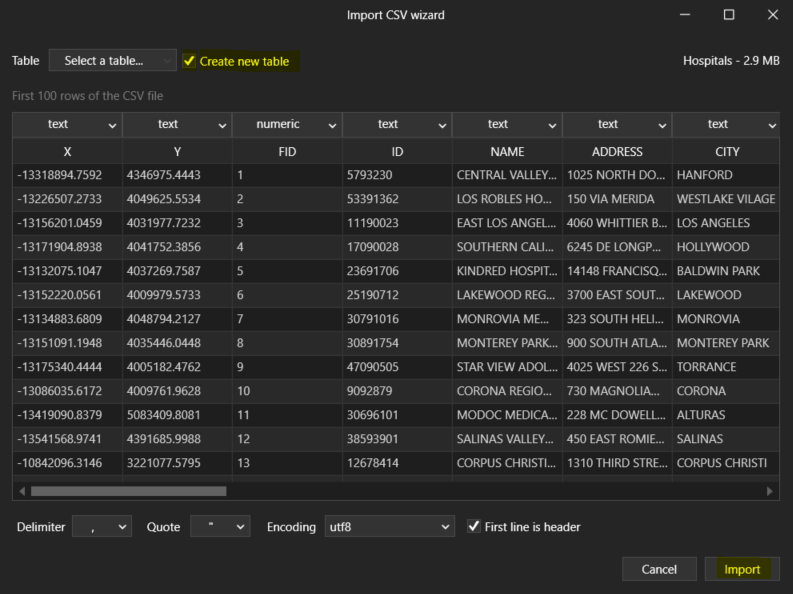
Then, from Table Plus, click right in the left sidebar: "Import" > "From CSV" and select your CSV file.
Check the "Create a new table" box, adapt the column types if needed, and click on "Import".
You now have a database full of custom data, ready to be used with Elements Connect on Jira → Step B/
B/ Connect to your datasource on Elements Connect and fetch data from Jira
Follow this guide: Configure a Database datasource - Elements Connect for Jira Server/Data Center
If you need any additional assistance, feel free to reach out to our support team.