With Elements Spreadsheet for Confluence, you can import and export Excel files as much as needed in a few clicks. You'll find below the tutorial describing the steps to follow.
Create a Spreadsheet document from an Excel file
Good to know:
Elements Spreadsheet supports Excel document with .xls and .xlsx extensions
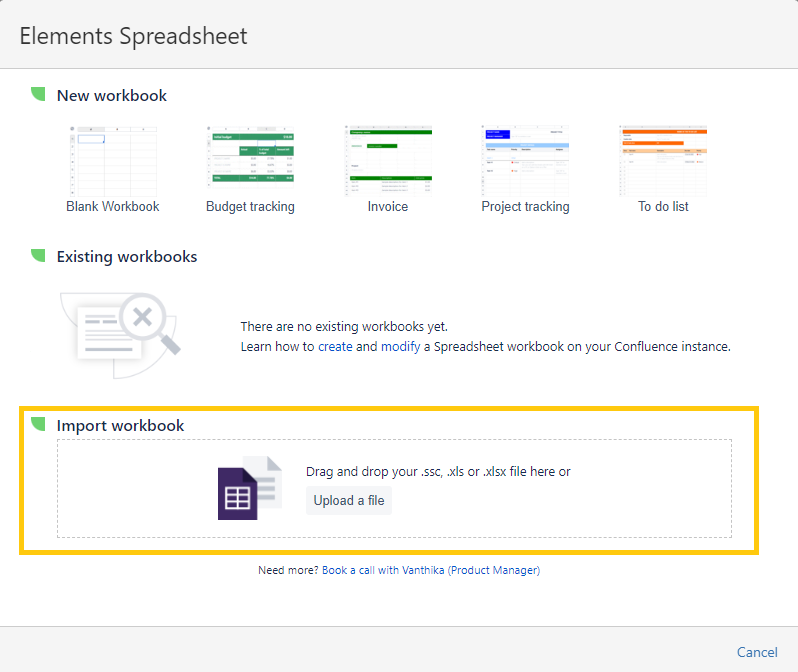
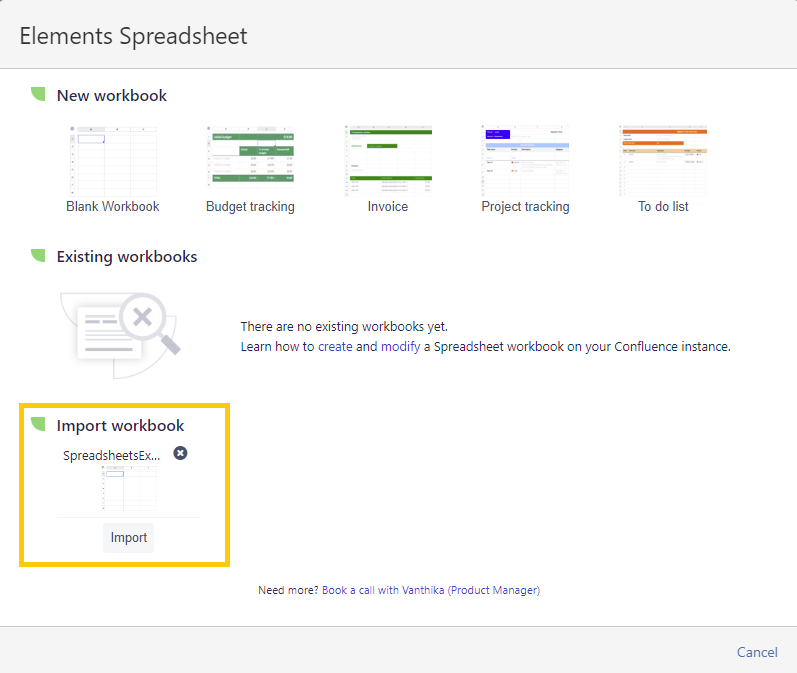
Cloud: There are both possibilities to either upload a file by clicking on the button, or drag and drop the desired file in the dedicated space. Then, click on "Import" to import the file to edit it.
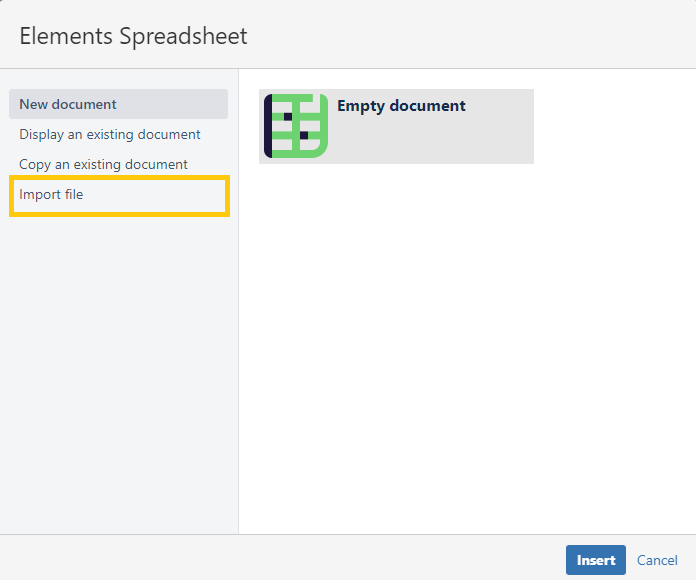
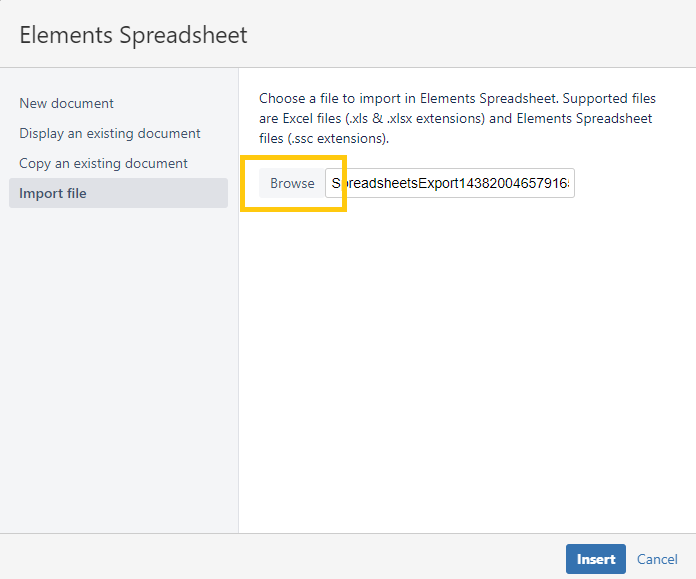
On-premise: From the macro creation, select "Import file". Click on the "Browse" button to select your Excel document on your computer. Finally, click on the "Ok" button to start importing your document. Once the import is finished, your document is ready to be edited in the Spreadsheet editor.
To be available on your Confluence page, you have to save your imported document in the editor (even if you don't edit it)
Export a Spreadsheet document to Excel
Your document can be exported from two places.
From the Spreadsheet editor
Simply click on the export button in the toolbar :
From your Confluence page
If your document is displayed as a "table" and the buttons are available (see the display selection), you can export your document using the "Export" button :