How to create and use custom templates?
This feature is only available with the Confluence Cloud version of Elements Spreadsheet. For more information about the differences between on-premise and cloud, please follow this link.
Custom templates, managed at a space level, allow specific users to create and manage custom Spreadsheet templates that can then be used by anyone creating a new Spreadsheet workbook on a page within the space. Simplify the sharing of Spreadsheets that include the formulas and formatting needed for your processes, and reduce the time needed to go from blank to published page. To create and manage custom templates, click here:
In the Custom templates configuration, you can fill in the permission "Edit" requirements to create, edit, add tags, and delete a custom template. If you do not have the necessary permissions, please contact the Confluence space admin.
Create a custom template
To create a custom template, follow these steps:
- Click on the button new custom template, the macro creation wizard displays two sections:
- the "New workbook" section to create a custom template from a blank workbook, a preconfigured template, or an existing custom template;
- the "Import workbook" section to create a custom template from a .SSC file or an Excel file (.XLS, .XLSX).
- Edit as desired and save the changes.
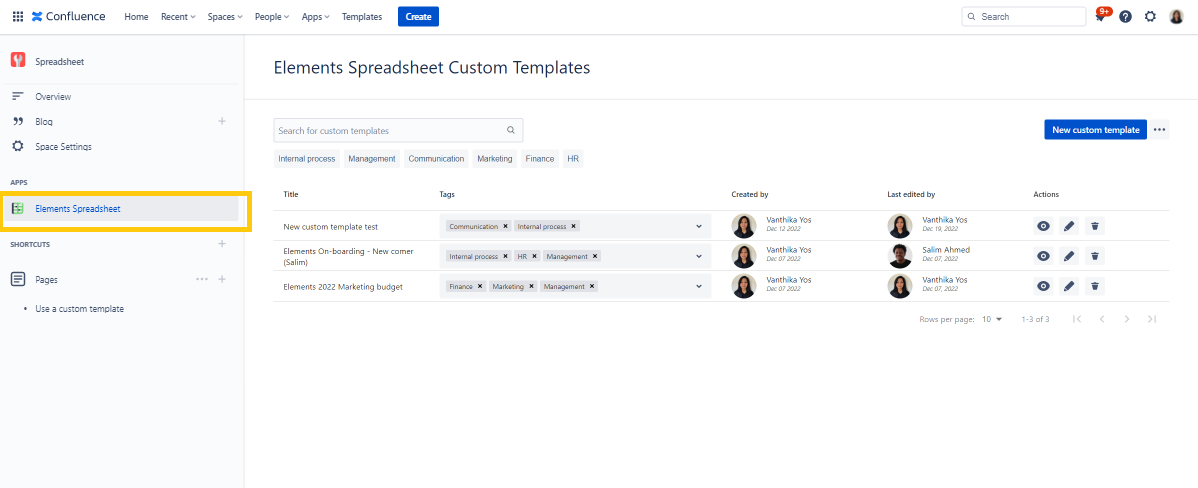
- Close the full-screen edition macro which leads you to the main configuration page where the new custom template is now listed. Through the "Created by" column, the creator and the date of creation are displayed.
Manage the custom templates
Add tags to a custom template

To make it easier to organize and find custom templates, you can add tags. When adding a Spreadsheet to a Confluence page, the tags can be used to filter the custom templates visible in the macro creation wizard. To add a tag to a custom template, you can simply:
- Click on the dropdown button of the "Tags" column which opens the list of tags available.
- Select tags; you are able to select multiple ones
- You can easily remove them by:
- Click on the X mark of the tag in question from the table view
- Uncheck the tag in the dropdown list of tags
Edit a custom template
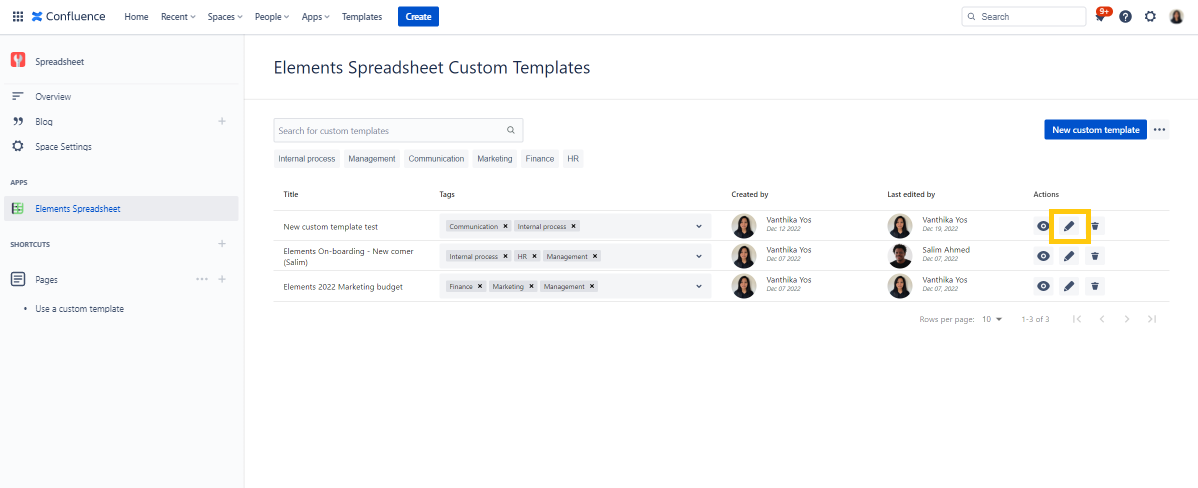
You can edit an existing custom template at any time. To do so, from the table of custom templates:
- Click on the pencil icon for the custom template you want to modify;
- Edit the custom template as desired and save it.
- Close the full-screen edition macro which returns you to the main configuration page. In the "Updated by" column, the last user who has updated the document and the latest date of the update are displayed.
Please keep in mind that the Spreadsheet created before the changes will be updated.
Delete a custom template

You can delete an existing custom template at any time. To do so, from the table of custom templates:
- Click on the trash icon for the custom template you want to remove;
- A confirmation message will appear, click on "Yes" to permanently delete the custom template.
View a custom template
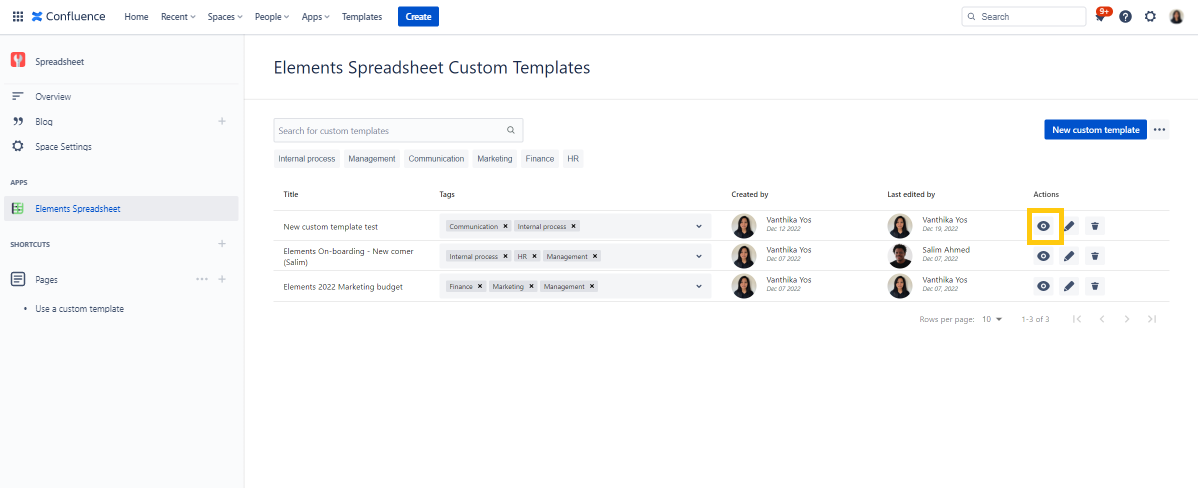
To view a custom template, you need to have at least the "Read" right access. Click on the eye icon to open the custom template in the full-screen edition macro in a read-only mode.
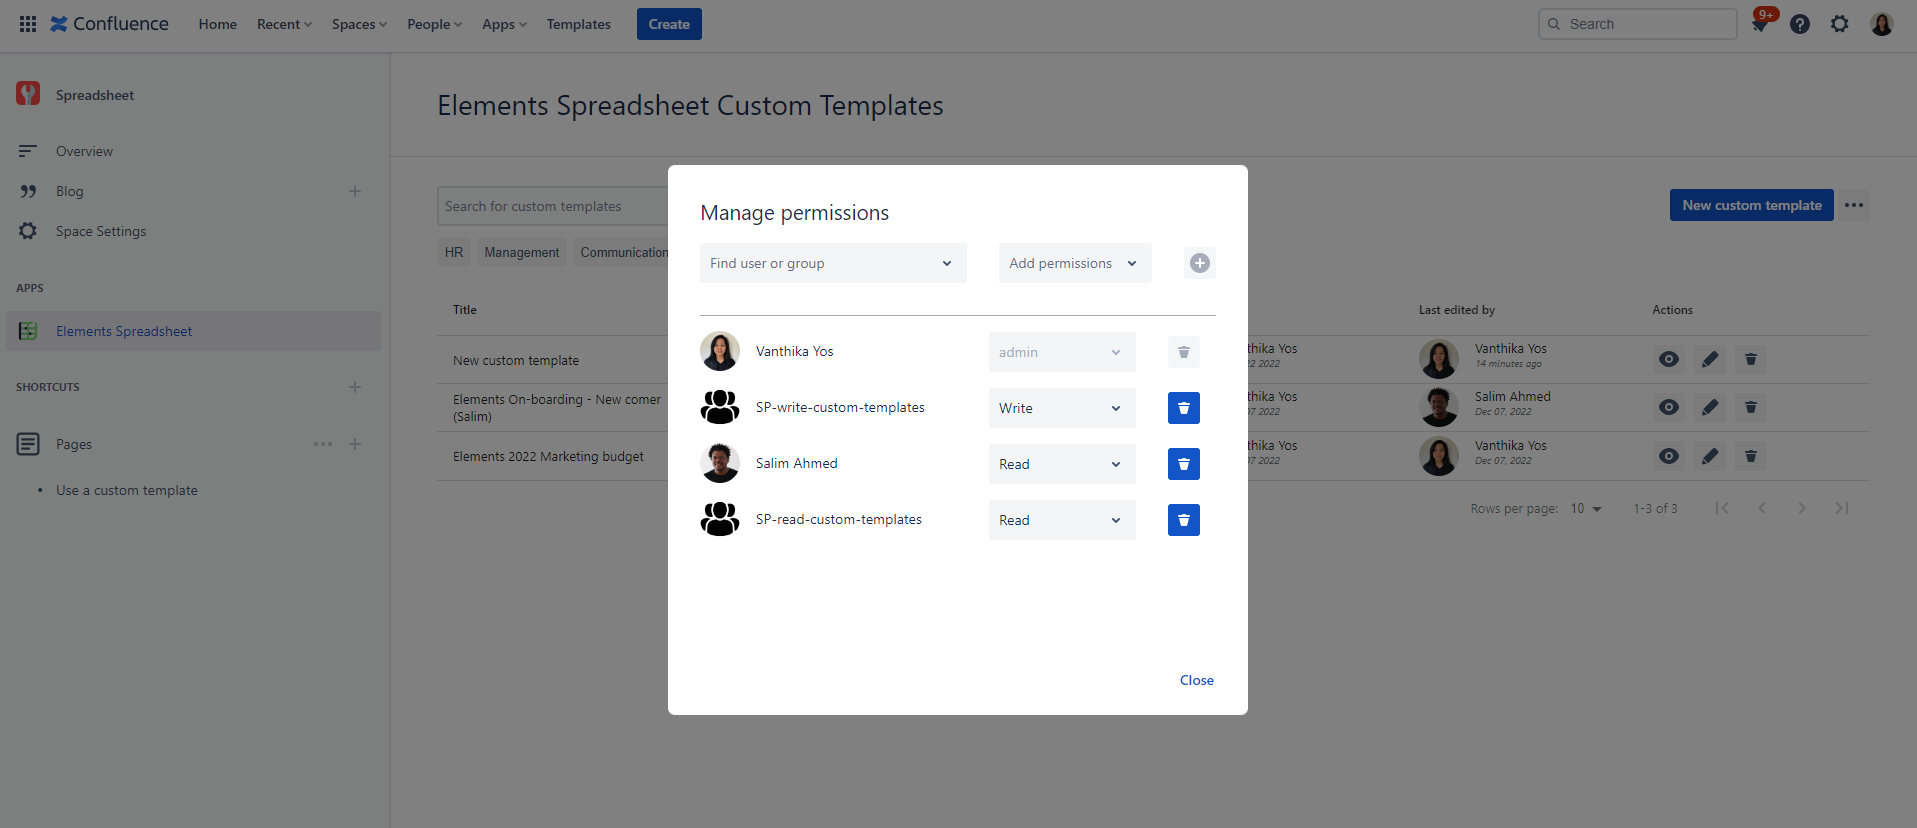
Manage permissions
To control who can create, edit, and delete custom templates, space admins can configure permissions. To manage permissions, click on the setting icon located next to the button "New custom template". It opens a list of options. Then, select the "Manage permissions" option. Search:
- the user from amongst the users in the Confluence instance
- the right to "Read" only or to "Edit" which allows to create, edit, add tags and delete a custom template.
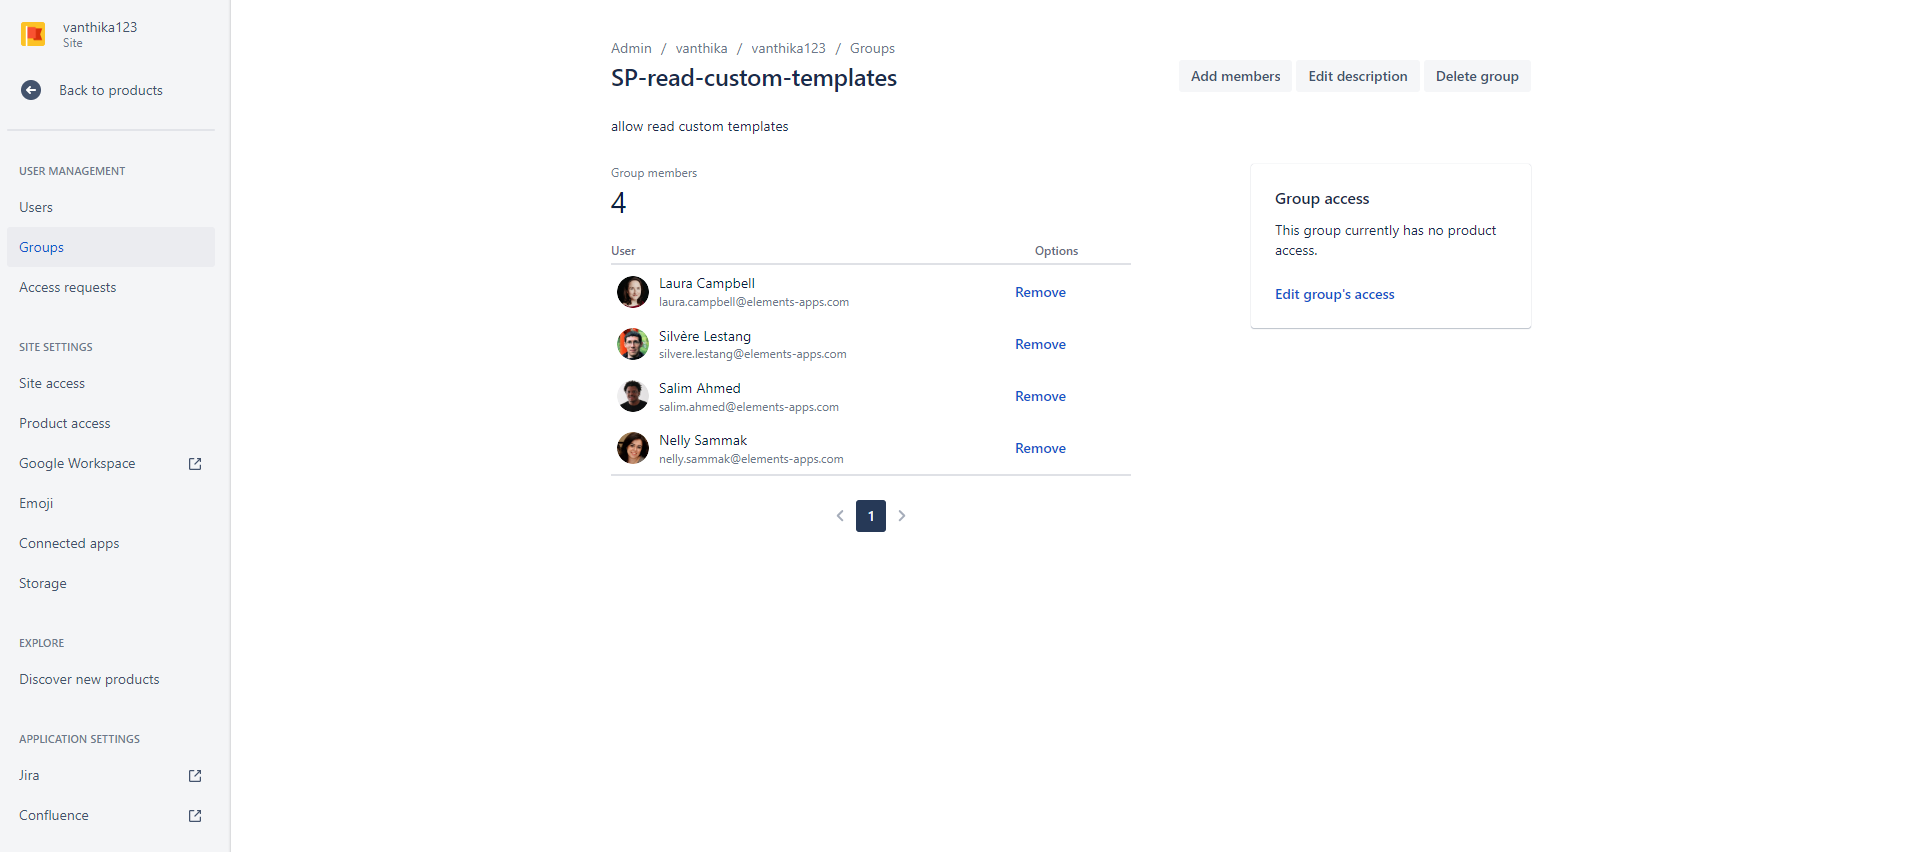
To ease access management, you can use the group permissions of Confluence. To do so, go to the "People" space and click on "Manage users". Then you can select Groups:
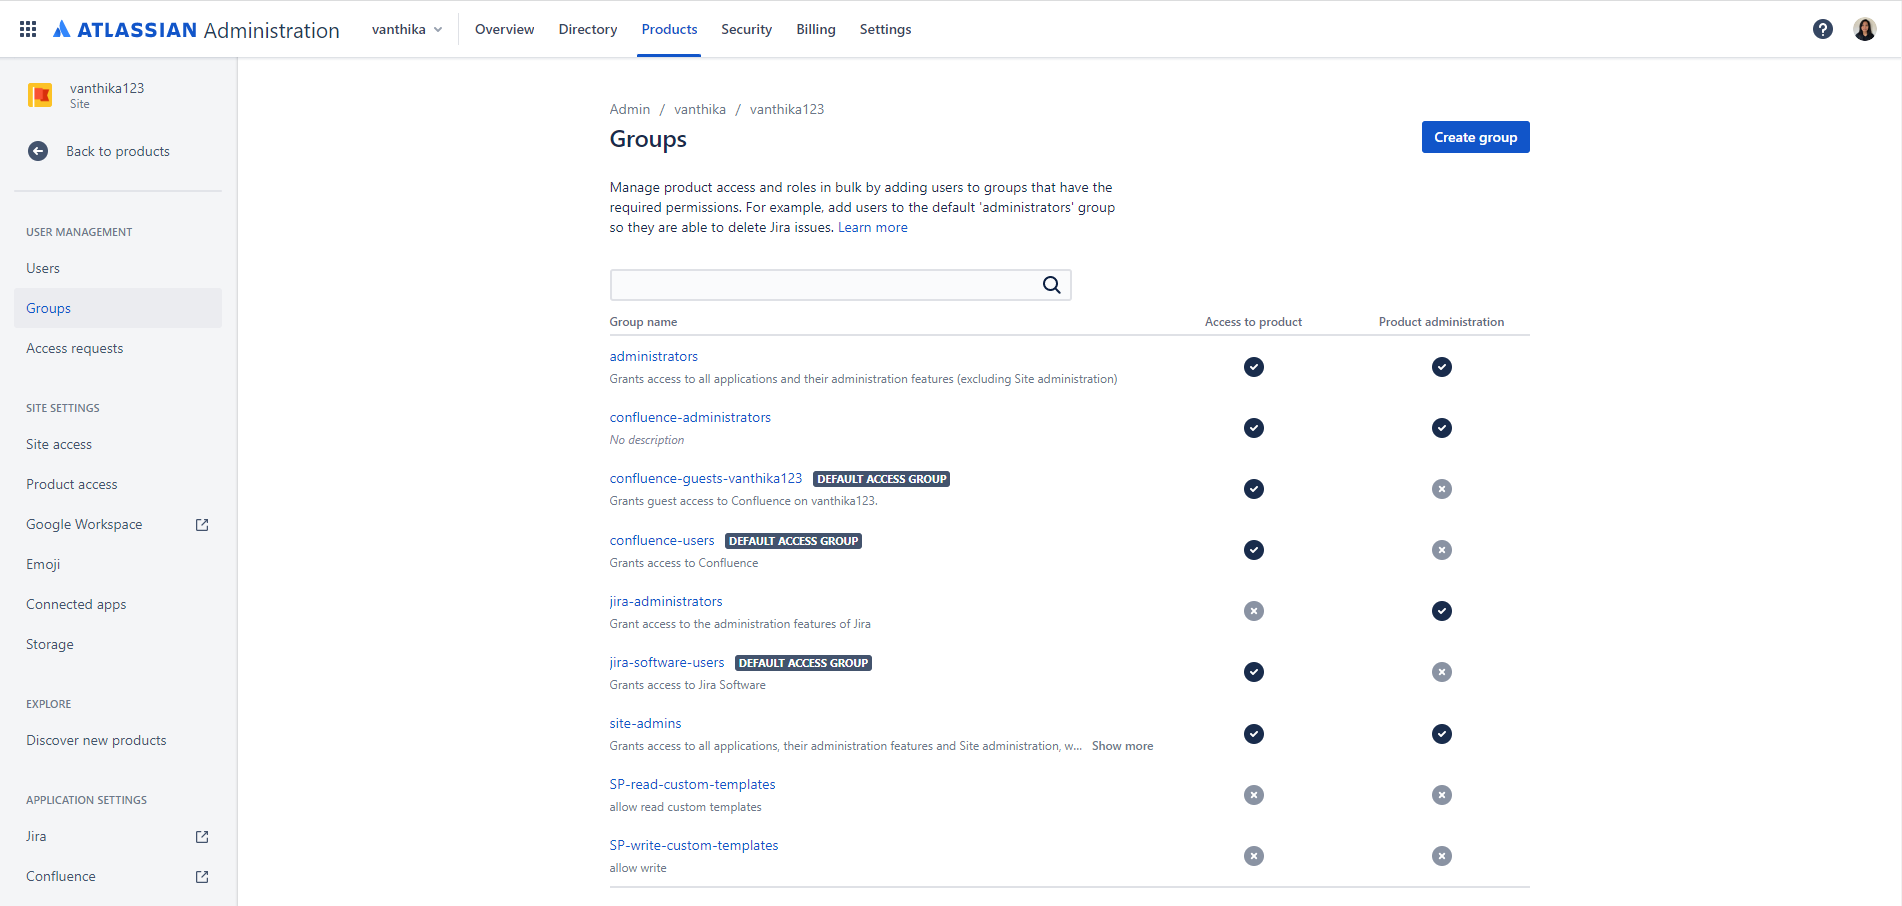
To create a group, click on "Create group" which opens a modal where you should fill the group's name and an optional description. At this stage you can then add any users as desired. This group will be automatically part of users research on the Elements Spreadsheet permissions modal.