In this section, you'll learn how to:
-
create your first Connect field
-
connect your field to a data source
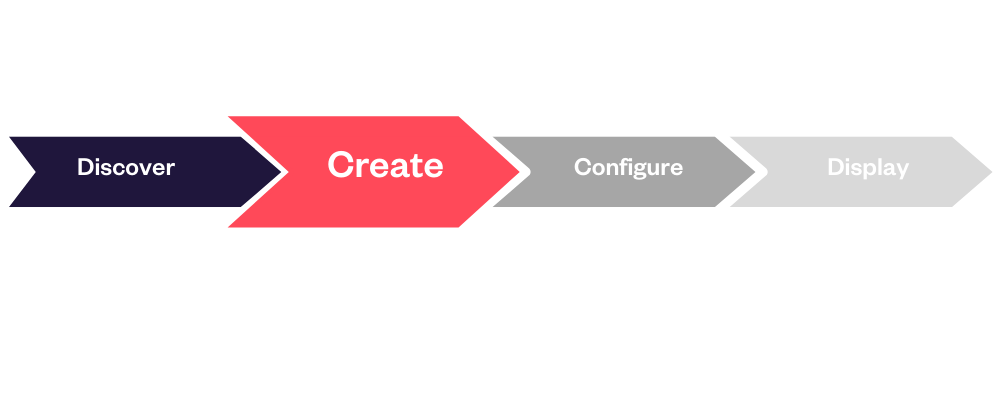
3/ Create an Elements Connect field connected to a data source (2 min)
1/ Create an Elements Connect field step-by-step
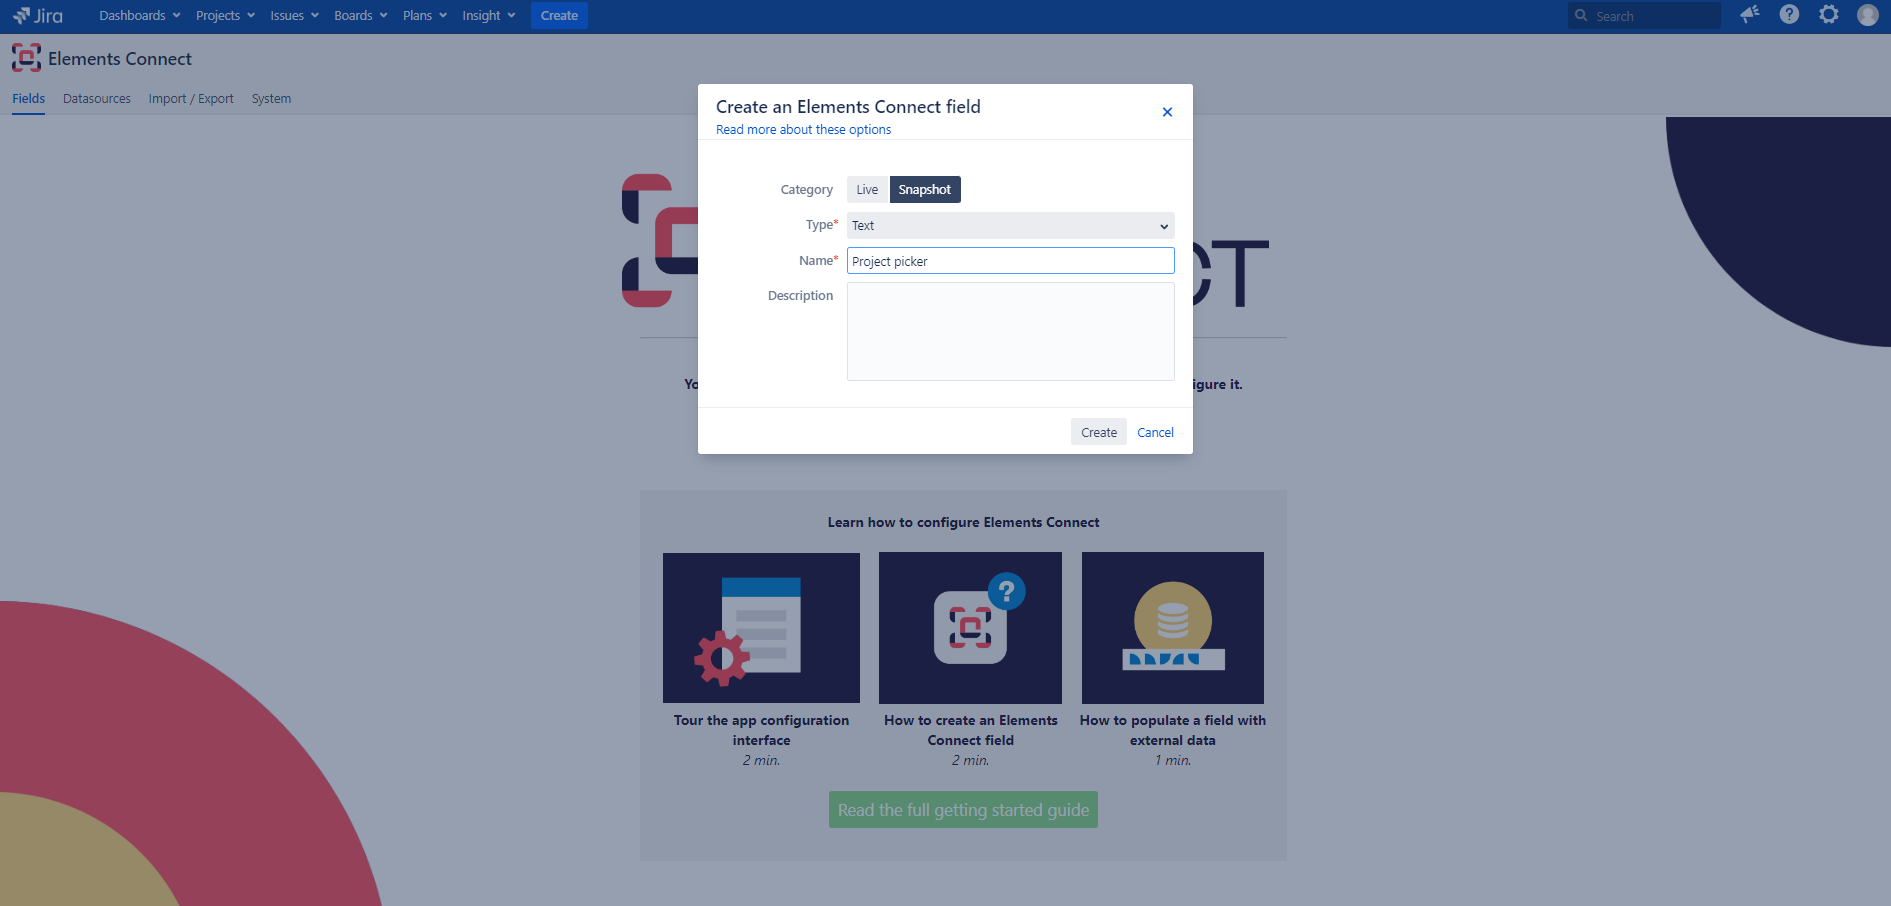
Let's create a Jira project picker listing all the projects available in your local Jira instance:
-
Click on the button Create an Elements Connect field
-
Select the category 'Snapshot' (learn more about the difference between Snapshot & Live)
-
Select the type 'Text'
-
Name the field "Project Picker"
-
Click on Create. Your field is now created and added in the Fields tab.
2/ Connect the Elements Connect field to the data source step-by-step
-
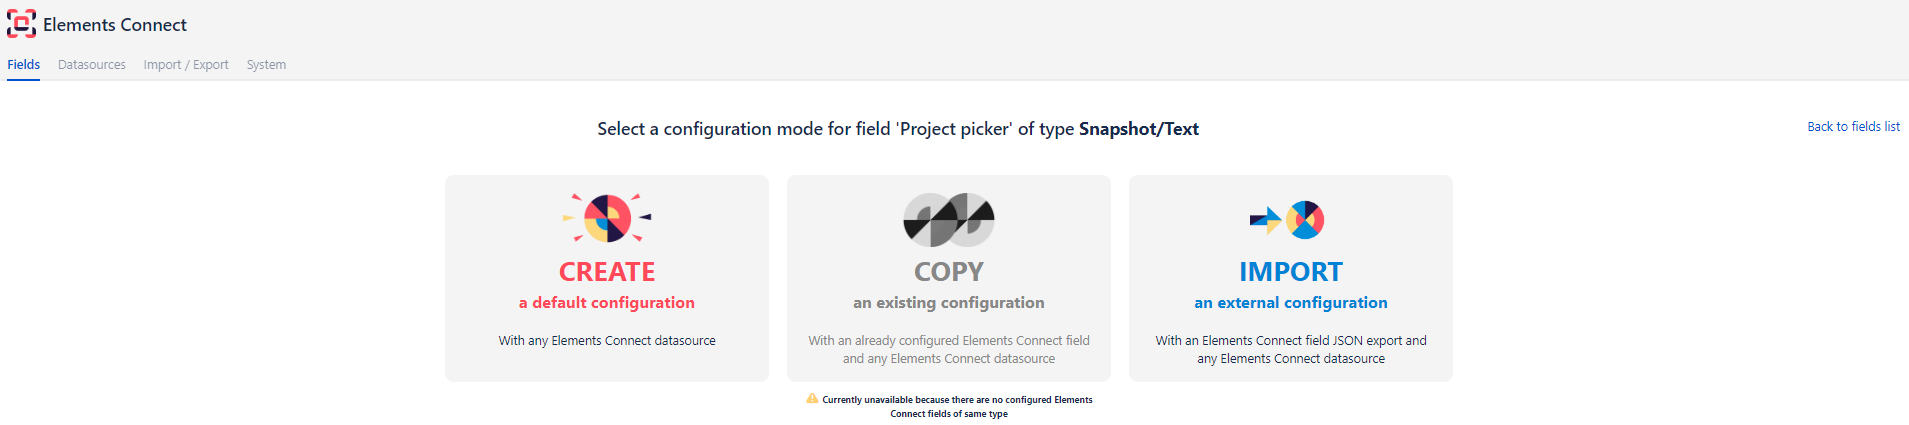
Click on the field name "Project Picker"
-
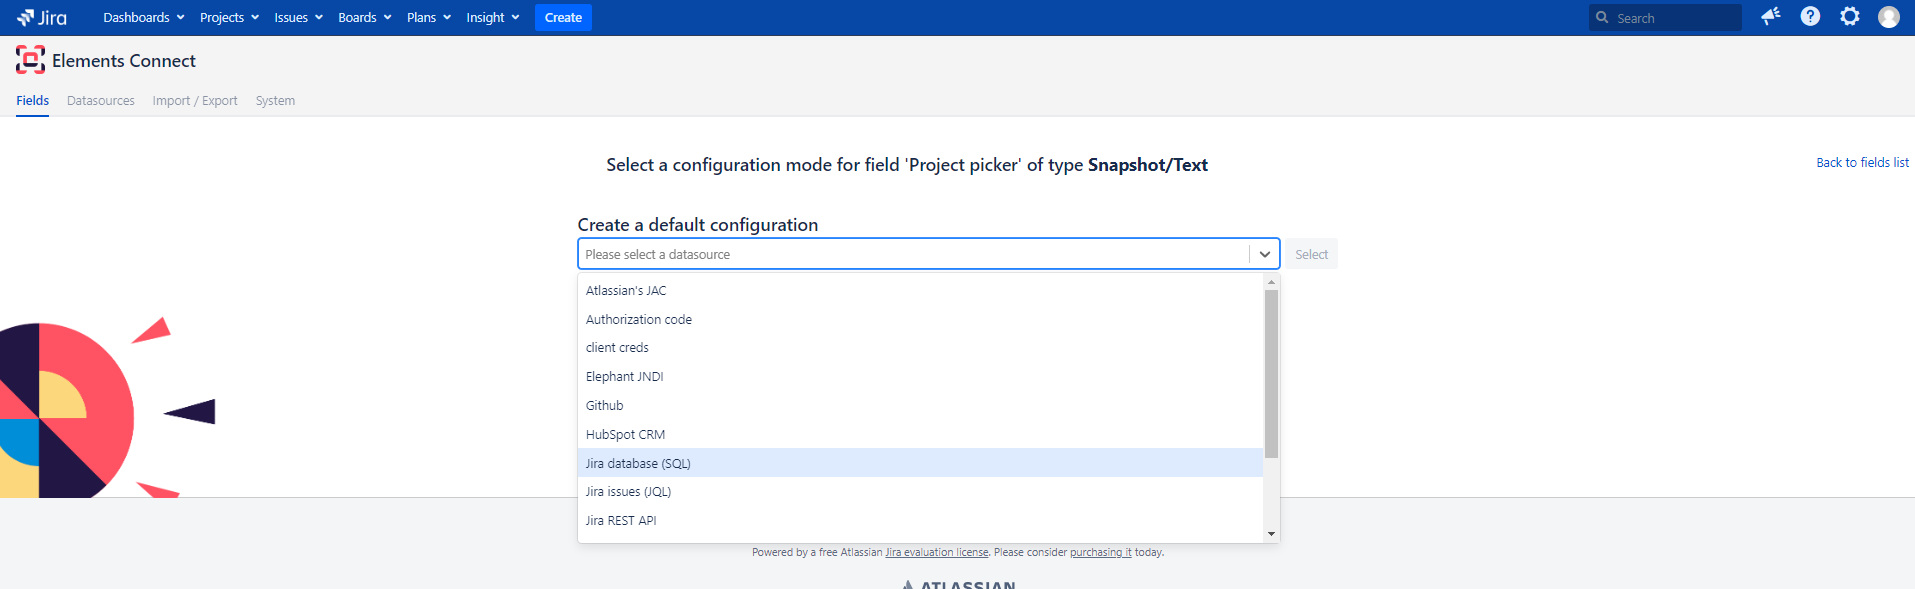
Choose the Default configuration mode for this field.
-
Select the data source you want to connect to, here the Jira SQL database
-
That's it! You directly access the field configuration interface.
More resources
Read more about the different field types in the documentation
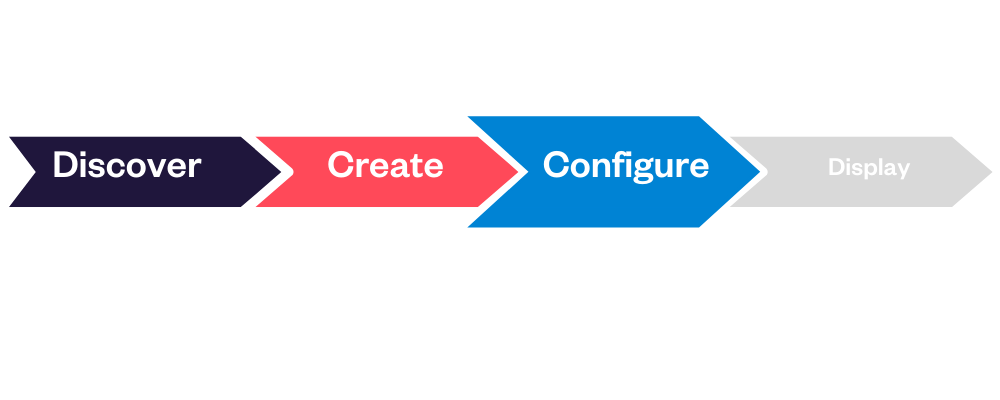
Go to the next step CONFIGURE =>