
Once you've configured a connected field in Elements Connect, the next step is to make it visible in Jira, either by adding it to Jira screens (for connected custom fields) or by associating it to issue types or request types (for connected items).
The association method differs by field type:
-
Connected custom fields are directly associated to Jira screens
-
On Jira Work projects
-
On JSM projects
-
this can be handled by Jira global administrators
-
-
Connected items are associated to issue/request types directly in projects
-
this can be handled by Jira project administrators
-
-
Connected custom fields displayed on JSM customer portal work the same way as connected items.
How to associate connected custom fields to Jira screens
When the connected custom field is saved, the action buttons “Add field to screen” or “Add field to Portal” are displayed at the top right of the configuration page.
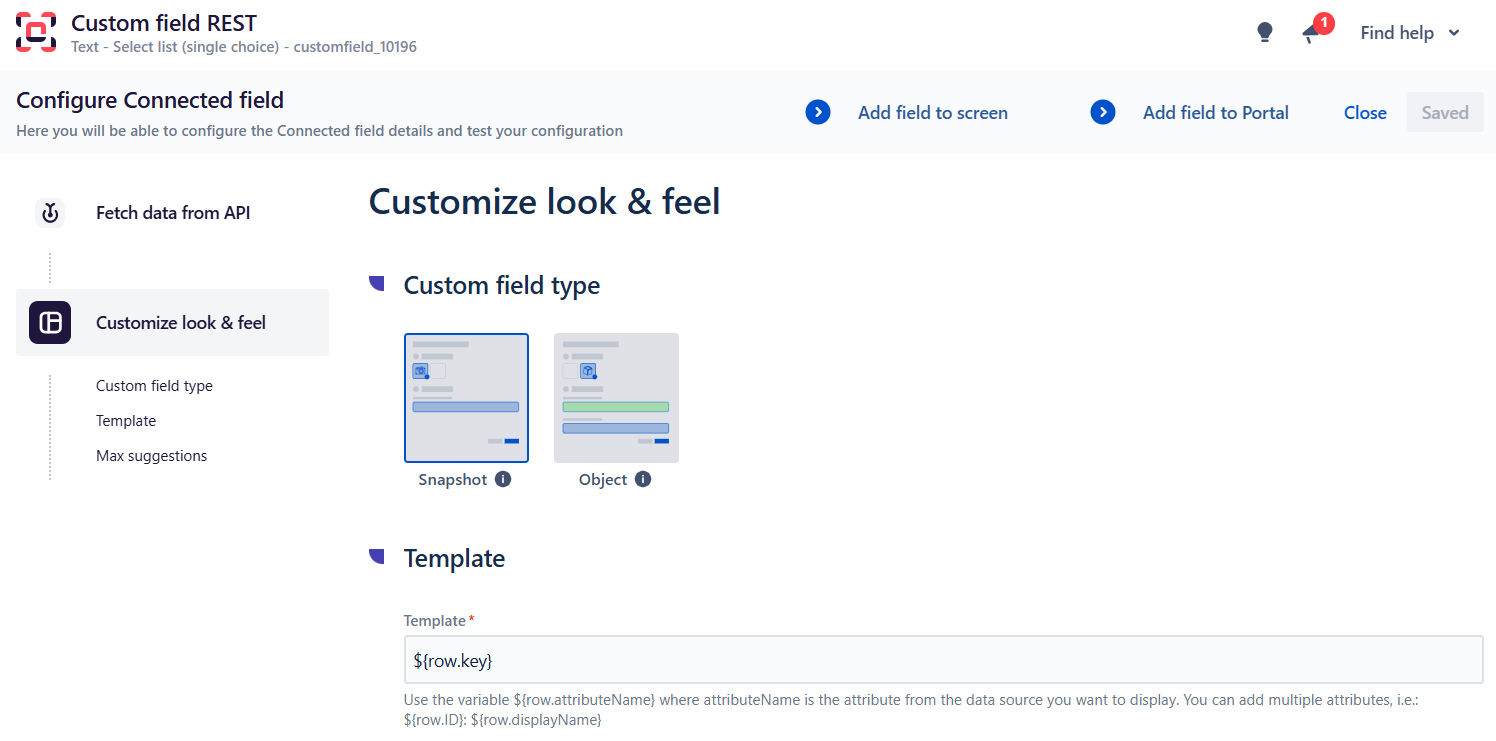
Add field to screen
Clicking Add field to screen opens a modal where you select the target projects. The field will be associated with all projects that share the same field configuration as the selected projects.
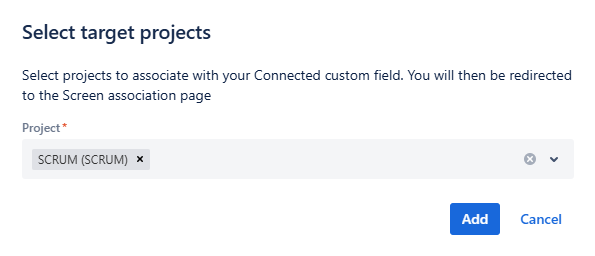
Clicking on “Add” will then open the native custom field association page.
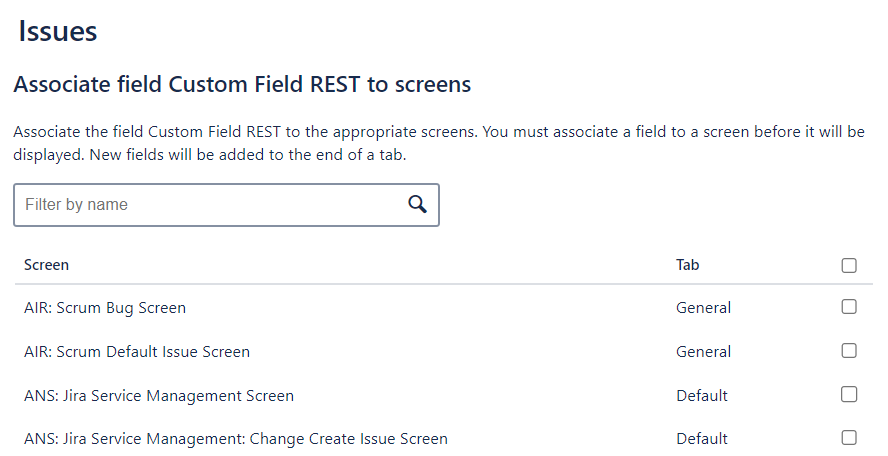
From this page, the screens where the custom field must be displayed can be selected.
Connected custom fields are available in workflow transition screens. However, the latest version of the “New transition experience” should be activated. Reach out to Atlassian and ask them to enable it for you.
Both parent and children fields must be associated to the same project for the dependency to resolve.
Add field to Portal
Clicking Add field to Portal opens a modal where you select the target JSM project (the project where the connected custom field will be available on the customer portal). The field will be associated with all projects sharing the same field configuration as the selected project.
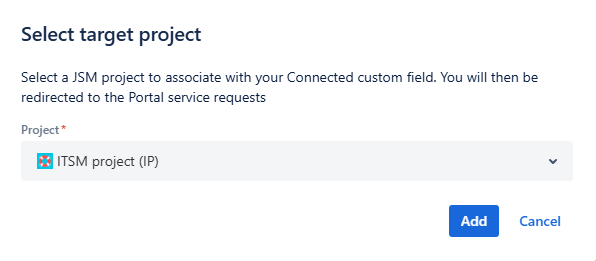
The native JSM request types customization page then opens:
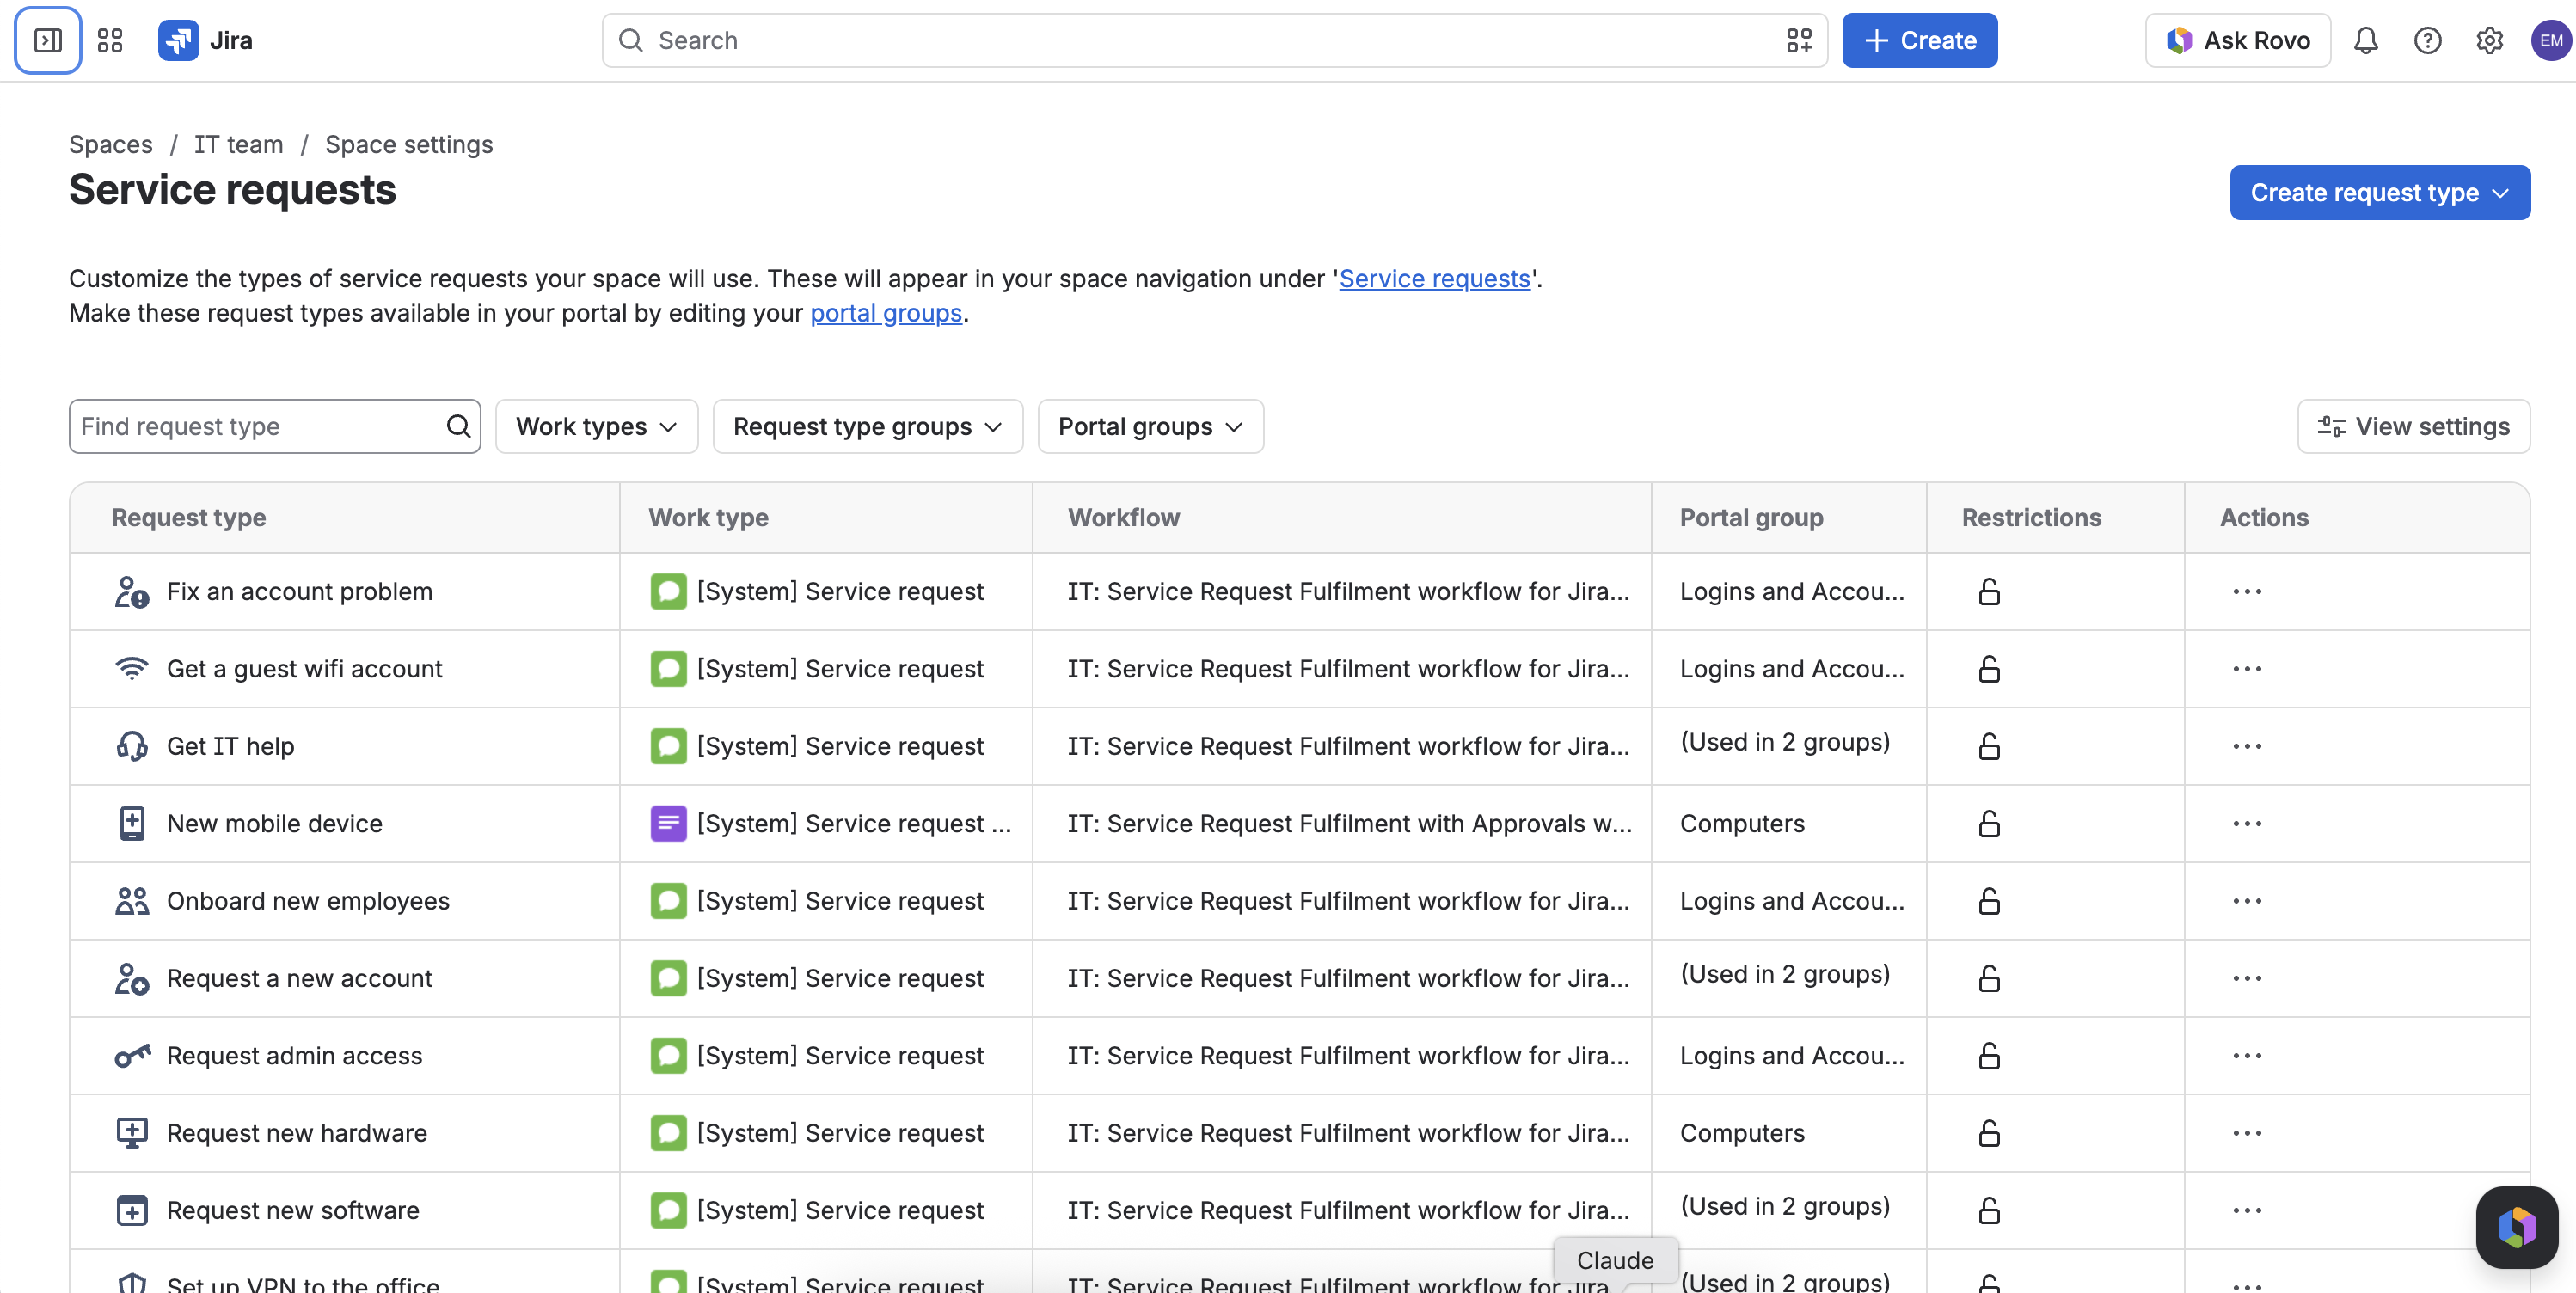
After selecting the request type you want to update, you can add your Connected custom field to the request form:
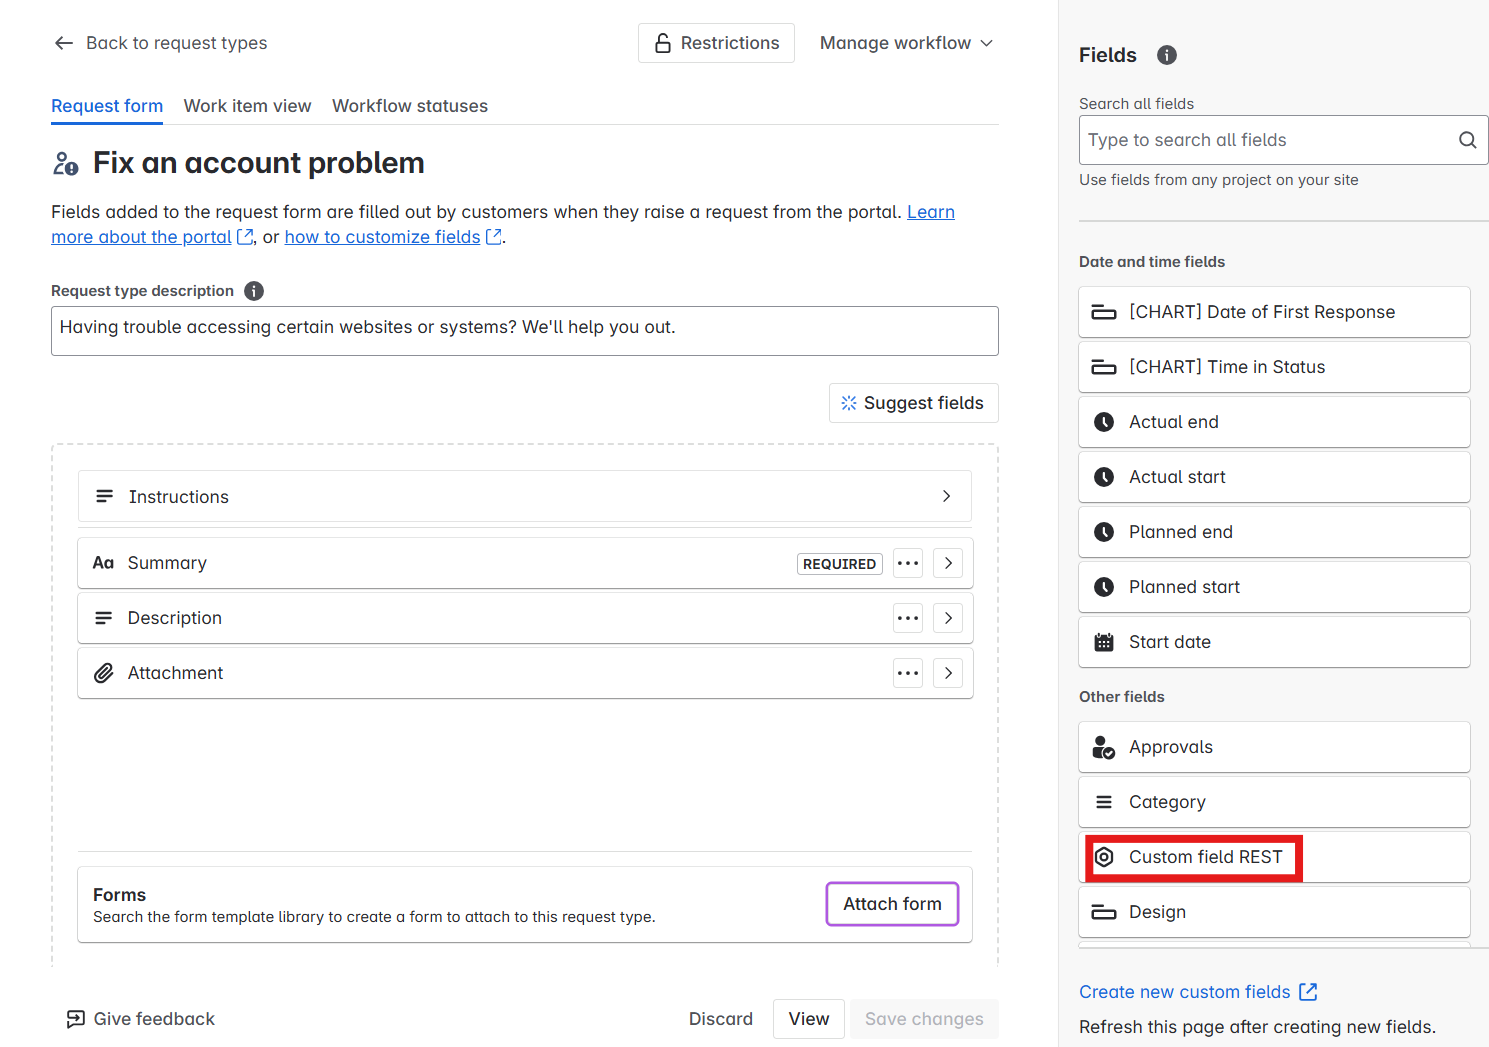
Both parent and children fields must be associated to the same project for the dependency to resolve.
How to associate connected items to issue types or request types
When the connected item is saved, the action button “Next step: Add to project” is displayed at the top right of the configuration page.
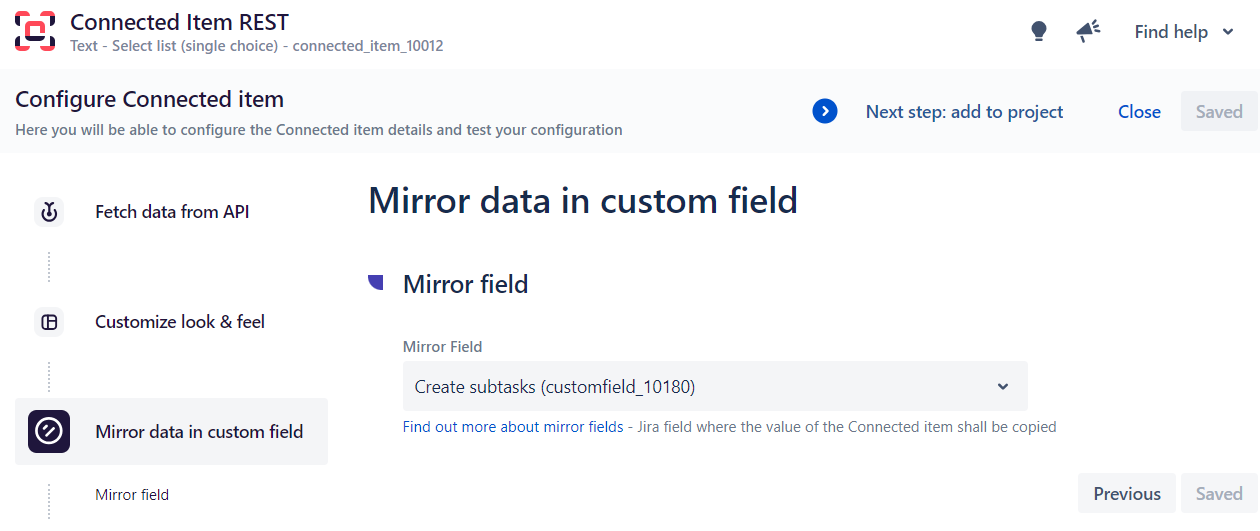
Clicking this button opens a modal where you select the target project (the project where the connected item will be available):
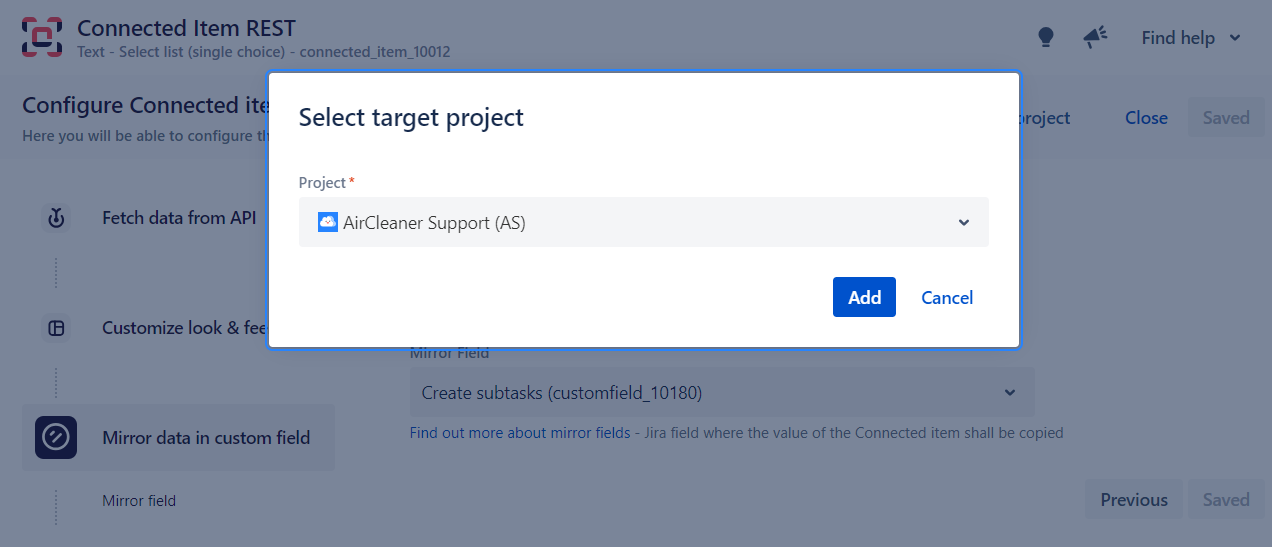
Once a project has been selected, a page dedicated to the association of connected items to request types or issue type is opened in the project settings.
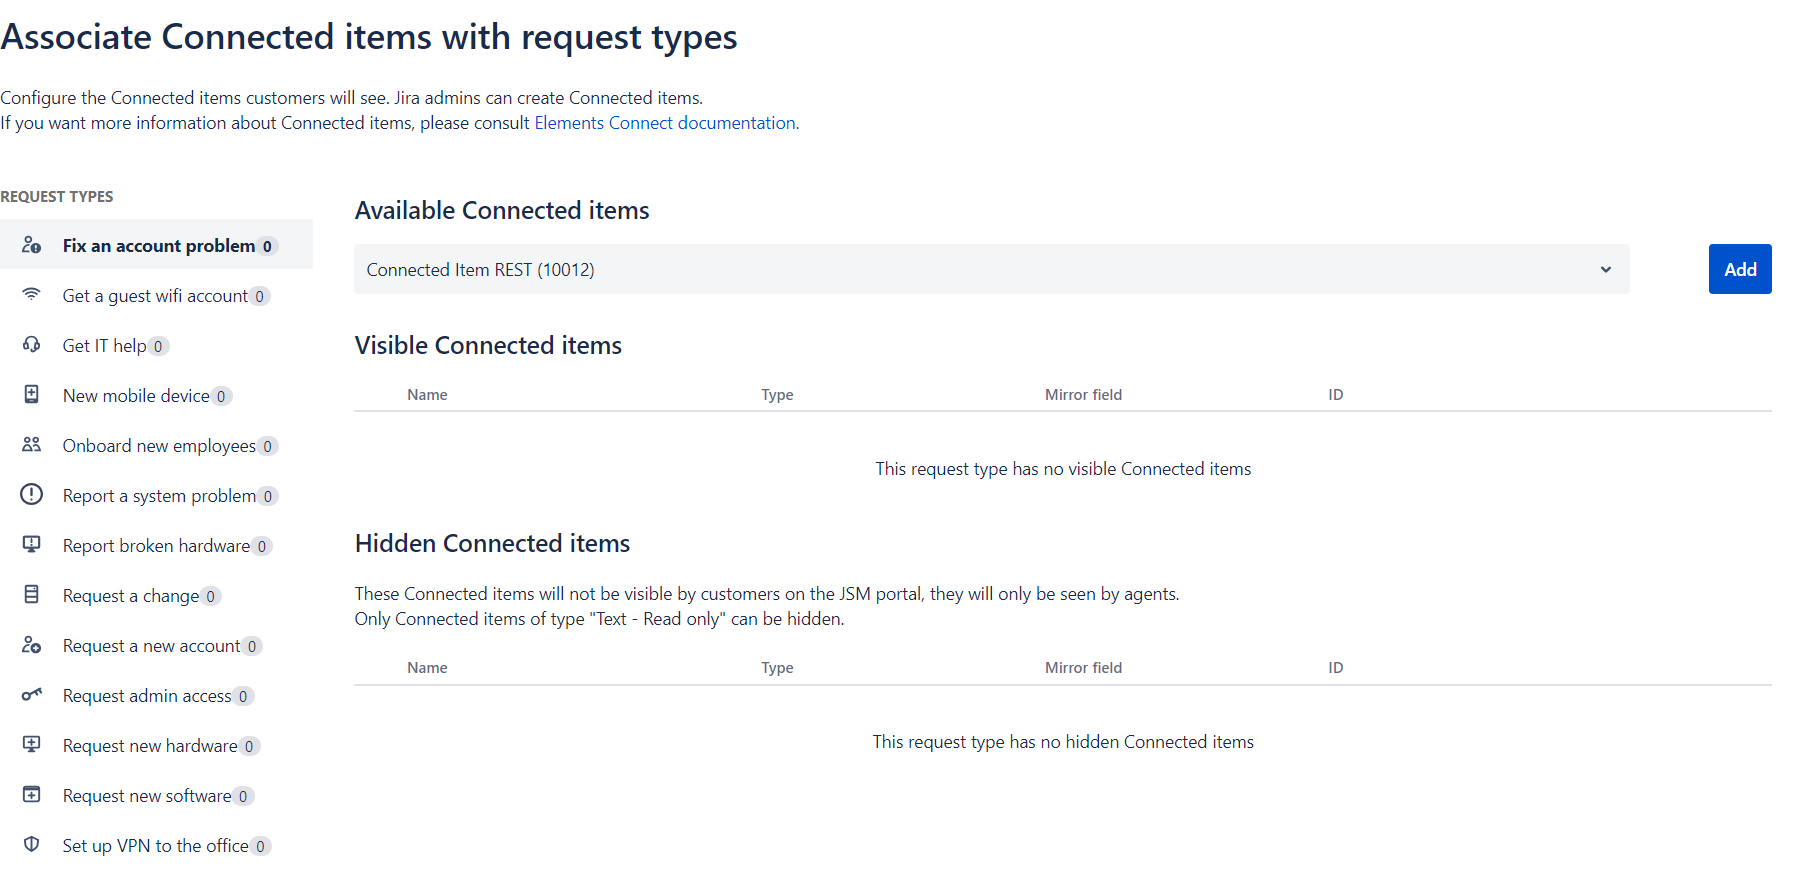
From here, you can select the connected items you want to display on your request type by clicking on the “Add” button.
You'll find detailed step-by-step instructions in these tutorials: