Copy and sync issues to remote instances
Context
As a Jira administrator, you want to facilitate collaboration between different teams in your organization, each operating on its own Jira instance.
With Elements Copy & Sync, you can easily establish this collaboration by connecting two Jira instances. Once connected, you can set up a tailored collaboration recipe to copy and synchronize data seamlessly between the instances.
Tutorial
This guide provides step-by-step instructions on how to connect two remote Jira instances and begin copying and synchronizing issues between them.
Prerequisites
Elements Copy & Sync has been installed on both Jira Cloud instances you need to connect.
The Allow remote connection requests is switched on for the target instance.
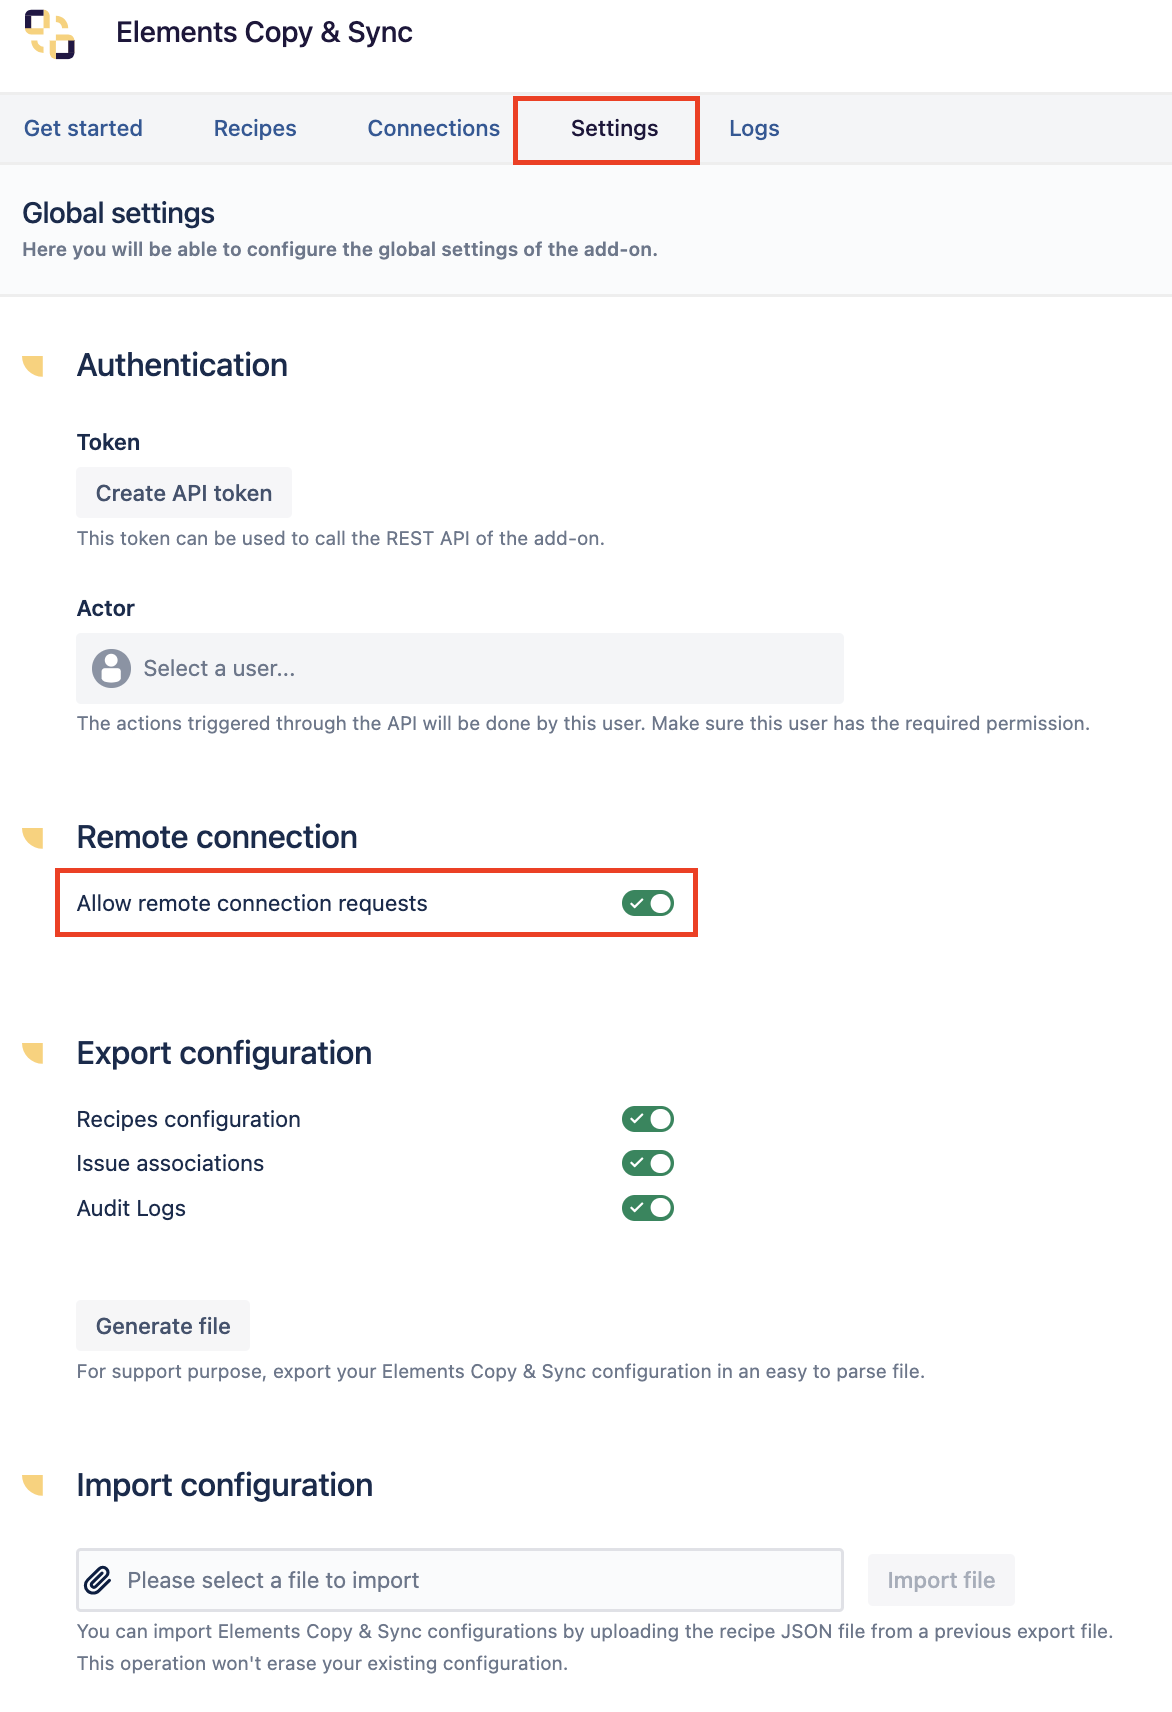
In this tutorial, we will refer as the source instance the Jira instance from which you want to clone issues, and as the target instance the Jira instance where you want to create the cloned issues.
Please note that you only need an active licence on the source instance to copy & synchronize data from the source instance to the target instance.
An active licence is required on the target instance only if you need to do bidirectional cloning or synchronization of data between the two instances.
Connect two instances
1 - As a Jira administrator on the source instance, go to the "Elements Copy & Sync" administration.
2 - Select the Connections tab.
3 - Click on "Add a remote instance" button.
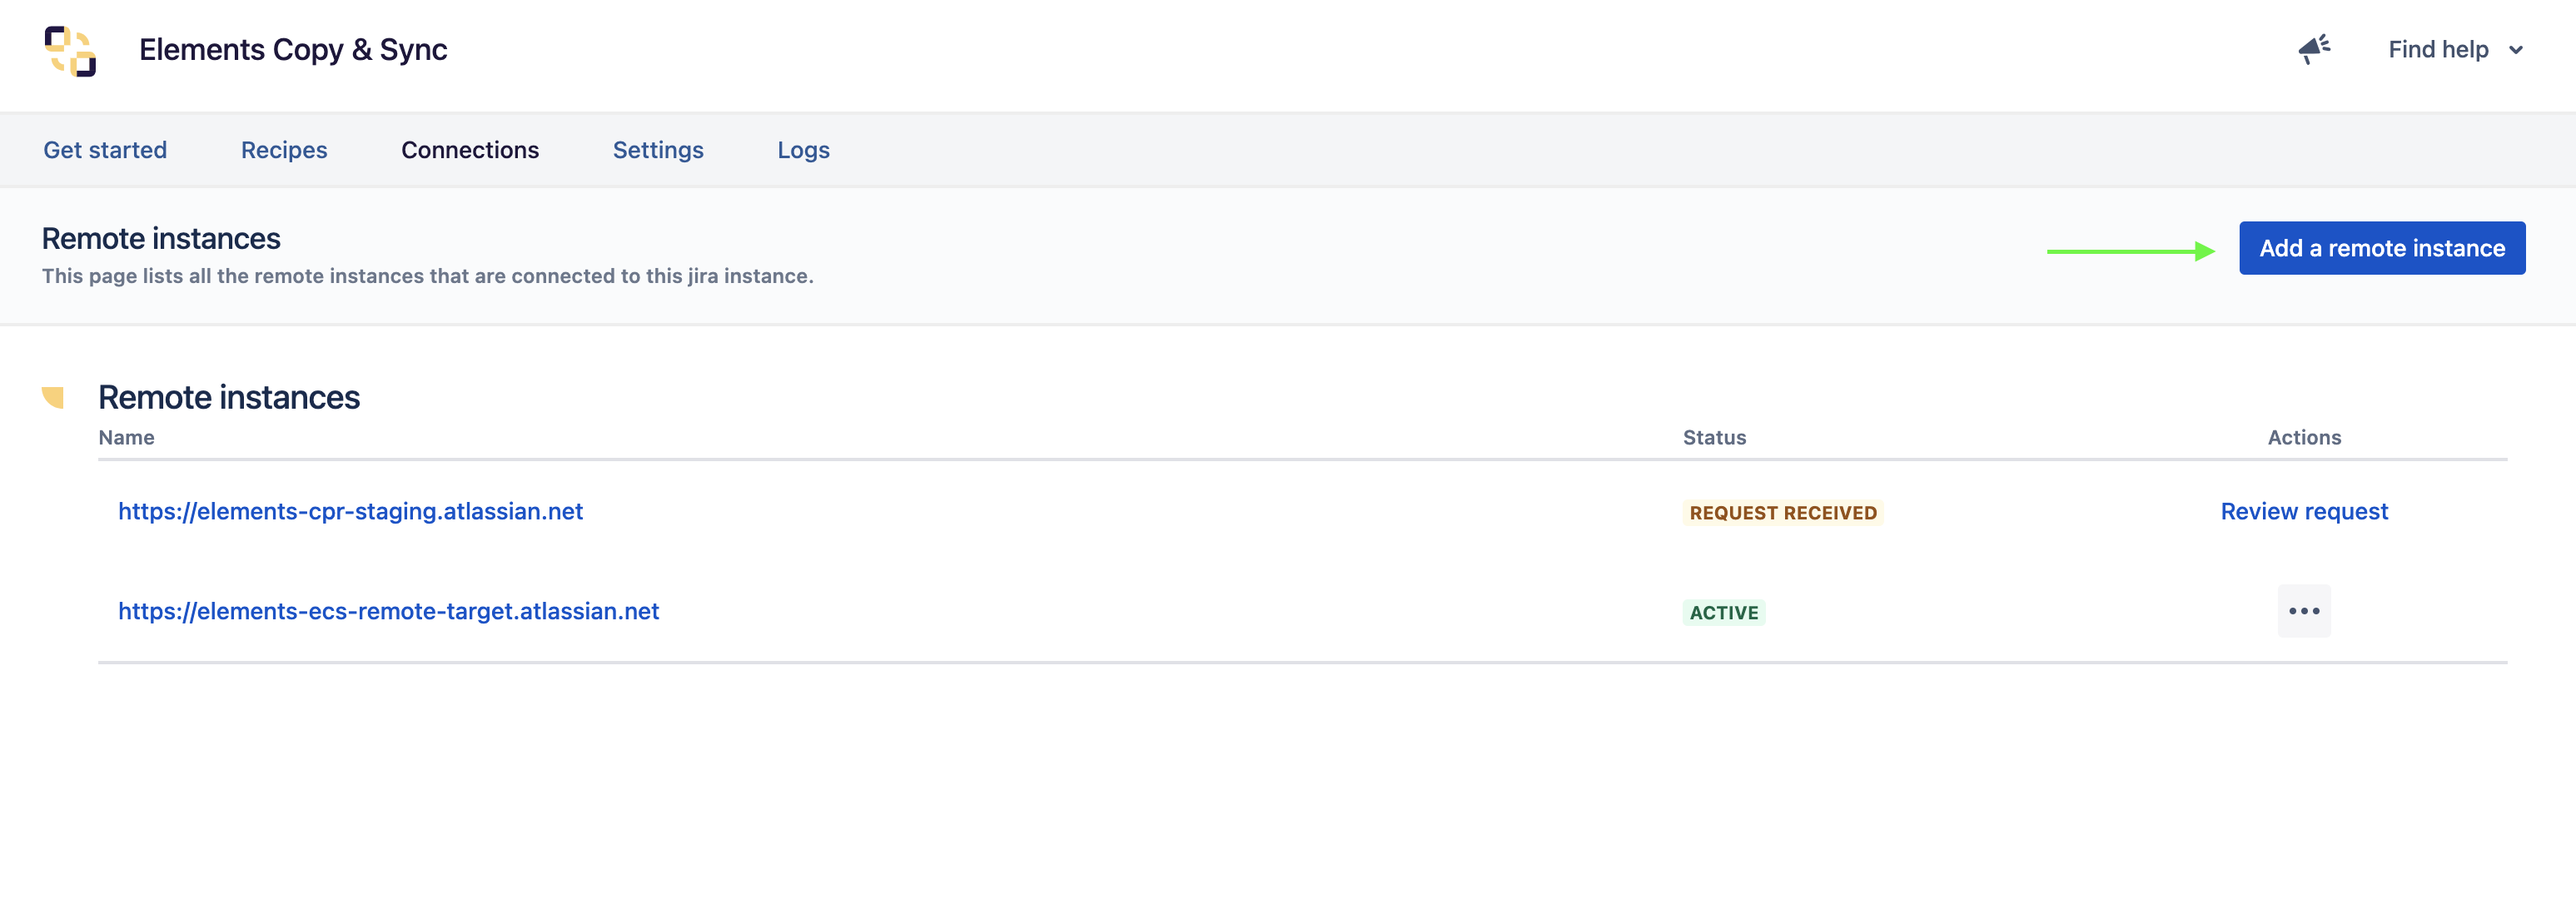
4 - Input the url of the target instance.

Elements Copy & Sync need to be installed on the target instance for the connection to be established.
5 - As a Jira administrator of the target instance, go to the "Elements Copy & Sync" administration.
If you're not the Jira administrator for the target instance, be sure to notify the target instance admin that you've sent a connection request.
6 - Click on Review request.

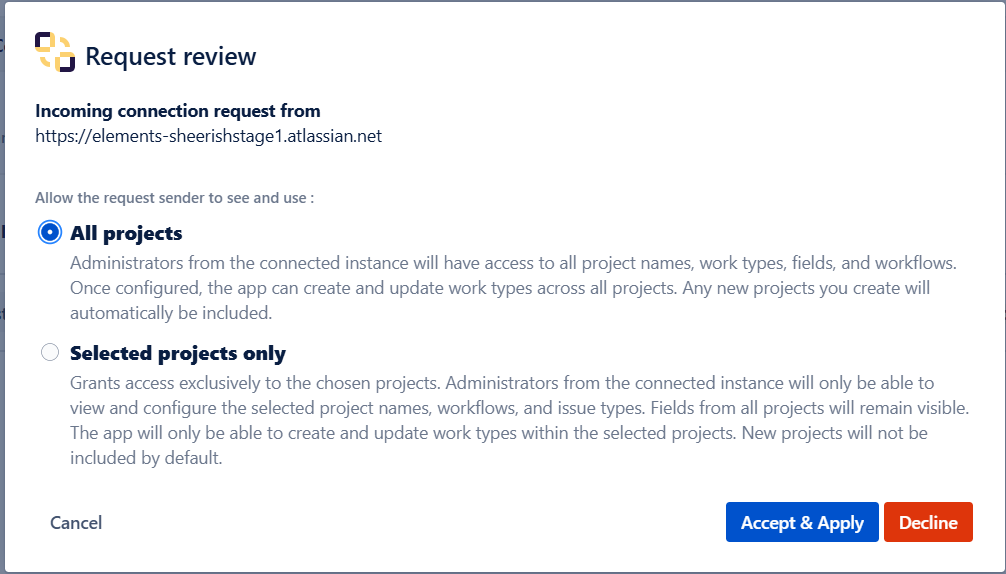
7 - Accept the request.
At this stage, you need to configure the privacy settings for the content you want to share to the admin who sent you the connexion request.
Select All Projects if no restrictions are required (for example, if you are the administrator of both instances).
To maintain greater control over the information shared with the connected Jira instance - such as existing projects, issue types and workflows - select only the projects that should be available in the Copy & Sync configuration.
It is possible to restrict the visibility of project names, workflows, and issue types. However, fields from all projects will always remain visible.
Create a remote recipe
1 - As a Jira administrator, go to the "Elements Copy & Sync" administration.
2 - Go to recipes and then select create a new recipe.
3 - Select Copy and synchronize Jira issues.
Only Copy and synchronize Jira issues recipes support remote instance for now.
4- Give a name and a description to your remote recipe and select the target instance you want your issues to be created in.
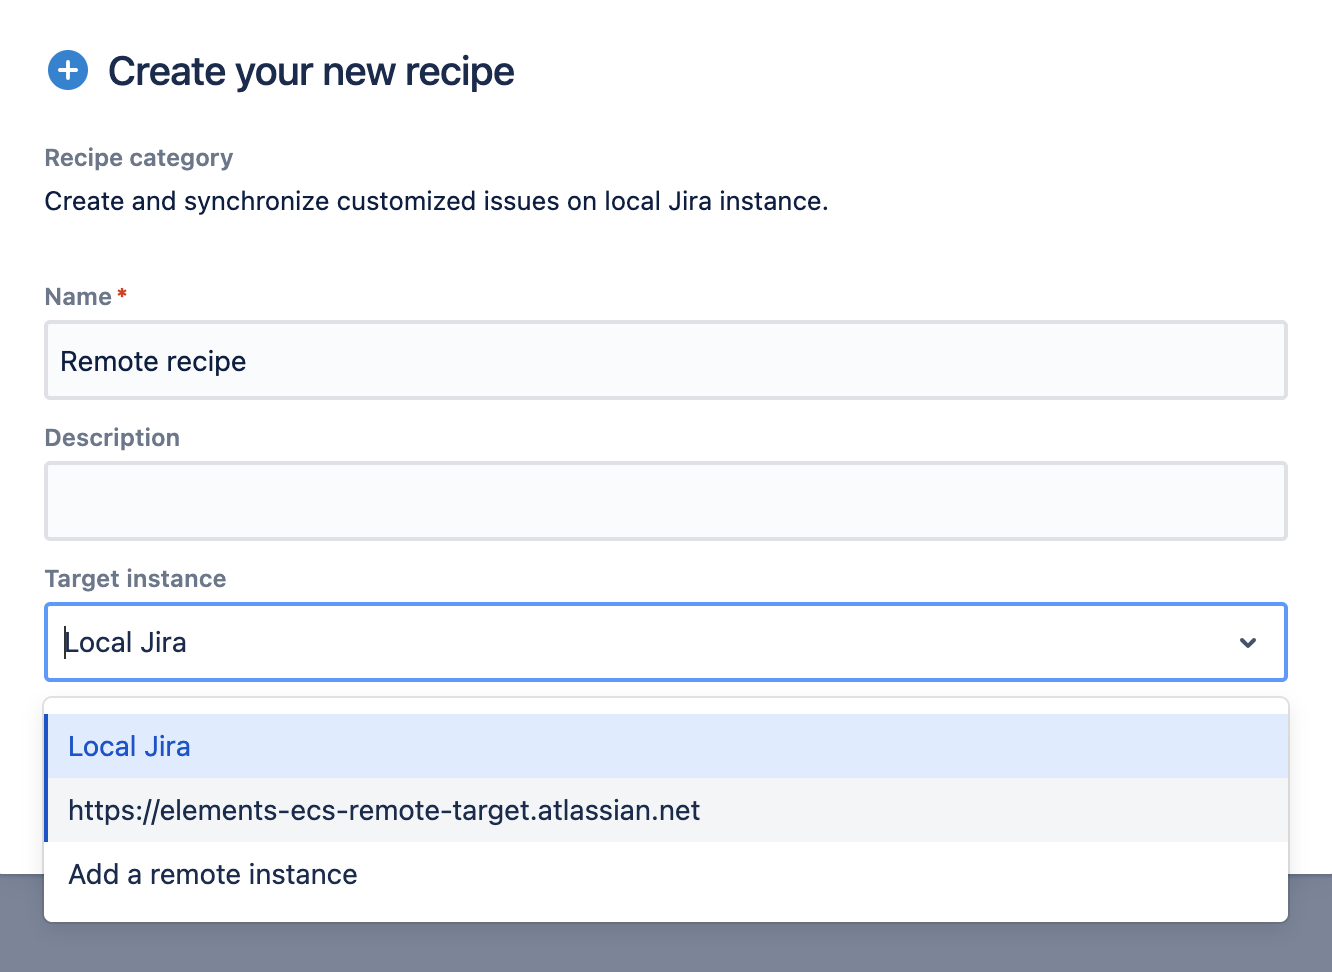
5- Create your recipe.
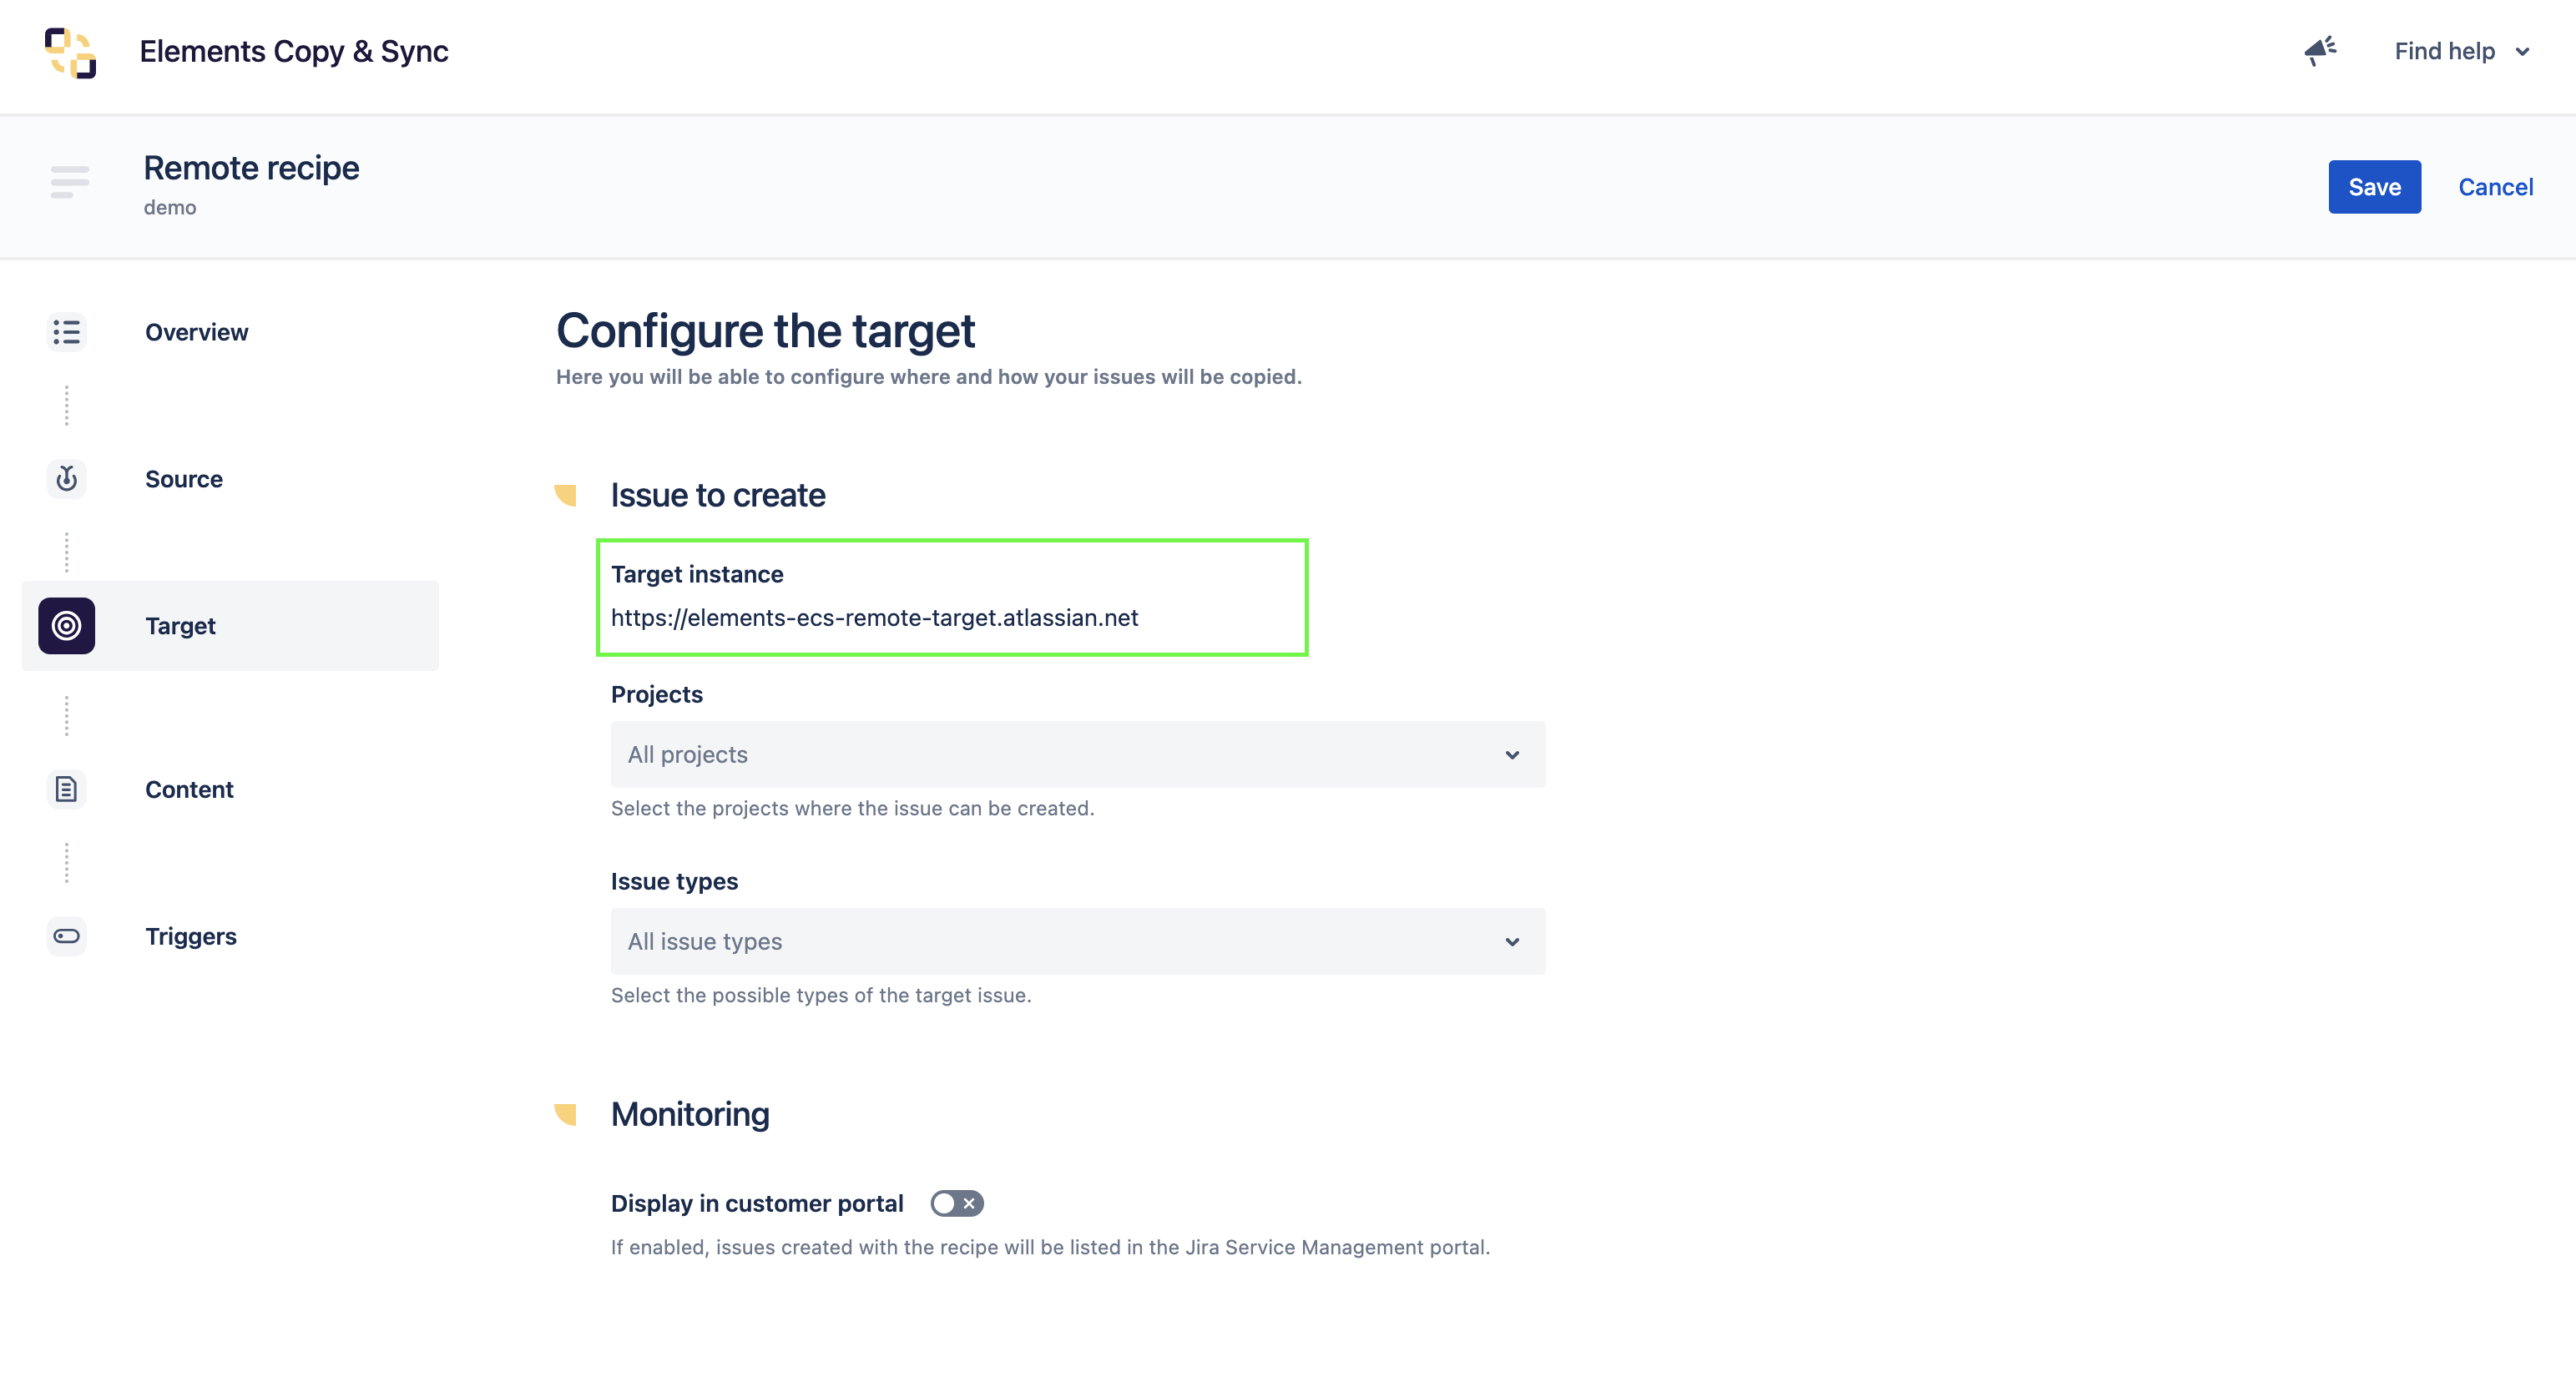
The target settings refer to the configuration of the remote instance (Projects, issue type, fields) and not the local instance where the recipe is being created.
At every step; you will be reminded of the source and target instance URL to guide you.
Execute a remote recipe
The recipe could be executed :
1- Manually
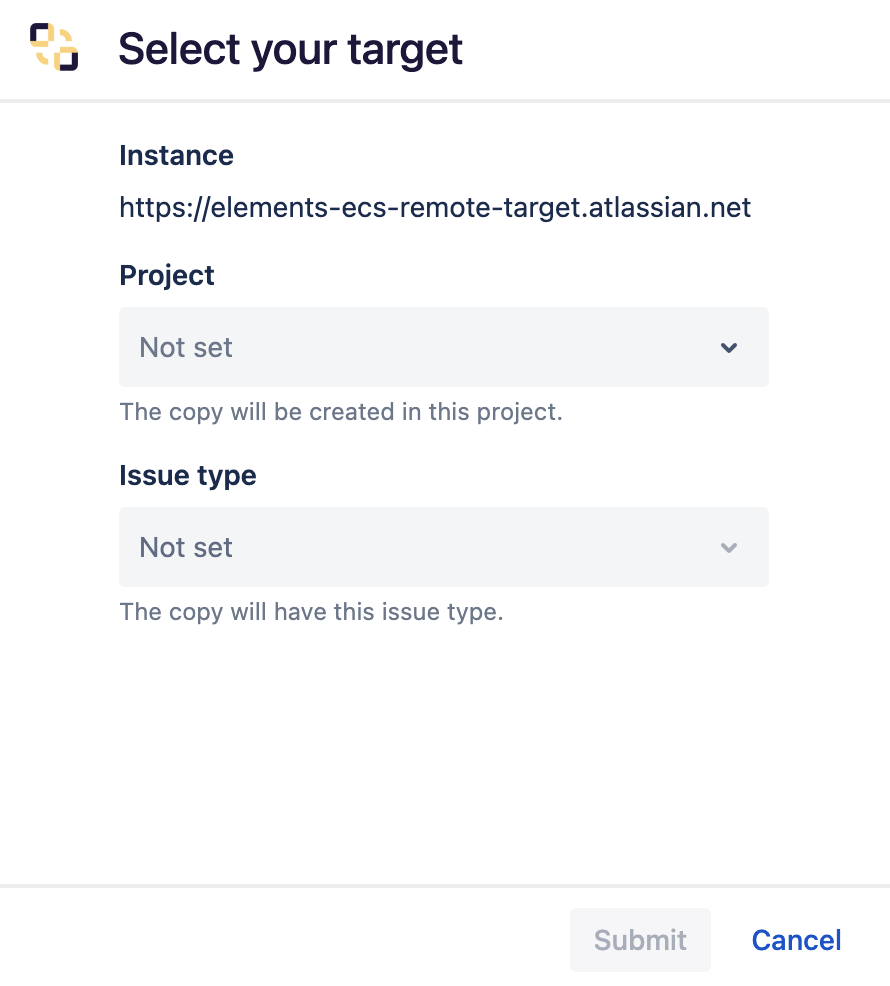
In the creation screen, project and issue type are those of the target instance and not the local one.
3- Bulk copy
4- API : Work in progress ⏳
Watch Youtube video tutorial on how to copy and sync issues to remote instances
When workflows are synchronized between remote projects, the issue status in the target project will be updated according to the mappings defined in the recipe configuration. Please note that any validators present in the target project's workflow will be ignored during this synchronization process to ensure seamless status alignment.
•••
