
Migrating Elements Copy & Sync with the Jira Cloud Migration Assistant (JCMA) lets you move your configuration from Data Center to Cloud in a supported and structured way. JCMA automatically migrates most Operations, Synchronizations, and Field Mappings, which are recreated in Cloud as Copy & Sync recipes with embedded mappings.
JCMA adapts your setup as closely as possible to Cloud concepts, but you should always review and adjust your recipes after migration to ensure they match your needs.
Some features require manual handling:
-
Data Panels → Not supported in Cloud (use Elements Overview instead).
-
Copy to Confluence → Use Elements Publish on Cloud.
-
Copy to remote instance → Must be recreated manually due to a new linking model.
-
Velocity → Not supported; must be replaced with Cloud configuration options (smart values, fields, etc.).
The steps below will guide you through preparing, migrating, and validating your configuration in Cloud.
Step-by-step guide
-
In your Data Center instance go to System
-
In the Import and Export menu click on Migrate to Cloud
-
Click on Create a new migration
-
Click on Connect to Cloud
-
Give a name to your migration
-
Select if it’s a Testing stage or Production stage
-
Choose your Cloud Site from the list or click on Choose Cloud site (you will have to copy/paste your Cloud instance link)
-
Click on Choose migration options. You have two options here: either you Choose what to migrate and you can pick one by one the elements and select what you want to migrate (Projects, Assets, Users, Customers…) or you can choose to Select all data and migrate everything
-
In both cases, make sure that the Apps section contains at least one (Elements Copy & Sync is not clearly stated but it’s the one that will be migrated)
-
Click on Save and run pre-migration checks
-
Make sure you don’t have any errors before migrating. You should have one in the section App vendor checks: it’s a just a warning to make sure you’re aware that not all your operations and synchronizations will be migrated). Click on Review migration anyway.
-
Once everything is set, click on Run.
-
This migration can take a few minutes depending on the volume of elements to be migrated. You can check the status of the migration anytime.
-
Once it’s all done, you can click on Go to Cloud site and check that your configuration has been migrated properly.
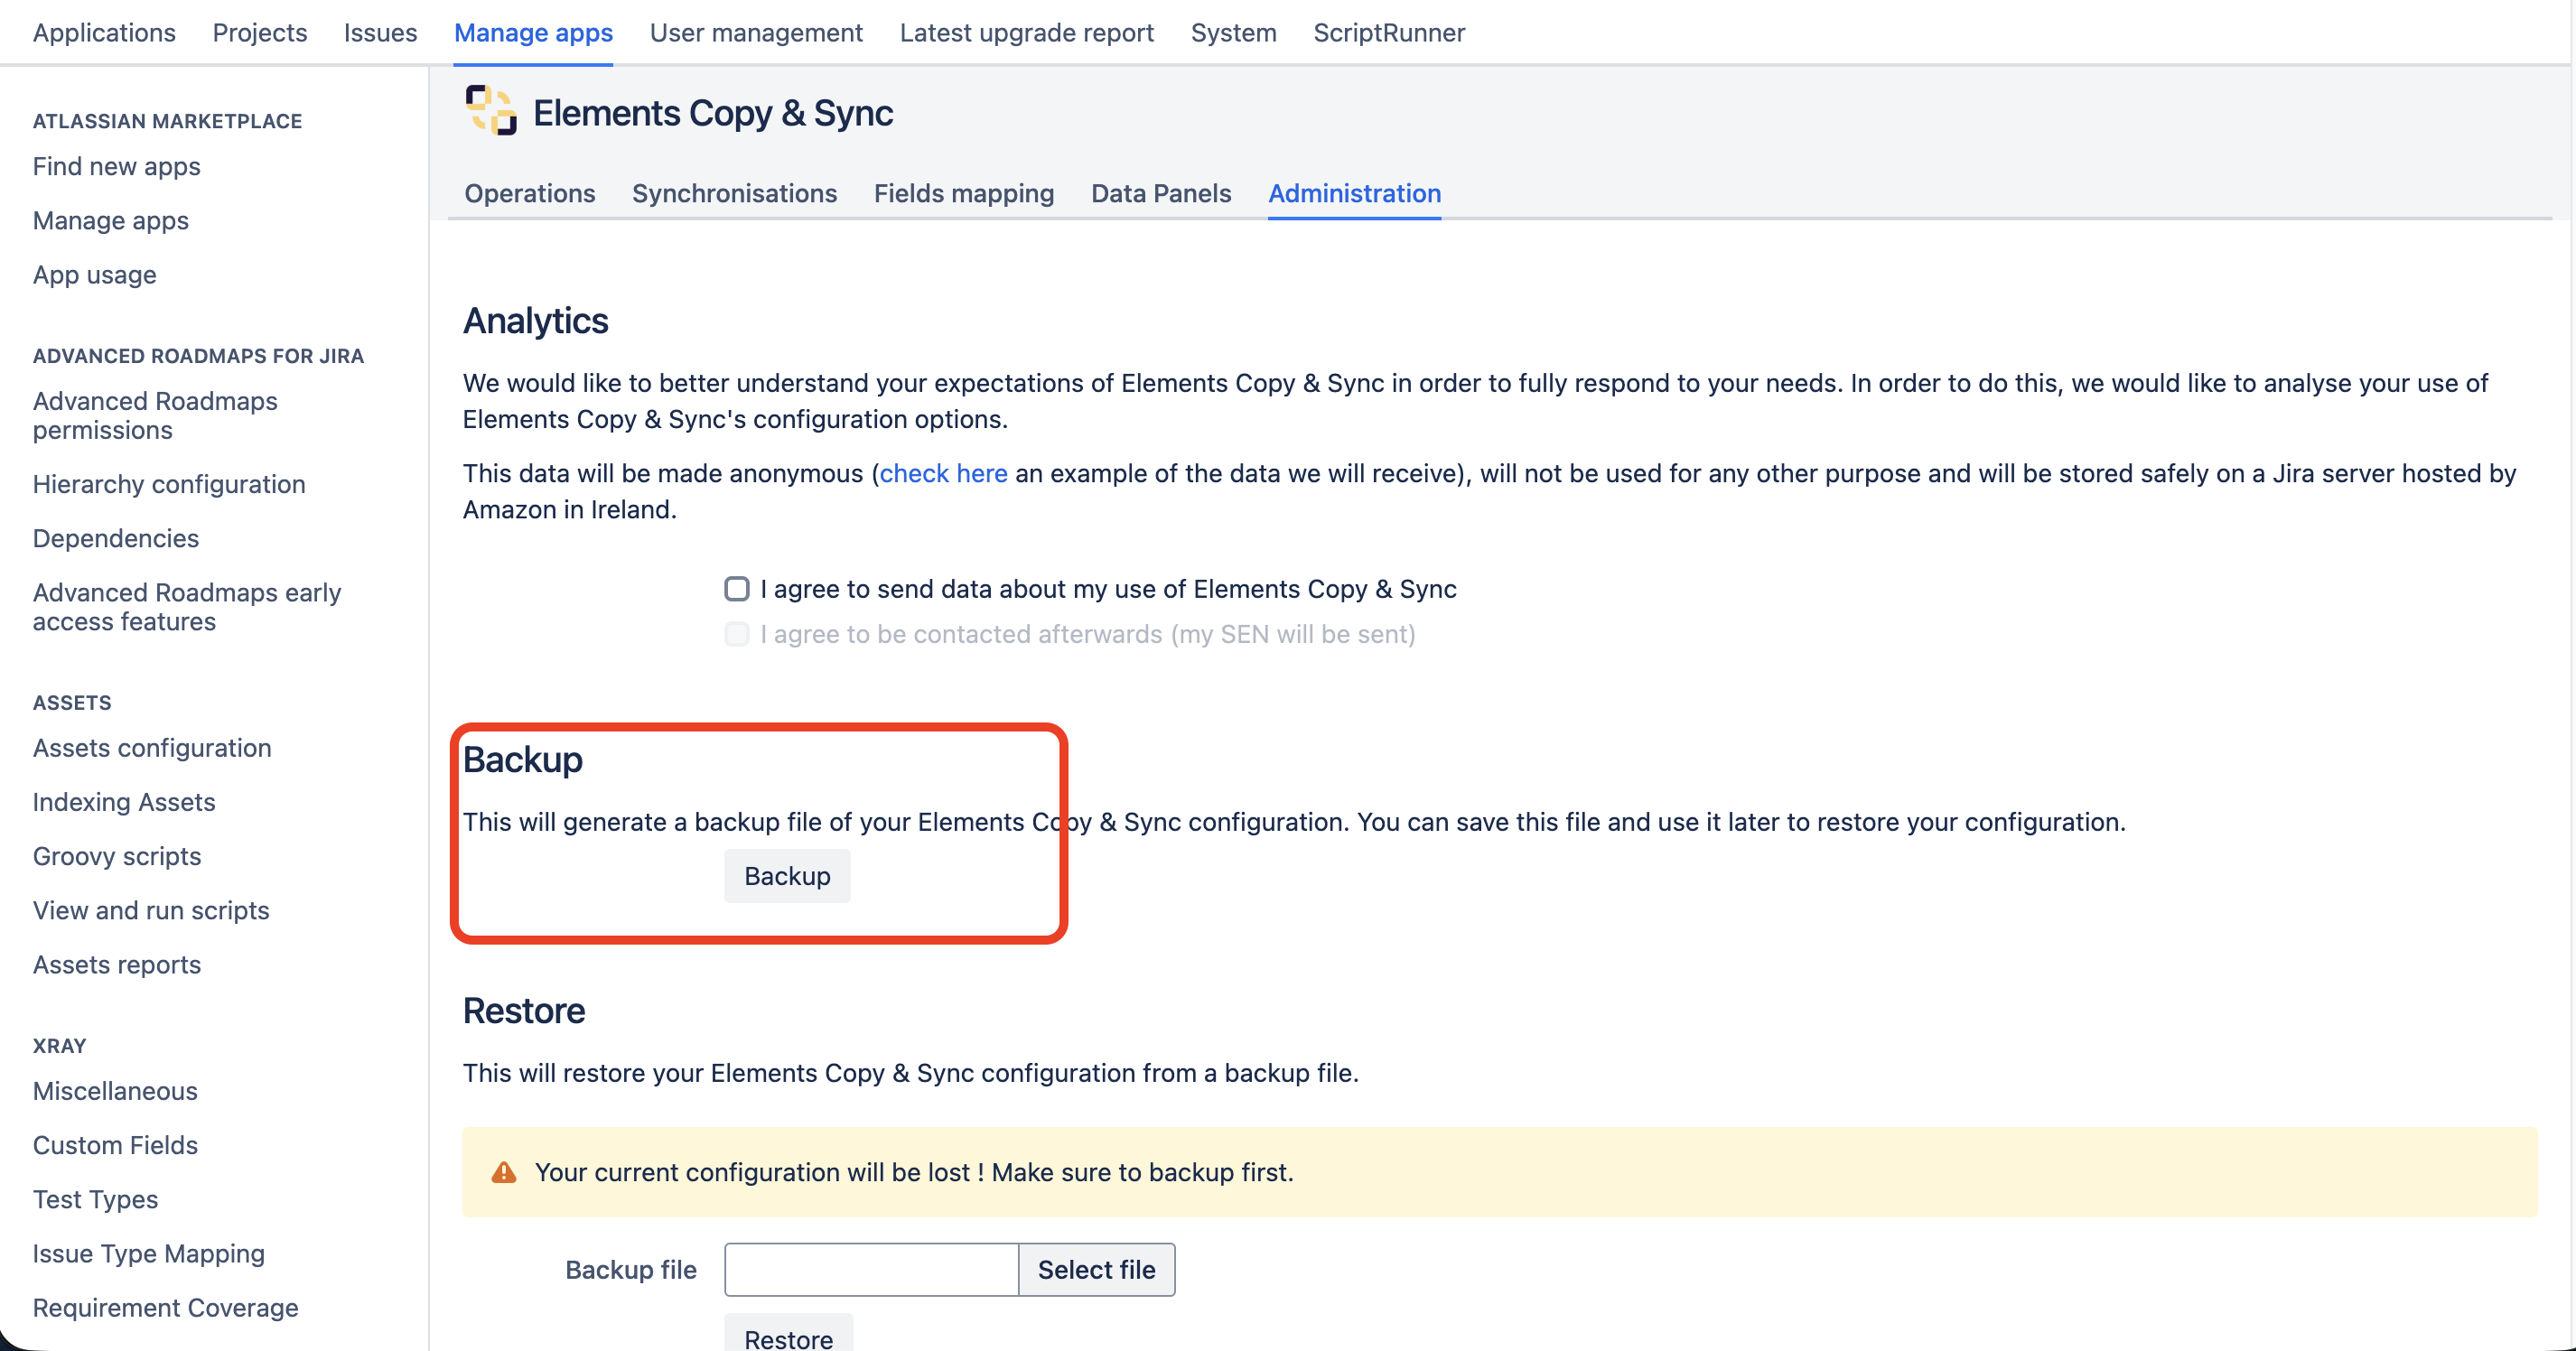
If you have any question or problem while preparing your migration of Elements Copy & Sync, please contact our support, they will help you get it done. Make sure you have your Data Center configuration dump file downloaded to facilitate their work.
To extract your dump file:
-
Go to your Data Center instance and on Elements Copy & Sync
-
Click on Administration and Backup
Step-by-step video of migrating with JCMA