
REST API data sources can be used to get data from various information systems, either from a third-party tool like a CRM (Salesforce) or an Asset management system or from a custom software built internally in your organisation.
This page explains how to configure a REST API data source in Elements Connect, and the different authentication modes supported.
IP allow list
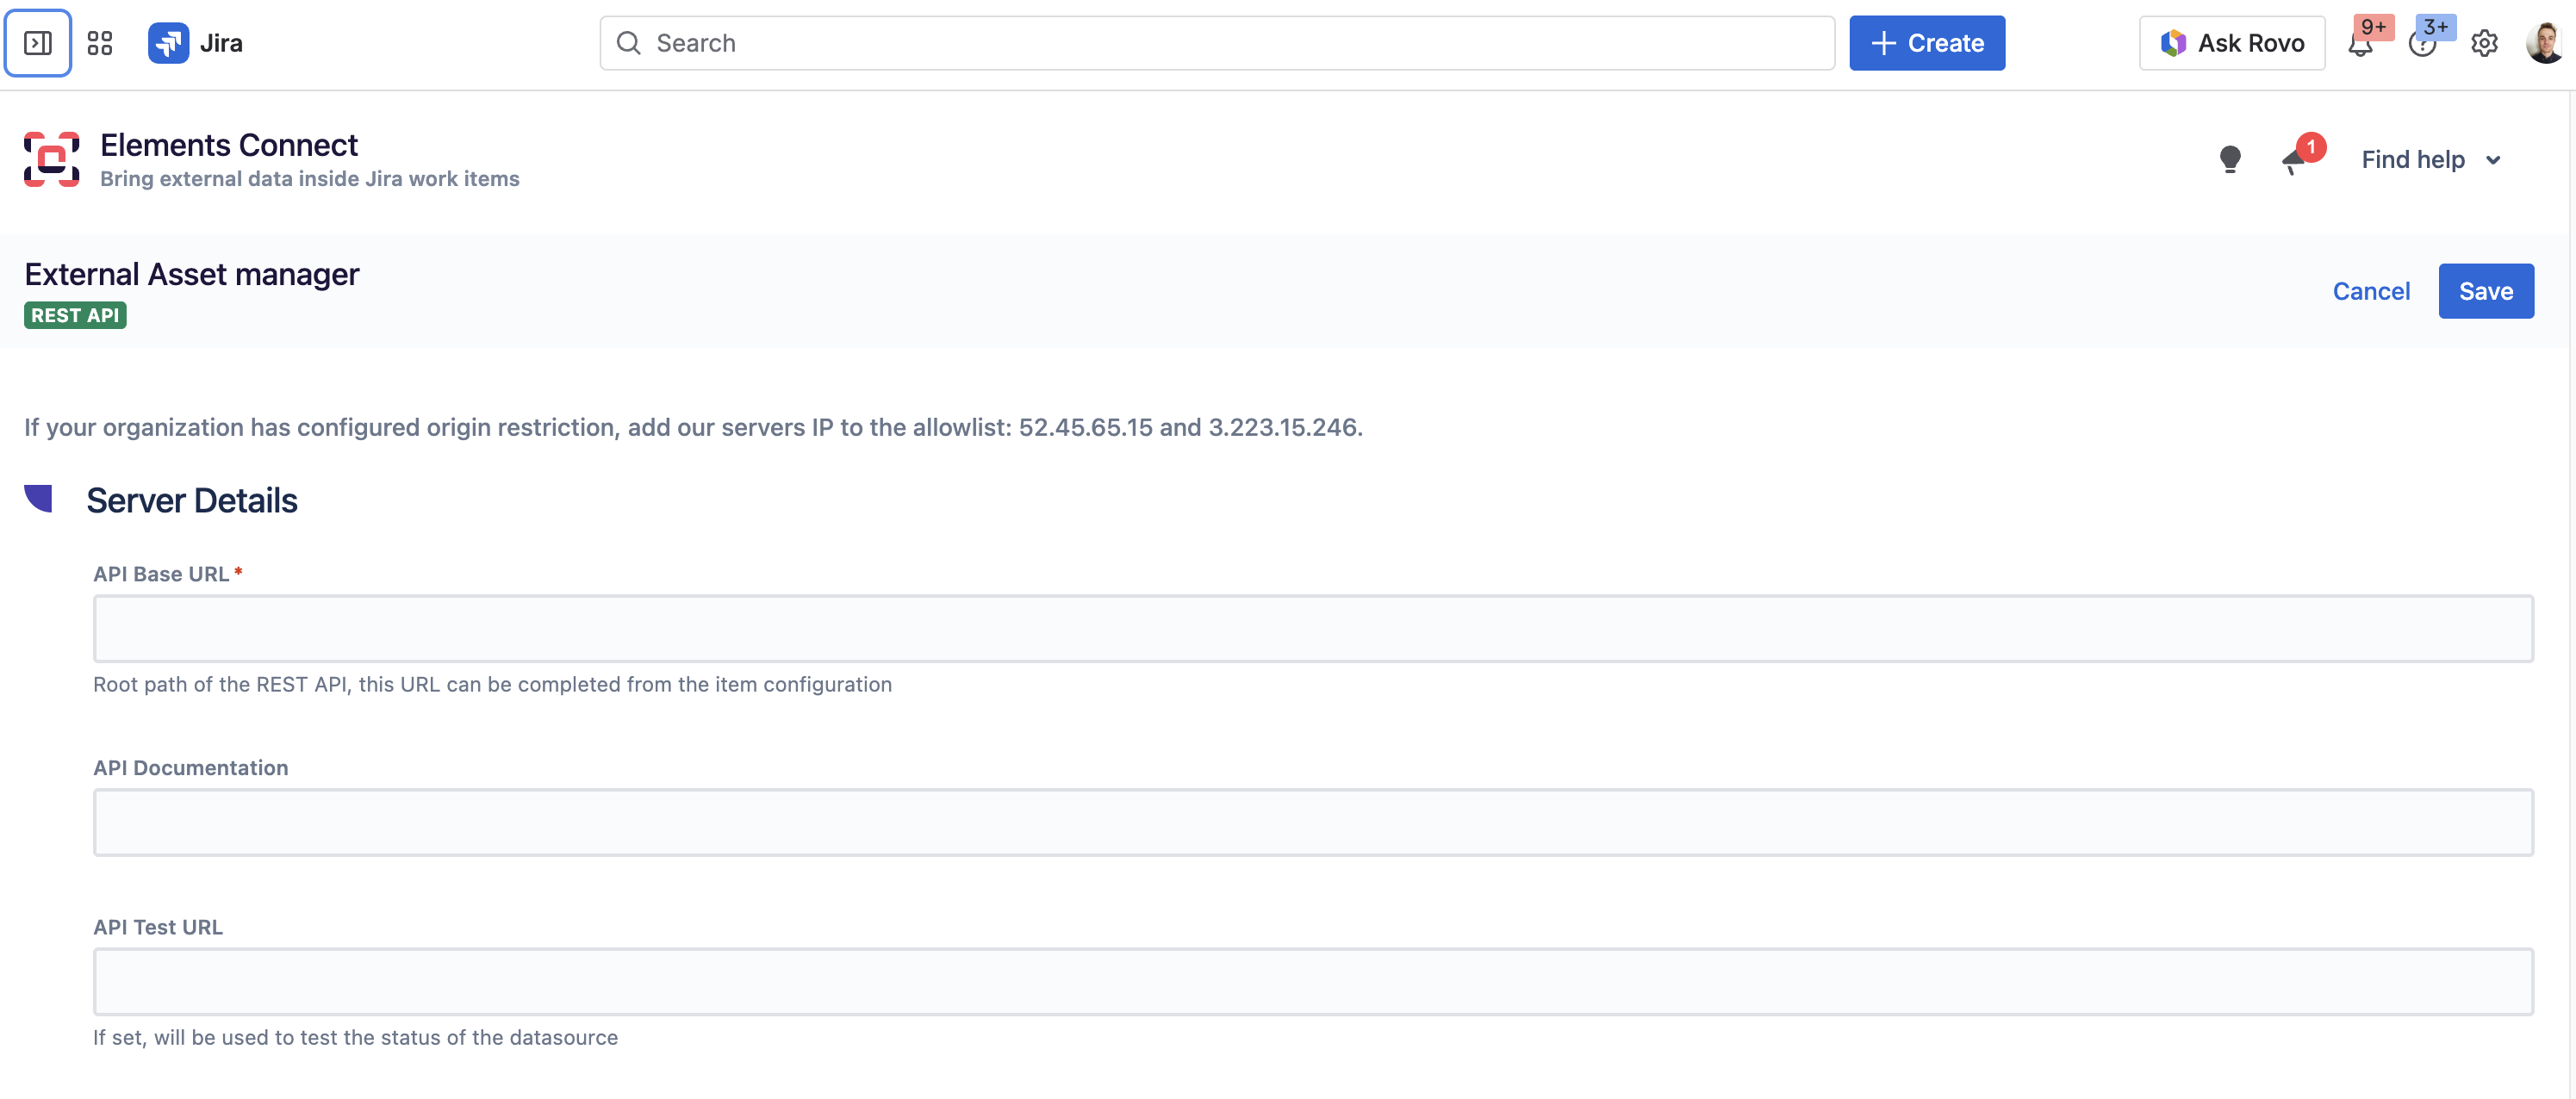
If your organization has configured some origin restriction on your REST API, make sure to add our servers IP addresses to your IP allow list:
-
52.45.65.15
-
3.223.15.246
Create the REST API connection
-
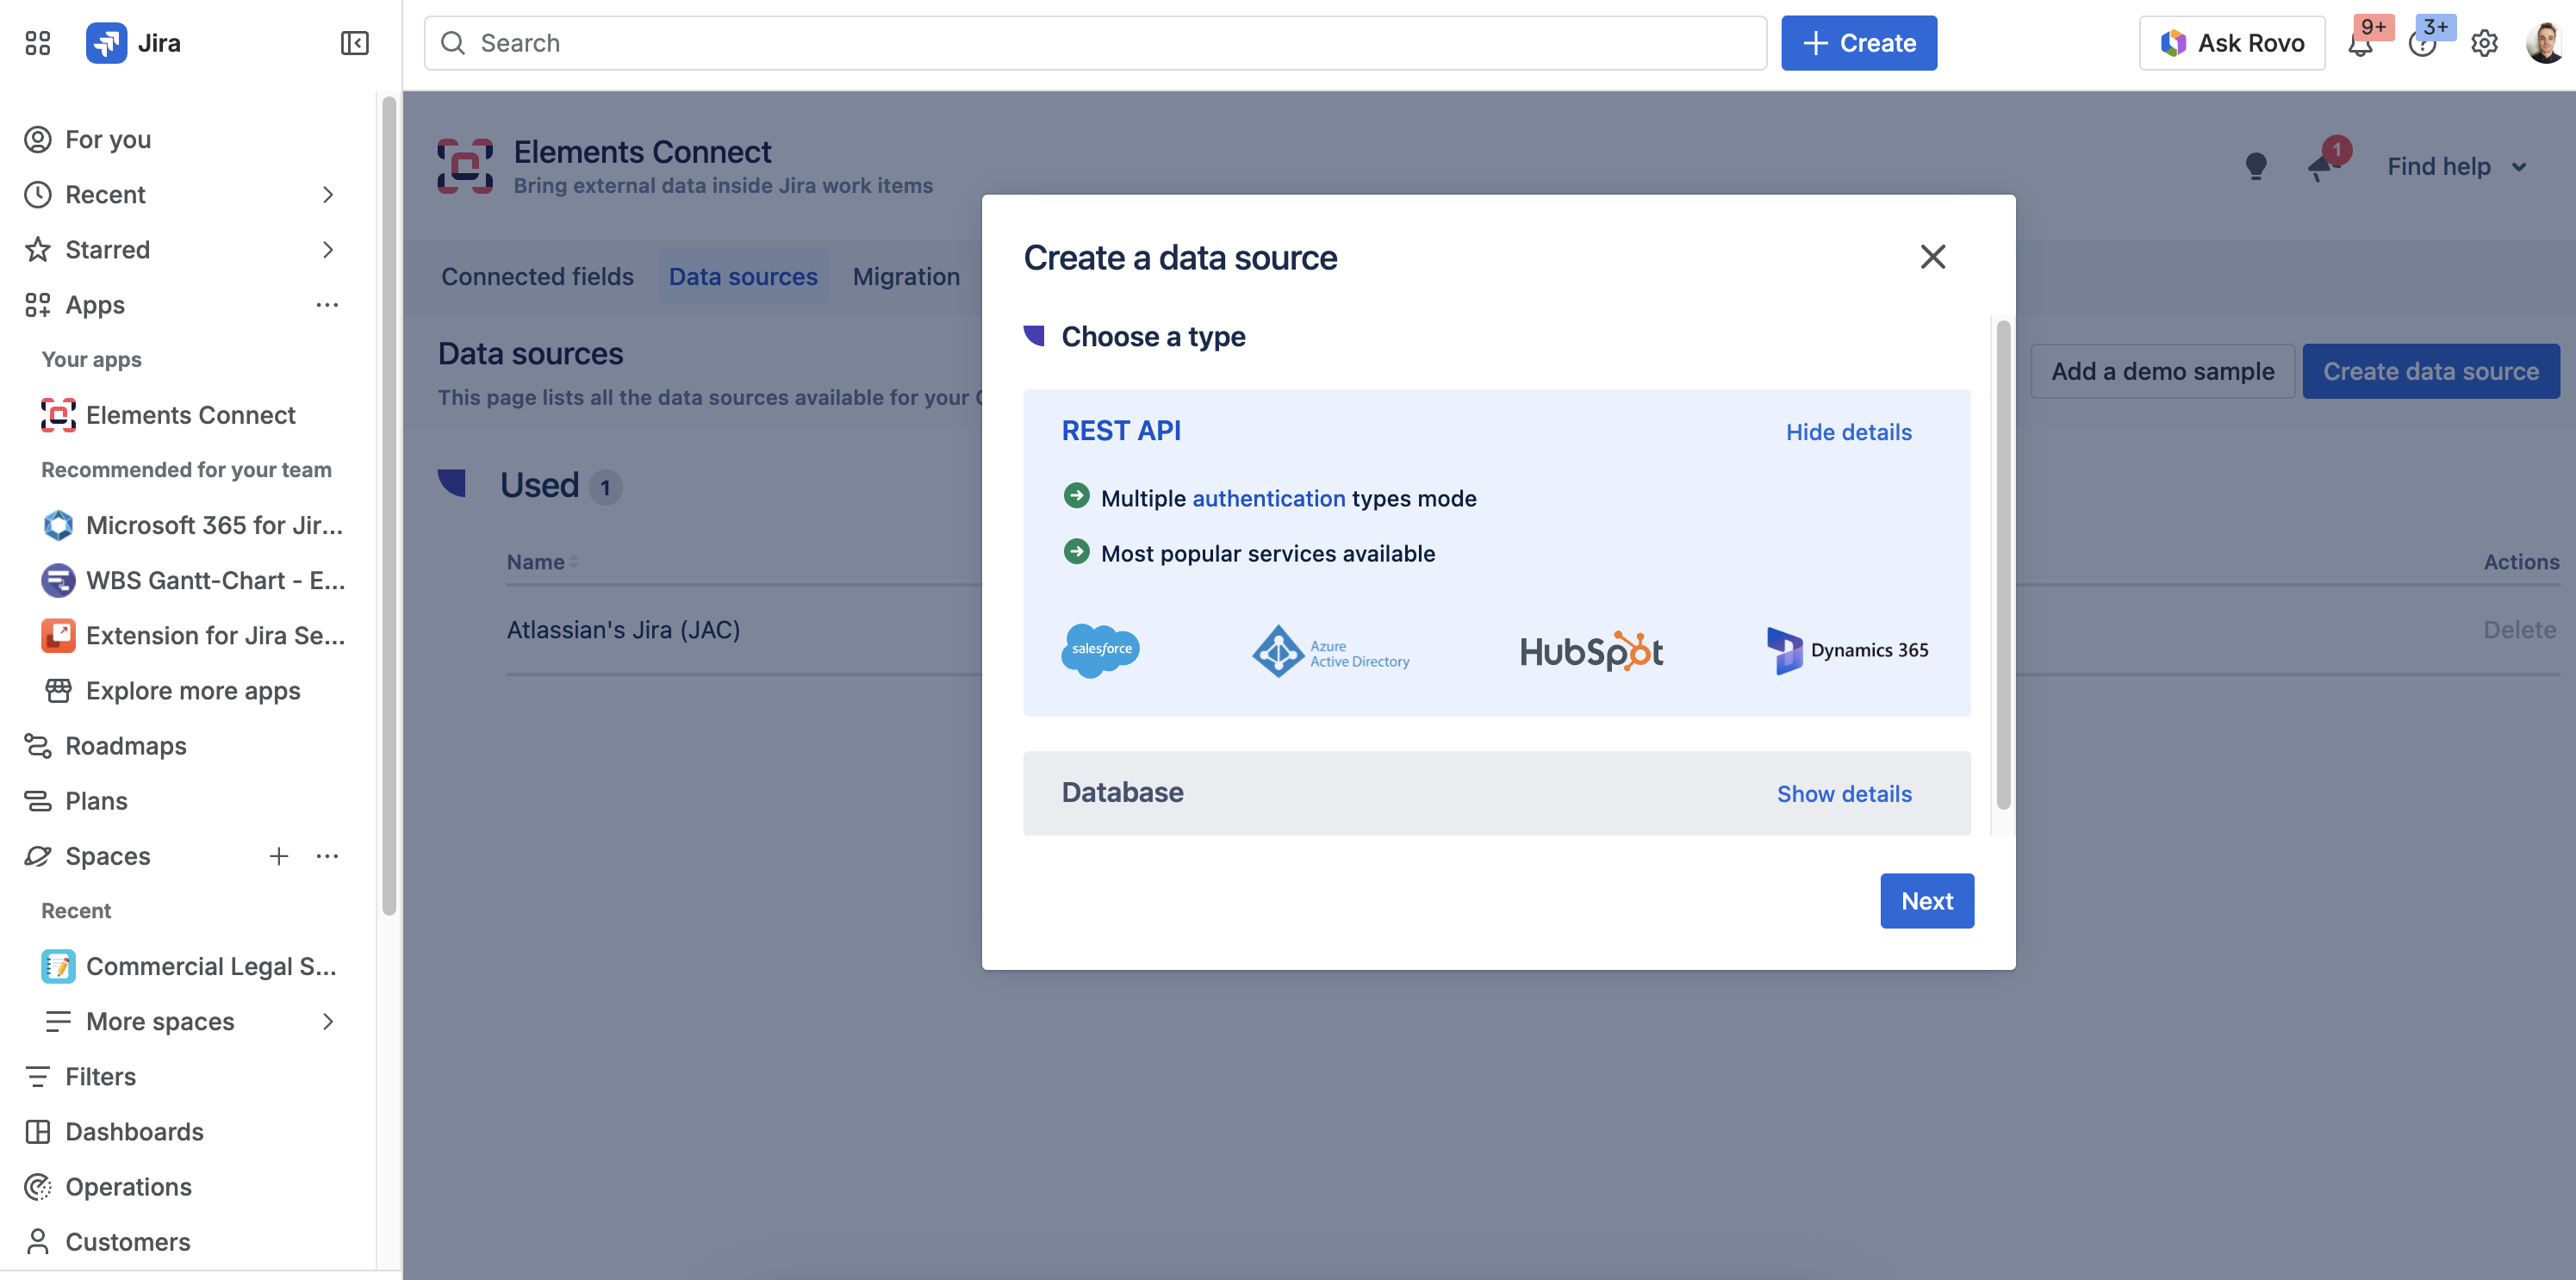
From the Elements Connect global administration page, click on Data sources.
-
Click on the Create data source button
-
Select REST API option and click on next
-
Enter a name for this new data source. Click on Create.
Configure the REST API connection
Once the connection has been created, you need to configure it.
Server details
|
Parameter |
Description |
|---|---|
|
API Base Url MANDATORY |
The base URL of the REST API will be completed in each item configuration to match an endpoint of the REST API. Example of an issue picker connected to Atlassian's Jira:
|
|
API Documentation |
A link to the REST API documentation, will be handy when you will be configuring items connected to this datasource. |
|
API Test URL |
If provided, will be used by Elements Connect to test the connection to the REST API.
A good practice is to provide a path to a "health check" endpoint which returns a HTTP 200 code when the server is up.
|
Custom headers

Some services require clients to pass custom headers during connection process.
Configure up to 20 HTTP headers to be sent when querying a REST API data source.
Simply provide a name and a value for the header.
Some header names are forbidden, i.e. those that cannot be modified programmatically. You can find a non-exhaustive list of forbidden header names here.
Please note that these headers are not provided for authentication purposes. We strongly advise that you do not use them to store sensitive data, such as secrets or passwords.
Authentication
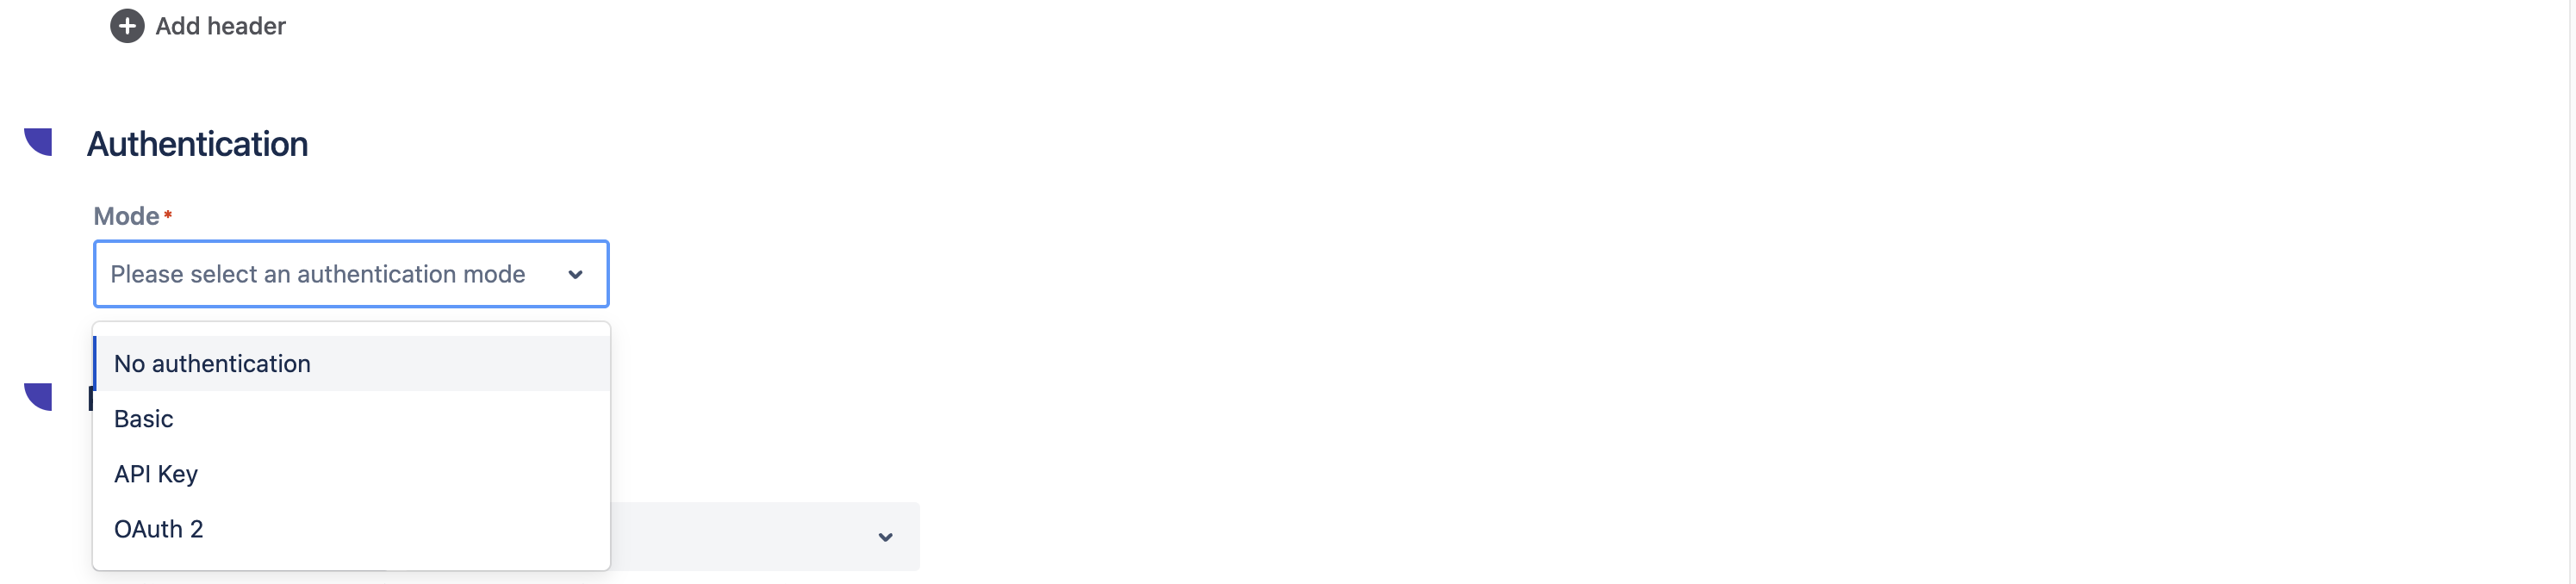
Elements Connect supports the following authentication modes:
-
No auth
-
Basic auth
-
API Key
-
OAuth 2 - Client credentials
-
OAuth 2 - Authorization Code
If the authentication mode of your REST API is not supported, please contact us through our support portal.
No auth
Calls made to the REST API are not authenticated, use this mode if your REST API does not require authentication.
Basic auth
This authentication mode enables interaction with API that are protected by Basic HTTP Authentication.
When used, you'll be asked to provide credentials (a username and a password) that will encoded by Elements Connect.
Credentials encoding example
For a username "elements" and password "connect".
-
Concatenated chain:
elements:connect -
Output of the base 64 encoding:
ZWxlbWVudHM6Y29ubmVjdA== -
Authorization header:
Basic ZWxlbWVudHM6Y29ubmVjdA==
API Key
An API Key is a token provided by the client to authenticate a call. API keys can be send in a request header or a query parameter, both modes are supported by Elements Connect.
To configure an API Key authentication:
-
Select the API Key authentication mode
-
Select the appropriate API Key mode
-
Provide the requested information: key and value
Elements Connect will add the key to every call made to the REST API.
Here are some examples of REST APIs which require API key authentication:
OAuth 2 - Client credentials
The OAuth 2.0 Authorization Framework enables a third-party application to obtain limited access to an HTTP service, either on behalf of a resource owner by orchestrating an approval interaction between the resource owner (usually an end user) and the HTTP service, or by allowing the third-party application to obtain access on its own behalf.
Elements Connect REST API datasource supports OAuth 2.0, which is also supported by many Cloud services such as those provided by Google, Salesforce, Facebook and Microsoft.
The Client Credentials flow doesn't support refresh tokens. The client is already trusted by the authorization server, requesting a valid access token when the previous one expires is enough.
We provide the following tutorial on how to connect to an Azure Active Directory using the Client Credentials grant type: How to integrate an Azure Active Directory in Jira as a datasource.
OAuth 2 - Authorization Code
OAuth 2.0 Authorization Code flow is a secure way to let users grant access to third-party apps without sharing their login credentials.
When to use it
Use the OAuth 2.0 Authorization Code Flow in Elements Connect to fetch data from services that require user-level authentication, including:
-
Salesforce
-
Google APIs (such as Google Drive, Gmail, and Google Calendar)
-
Microsoft Graph API (for accessing Microsoft services like Office 365 and Outlook)
-
GitHub API
-
Dropbox API
How it works
-
Authorization request
The app redirects the user to the authorization server with the app’s details and requested permissions. -
User authentication
The user logs in to the authorization server. -
User consent
The server asks the user to approve access for the app. -
Authorization code
If approved, the server returns an authorization code to the app. -
Token request
The app sends this code to the authorization server to request an access token. -
Token response
The server returns an access token, and if supported, a refresh token. -
Access protected resources
The app includes the access token in its requests to retrieve the user’s data.
Refresh tokens
Elements Connect automatically renews the refresh token before it expires (when the service supports it), ensuring uninterrupted access without requiring admin intervention.
If the service does not support automatic renawal, then a Jira admin must go to Elements Connect admin > Data sources configuration, open the relevant data source, and click "Get access token" to generate a new refresh token before the current one expires.
We provide the following tutorial on how to connect to Salesforce through the Authorization Code grant type: How to integrate client data from Salesforce CRM into JSM requests.
Security
Securing sensitive data
We know that passwords and API keys are sensitive data. For that reason and to enforce security:
-
sensitive data are stored encrypted in our database
-
sensitive data are never displayed when editing a data source nor sent by Elements Connect REST API
HTTPS only
Elements Connect only supports the HTTPS protocol, for security reasons the HTTP protocol is not accepted.
SSL Certificates
Elements Connect always checks the validity of the SSL certificate of the domain hosting the target REST API.
You cannot provide custom SSL certificates.
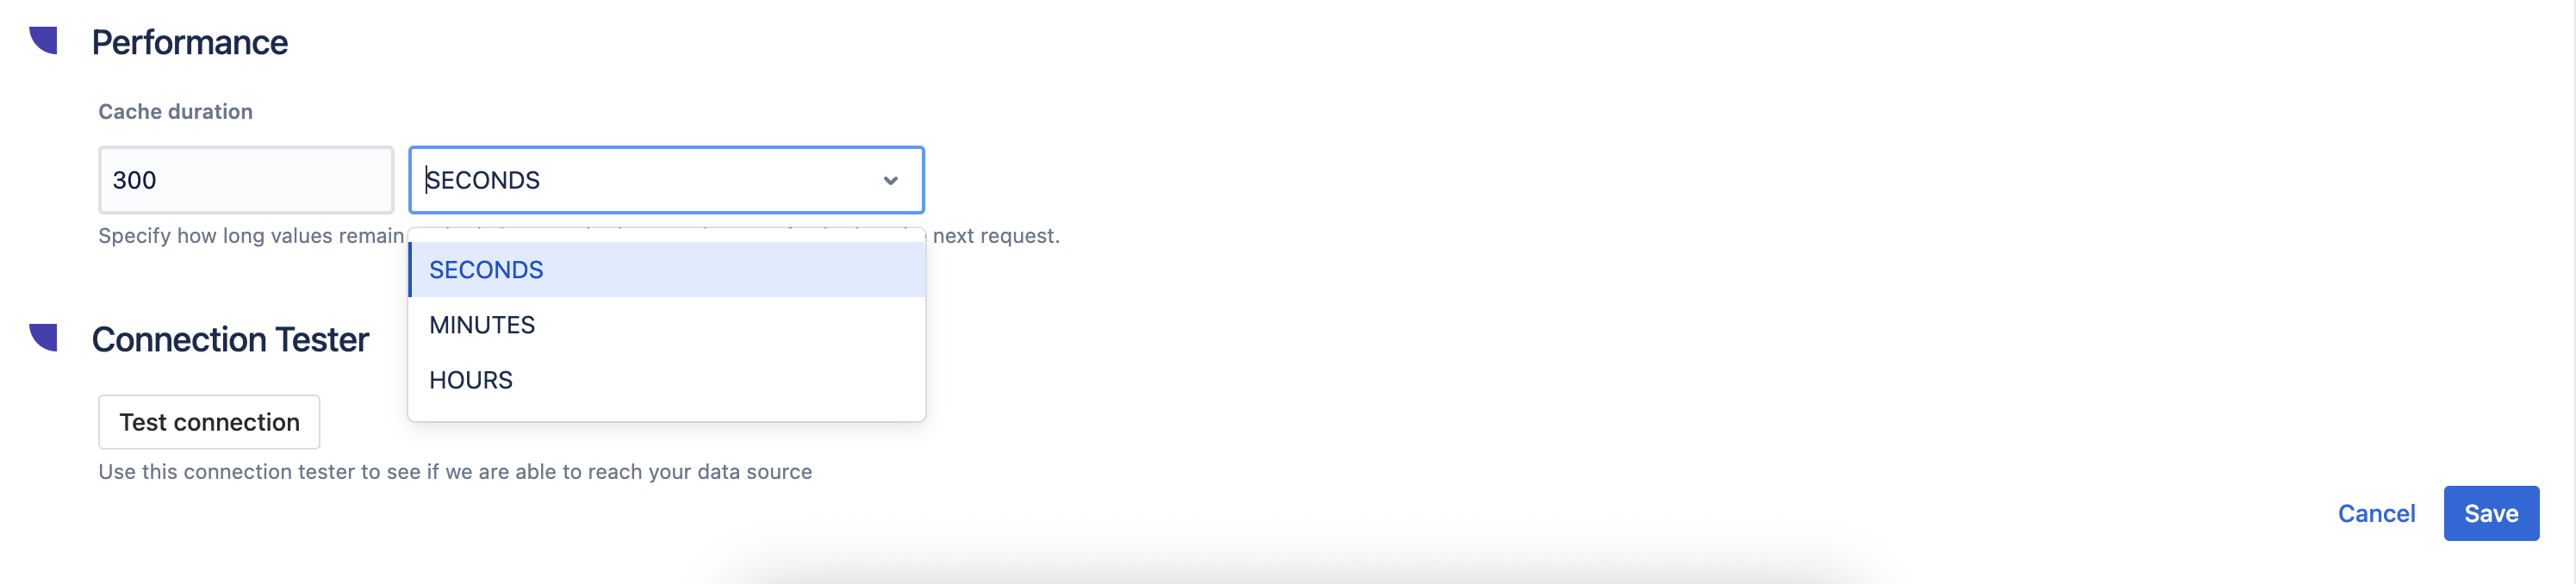
Performances
We know that performance is a key requirement for you. We don't want Elements Connect to have a negative impact on the performances of your Jira instance.
Therefore, we've designed our solution with performance in mind and have taken specific actions to make the user experience as enjoyable as possible.
Cache
How does cache / caching data works in Elements Connect?
Timeout
Long queries can have a negative impact on the user experience, it would lead to field options taking ages to load. This is why a timeout is set on every call made to a REST API datasource.
The timeout duration is not configurable and it's set to 20 seconds.
Known limitation
Please note that for the moment, our platform supports REST API data sources that return responses in JSON format only. We are aware of the demand for XML response compatibility and are considering this feature for future updates.