
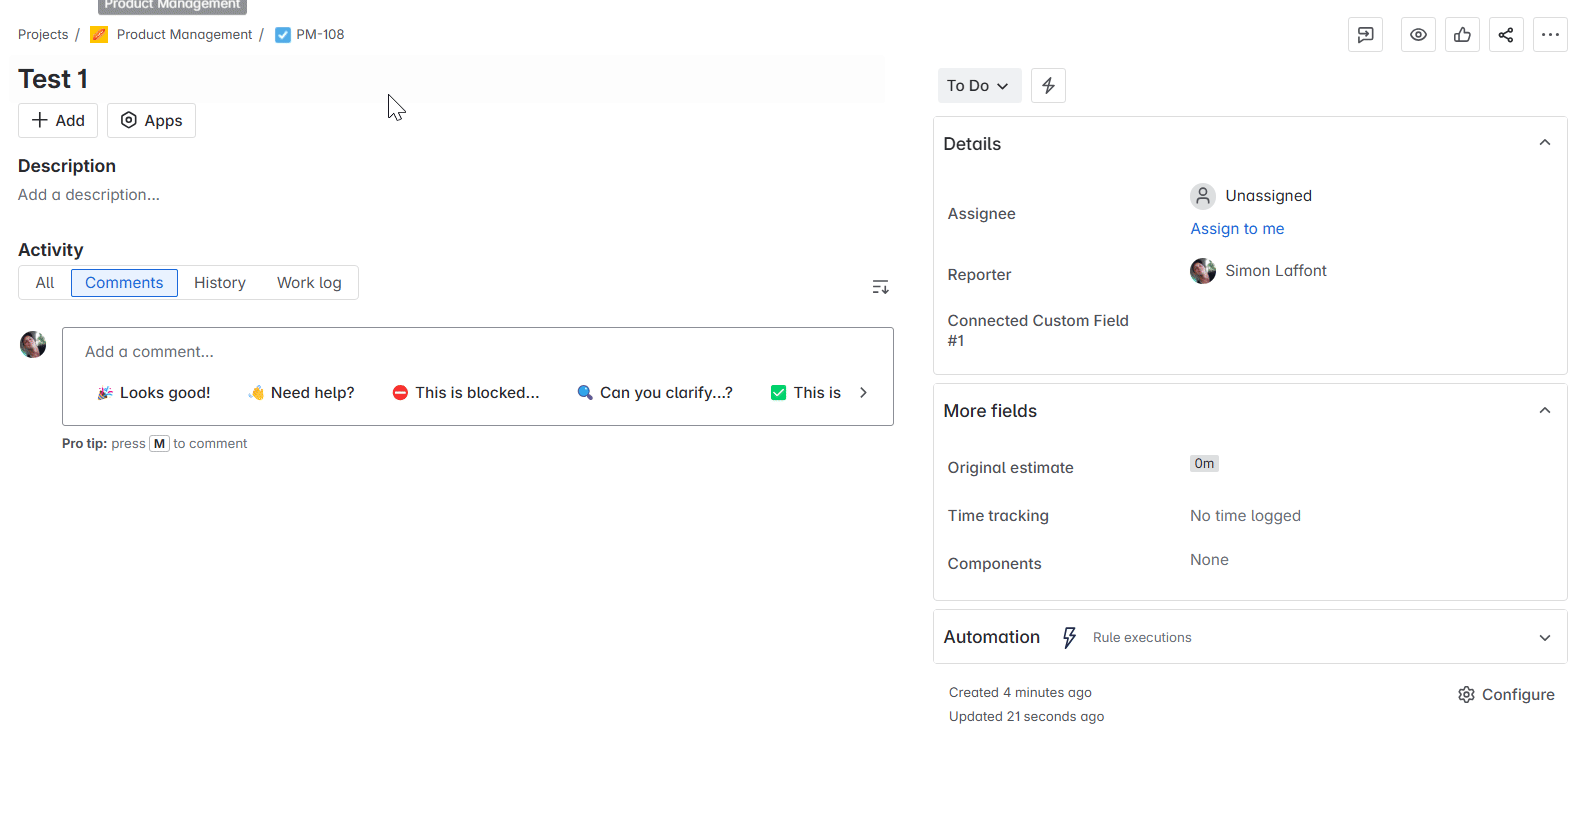
How to copy migrated values into Connected Custom fields
This step consists of copying the values from the previously migrated Jira Text fields into the corresponding Connected Custom fields.
Data validation
Regardless of the method used to populate Connected Custom Fields, please note that no data validation is performed.
Implementing such a system would require checking all values available in the data source. While technically feasible, this would be too resource-intensive in terms of performance and processing time.
As a result, any value, even if invalid or non-existent in the external datasource, can be copied into a Connected Custom Field.
However, such values will be cleared automatically the next time the field is recalculated or manually edited:
Therefore, you must ensure that the value copied into the Connected Custom Field meets both of the following criteria:
The value exists in the external datasource
The value is correctly formatted, based on the type of Connected Custom Field
Refer to the following page to determine the correct format for each field type: Data storage format
How to proceed
Based on the Connected Custom Fields you created in Step 1, and the appropriate storage format for each field type, choose one of the methods below to populate your fields.
1. Automation for Jira
a. Working principle
Follow the steps described in this documentation: https://doc.elements-apps.com/elements-connect-cloud/set-custom-field-value-in-automation-rule-based-on#SetcustomfieldvalueinAutomationrulebasedonaJiraTextfield-Case1-SetSnapshotcustomfield
In this documentation, you will find:
How to populate a Snapshot field:
How to populate an Object field (also known as a Live field in Data Center)
How to populate a User field
If you have multiple Connect fields on the same issue, you should update them simultaneously in the same “Edit work item fields” action, as shown below:
{
   "fields":{
      "Snapshot_field_1":"{{issue.fields.customfield_xxxxx}}",
      "Snapshot_field_2":"{{issue.fields.customfield_yyyyy}}",
      "Object_field":{
         "id":"{{issue.fields.customfield_zzzzz}}",
         "value":""
      },
      "User_field":{
         "accountId":"{{webResponse.body.accountId}}"
      }
   }
}
This will reduce the number of rule executions, which is recommended if you are not on an Enterprise plan. This will also help improve performance by saving time.
b. Limitations
The number of automation rule executions per month may be limited depending on your Jira license, as explained here: https://support.atlassian.com/cloud-automation/docs/how-is-my-usage-calculated/?utm_source=chatgpt.com
If you do not have an Enterprise plan and the volume of data to be copied is too large, the solutions presented in this documentation may not be suitable for your needs.
In this case, we recommend contacting our support team so that we can explore the possible solutions based on your specific situation.
2. CSV import
a. Prepare the CSV file
Prepare your CSV file based on the following Atlassian documentation: https://support.atlassian.com/jira-cloud-administration/docs/import-data-from-a-csv-file/?utm_source=chatgpt.com
If you want to edit existing work items instead of creating new ones, you need to provide the following two fields:
Work item key: used to match the data to an existing Jira ticket.
Summary: this field is required for the migration to run but can be left blank in the CSV. It will not affect the update process.
Here is an example of a CSV file updating a ticket with the key PM-1:
work_item_key,summary,customfield
PM-1,,value
The following table summarizes how each field type should be formatted in the CSV file:
Field Type | CSV Format |
|---|---|
Snapshot fields - single value:
|
CODE
Example: Text Snapshot - Single value.csv |
Snapshot fields - multi values:
|
CODE
Example: Text Snapshot - Multi values.csv |
Object fields (Single):
|
CODE
Example: Object_single.csv |
Object fields (Multi):
|
CODE
Example: Object_multi.csv |
User fields:
|
CODE
Example: User.csv |
Date - Read only |
CODE
Example: Date.csv |
For Object fields, when the "Recalculate displayed value on issue view" option is enabled and correctly set up, only the id needs to be provided. The value attribute will then be automatically computed when accessing the issue view.
Single value:
"{""id"": ""{key}"",""value"": """"}"Multi value:
"{""ids"": [""{key1}"",""{key2}""] ,""values"": []}"b. Import the CSV file
To import your CSV file, follow these steps:
Go to System → External System Import
Switch to the old import experience (the new experience does not support importing into existing projects or updating existing issues)
Select CSV
Upload your CSV file
Select the target project
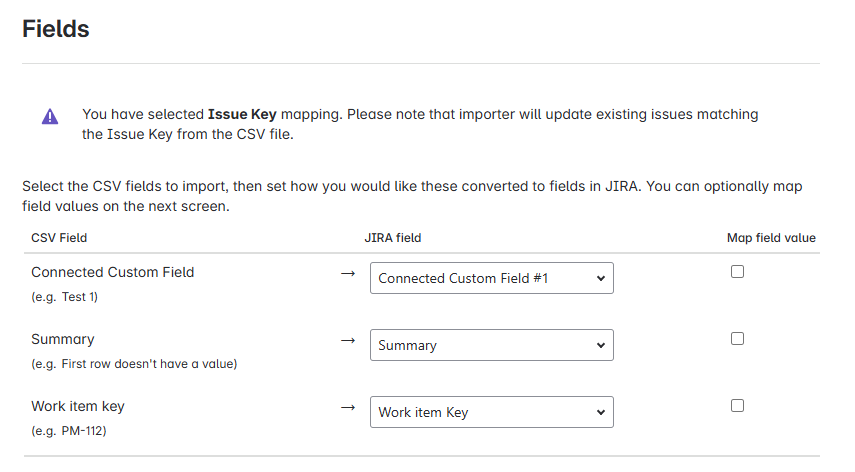
Map the CSV columns to the appropriate Jira fields:
Run the import
c. Limitations
Issue limit
There is no hard limit for CSV imports. you can update thousands of issues at once. However, very large imports (e.g. hundreds of thousands of issues) may cause failures or performance slowdowns. We recommend splitting large imports into imports into smaller batches (~1,500 issues each).
Jira plan impact
CSV imports work the same across all plans (Standard, Premium, Enterprise). Performance depends on your instance size and activity, not your subscription level.
User import via email
Currently, users can only be imported via account ID, not email. If this is a blocker, consider using the Automation method instead.